
When you are working and traveling, it isn’t often that you have the time or money to make modifications. You think about them, but real life usually gets in the way and they just don’t get done. (No matter how interested I am in doing these things, I am always very wary of starting something and running out of time. Everything always takes longer than I think it will, sometimes by as much as 100%. And we usually aren’t 15 minutes from a hardware store or Home Depot or Lowe’s, so that’s also a factor. Running back and forth for pieces and parts is a much bigger deal when it’s an hour in each direction. – Lee) Thankfully though we are in one place for an extended period of time, and for once have both the time and the money. (We’re also 15 minutes from a Home Depot! – Lee) It’s also been super hot (still hitting 100 degrees every day) and Lee would much rather be inside than out. I just try to keep out of his way when he gets rolling and not do anything to slow him down.
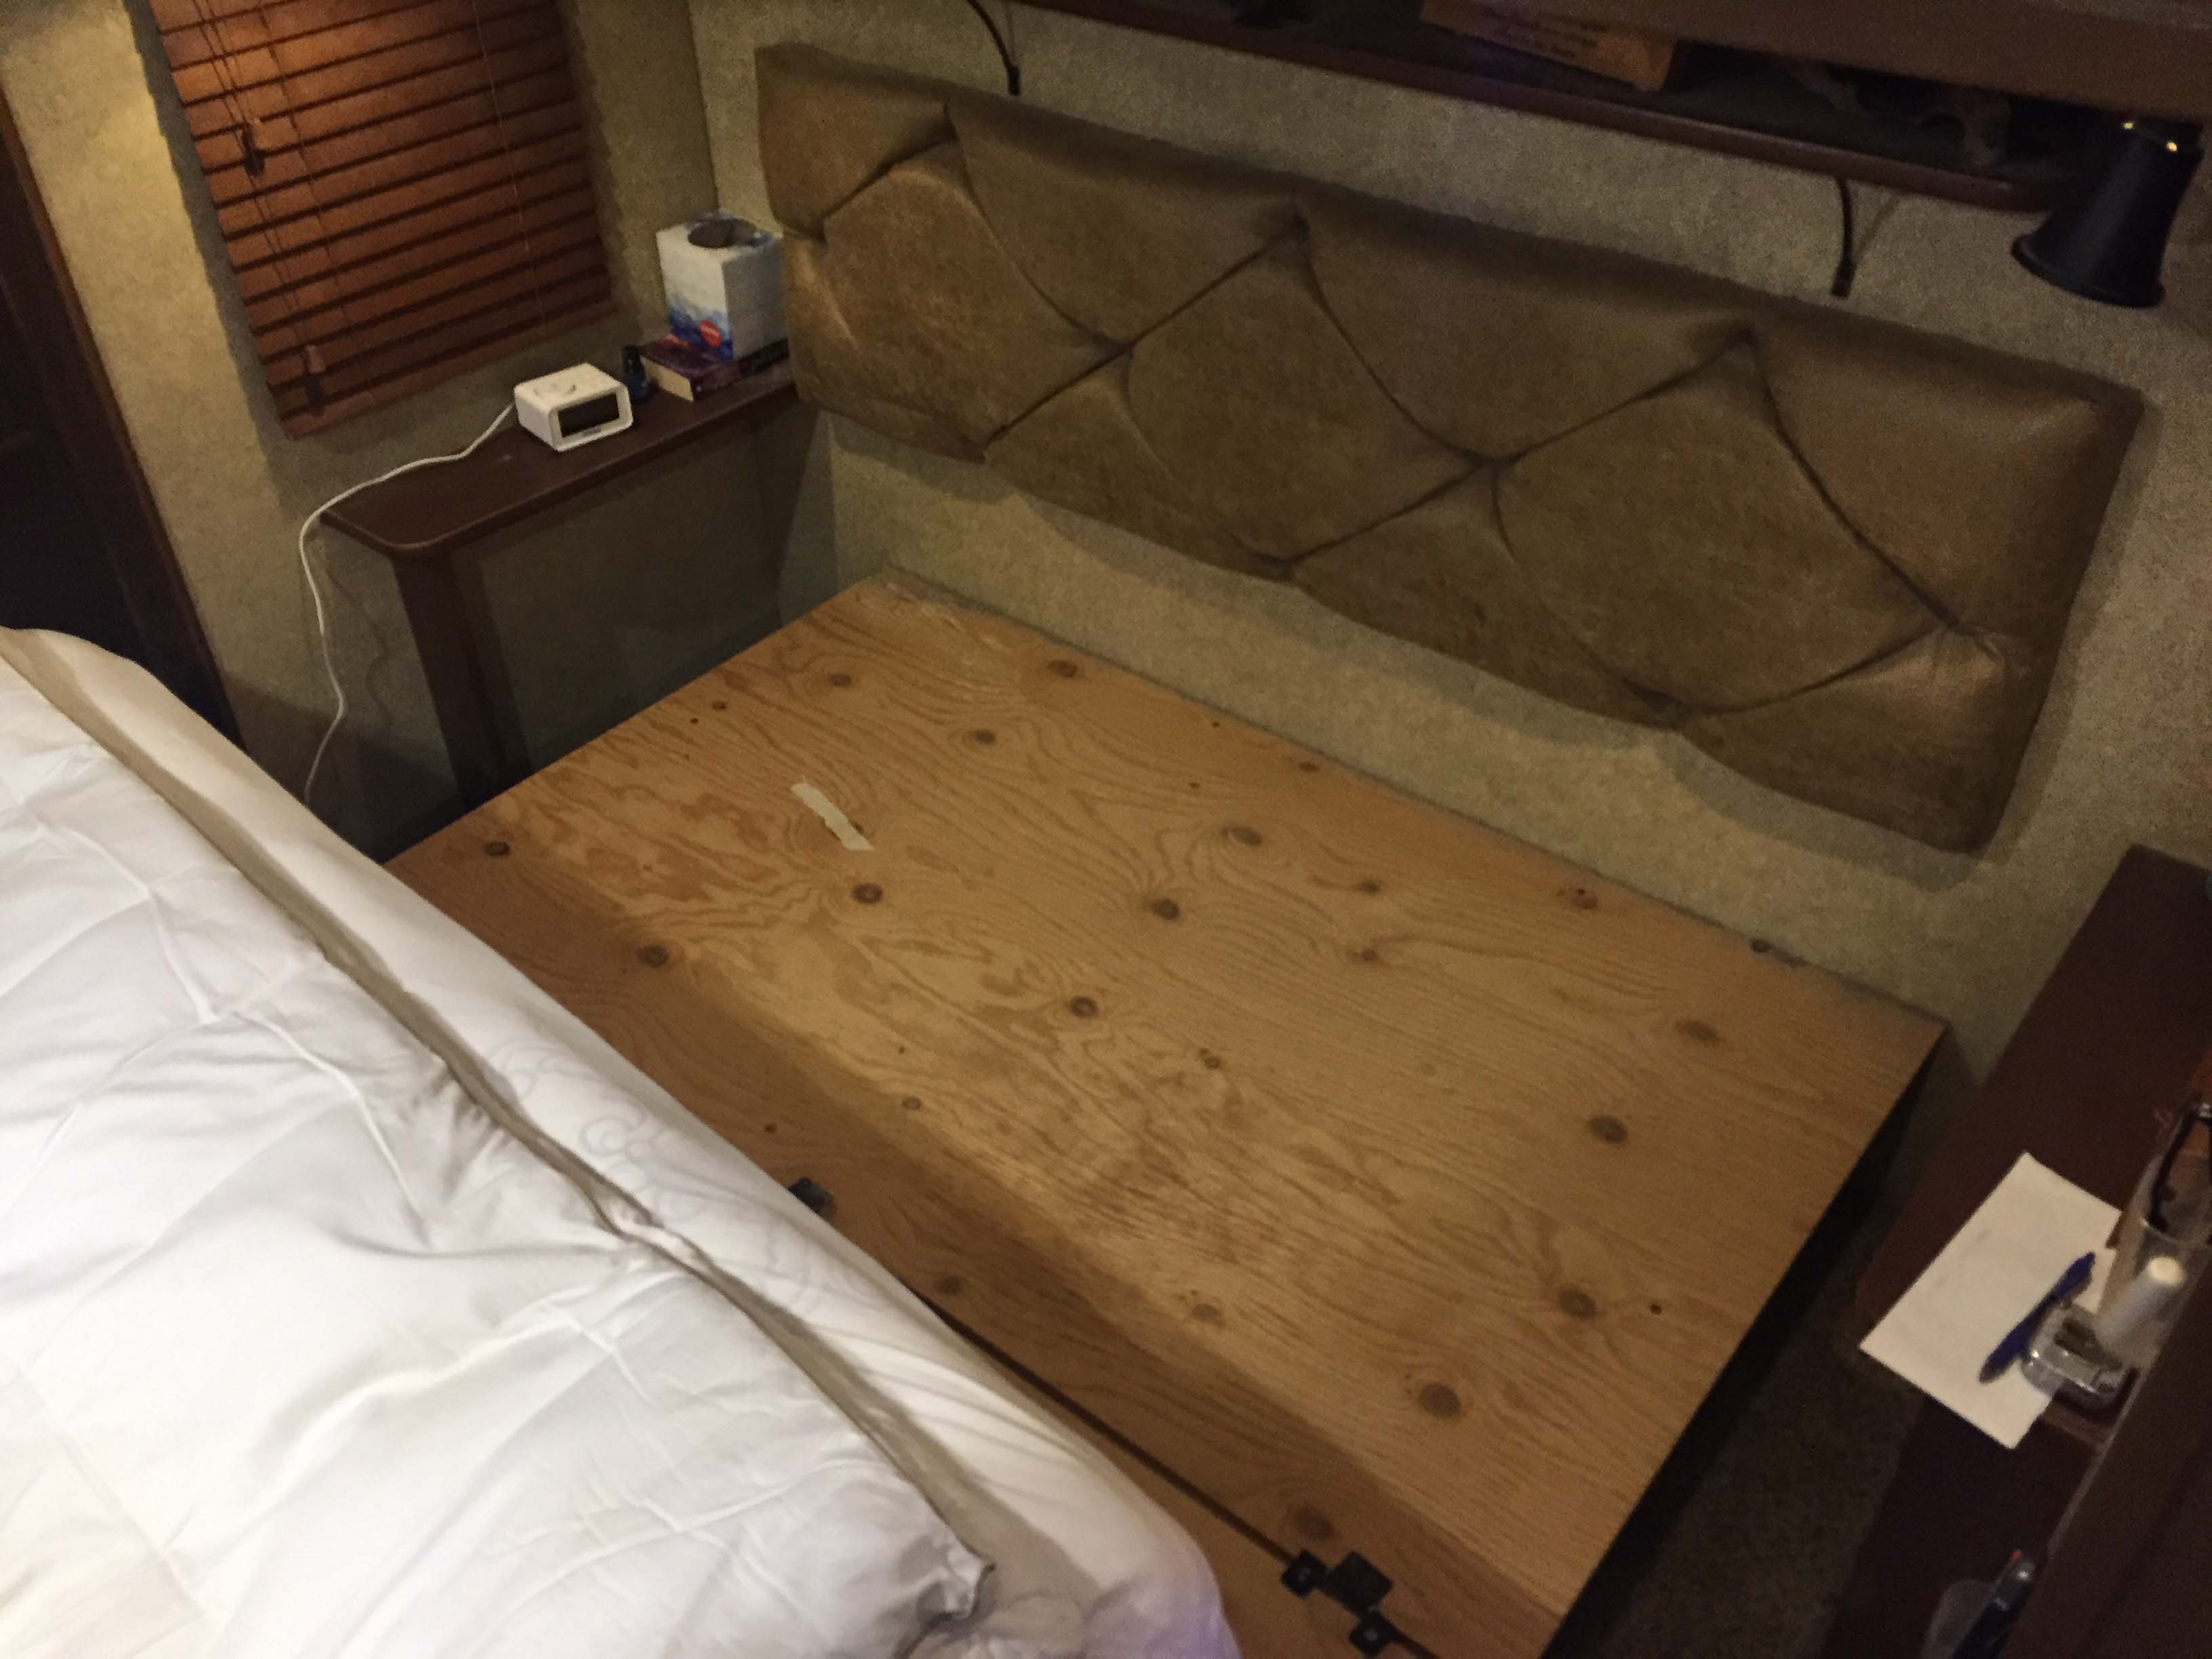
The first modification was to add to the storage area under the bed. Like most RV’s our bed has storage under it. The mattress sits on a box, and on top of the box is a “lid” with a hinge. There are gas lifts on the lid that assist in lifting it and the mattress to give us access to a nice little storage area. The part of the box that is at the head of the bed is in the slideout, and the rest of it sits on the floor. All of the box is one piece, but only the part that sits on the floor is storage. (That storage area is 4′ wide, 29″ long and 16″ deep, giving us a total volume of 12.8 cubic feet. – Lee) We didn’t know for sure what was in the other remaining space of the box, but Lee wanted to check it out and if possible reclaim the space. (You know I like to reclaim space. Here is a post from a while back where I found some wasted space inside the rig that significantly increased our pantry area, it’s the last mod on the page. And another where I increased the space in a small baggage compartment by almost 50%! That’s near the end of the post. – Lee) In order to get to it he had to pull the mattress completely off and then look at the bed. He then removed that section of board and found a huge unused space underneath. (Reclaiming that space was pretty straightforward, but required a little bit of re-engineering of how the box was used. The original design has the lid attached to the non-opening box top with a few hinges. That anchors the hinges, and if I used the that top for a second lid, then the entire top wouldn’t be anchored and would just slide around. You can see in the picture below the section of the top that is not the lid, the lid is under the mattress. – Lee)
(There’s a lot of pressure on the hinges from the gas lifts, plus the wood is only 1/2″ thick, so you can see where the screws, which were not quite 1/2″ had worked themselves out of the wood over time. – Lee)

(So this is what I found under that second section of top. Just a nice big wasted space. – Lee)
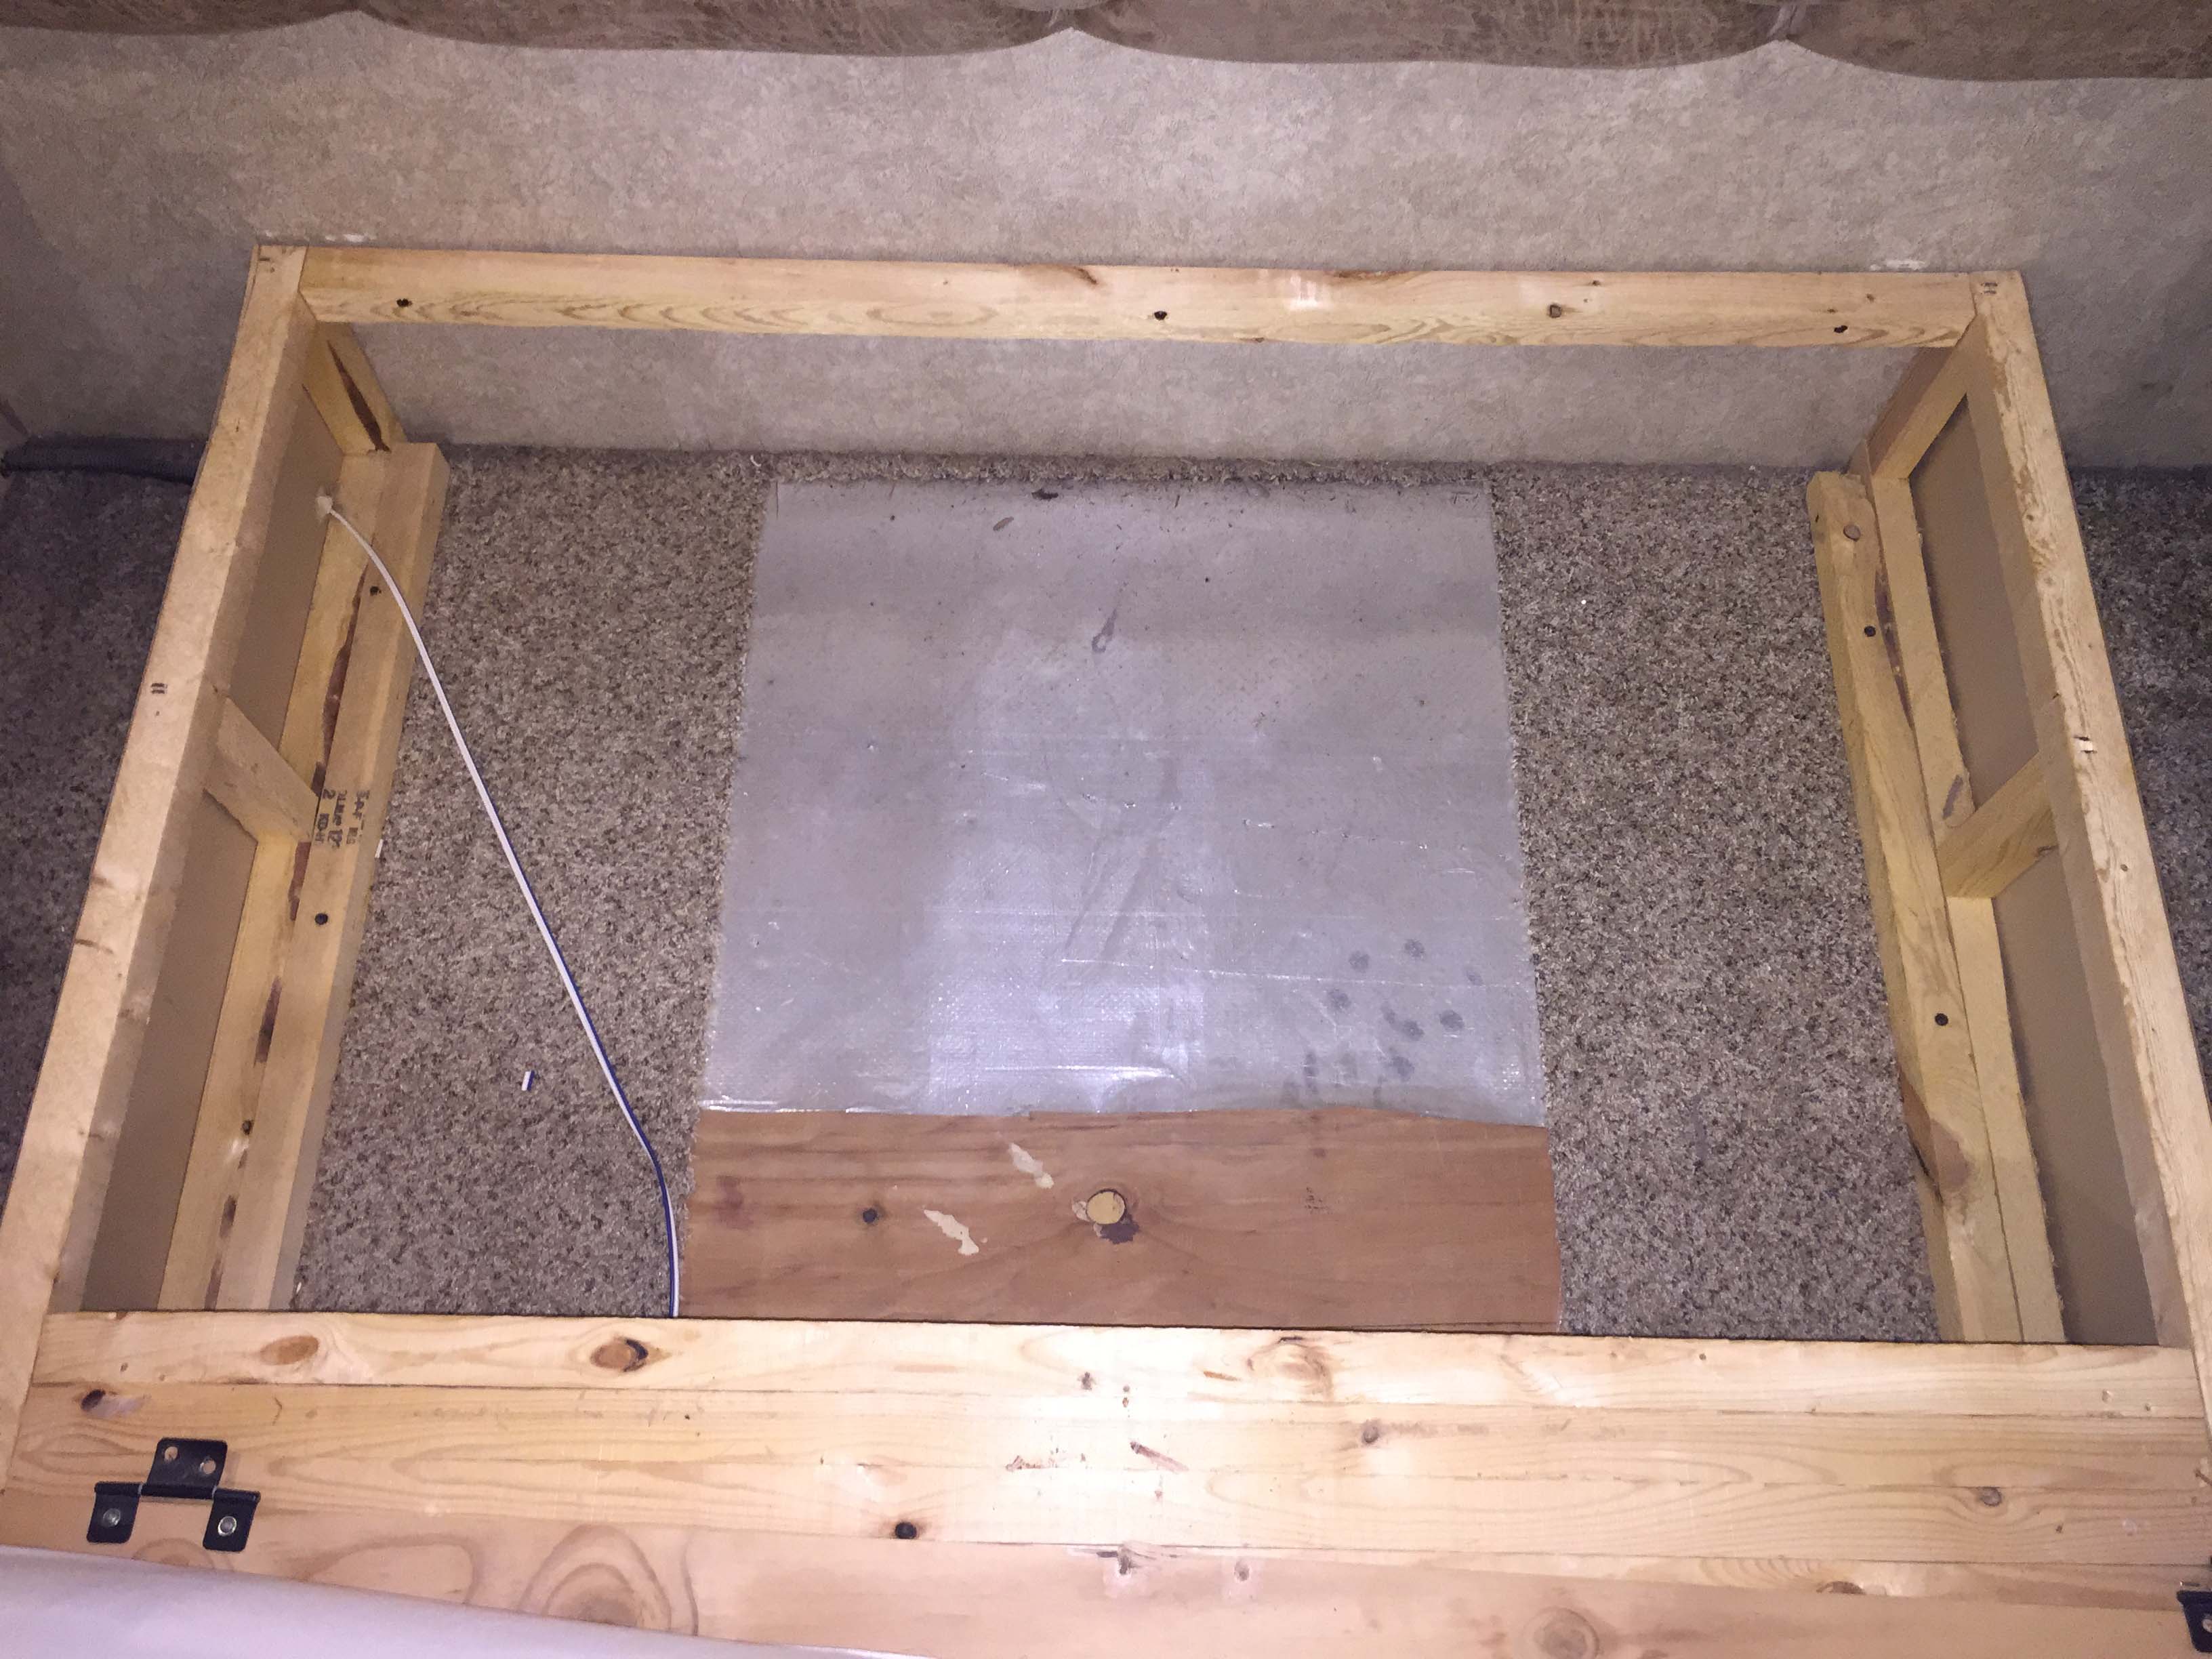
(Because our slides are elevated 6″, this space is not quite as deep as the existing storage, but it’s nothing to sneeze at. This is an area 4′ wide, 29″ long and 10″ deep, for a total volume of 13920 cubic inches, or 8 cubic feet. It’s essentially the same as the “front” space, except that it’s 6″ shallower. So we ended up with 20.8 cubic feet instead of 12.8, a 38.5% increase!!! That’s a LOT of space in a rig to just magic out of thin air. Here’s a helpful idea of what you can do with 8 cubic feet, represented by a woman holding a box that’s 3 cubic feet. So imagine if she had absurdly long arms and could hold 2.66 of those boxes! – Lee)

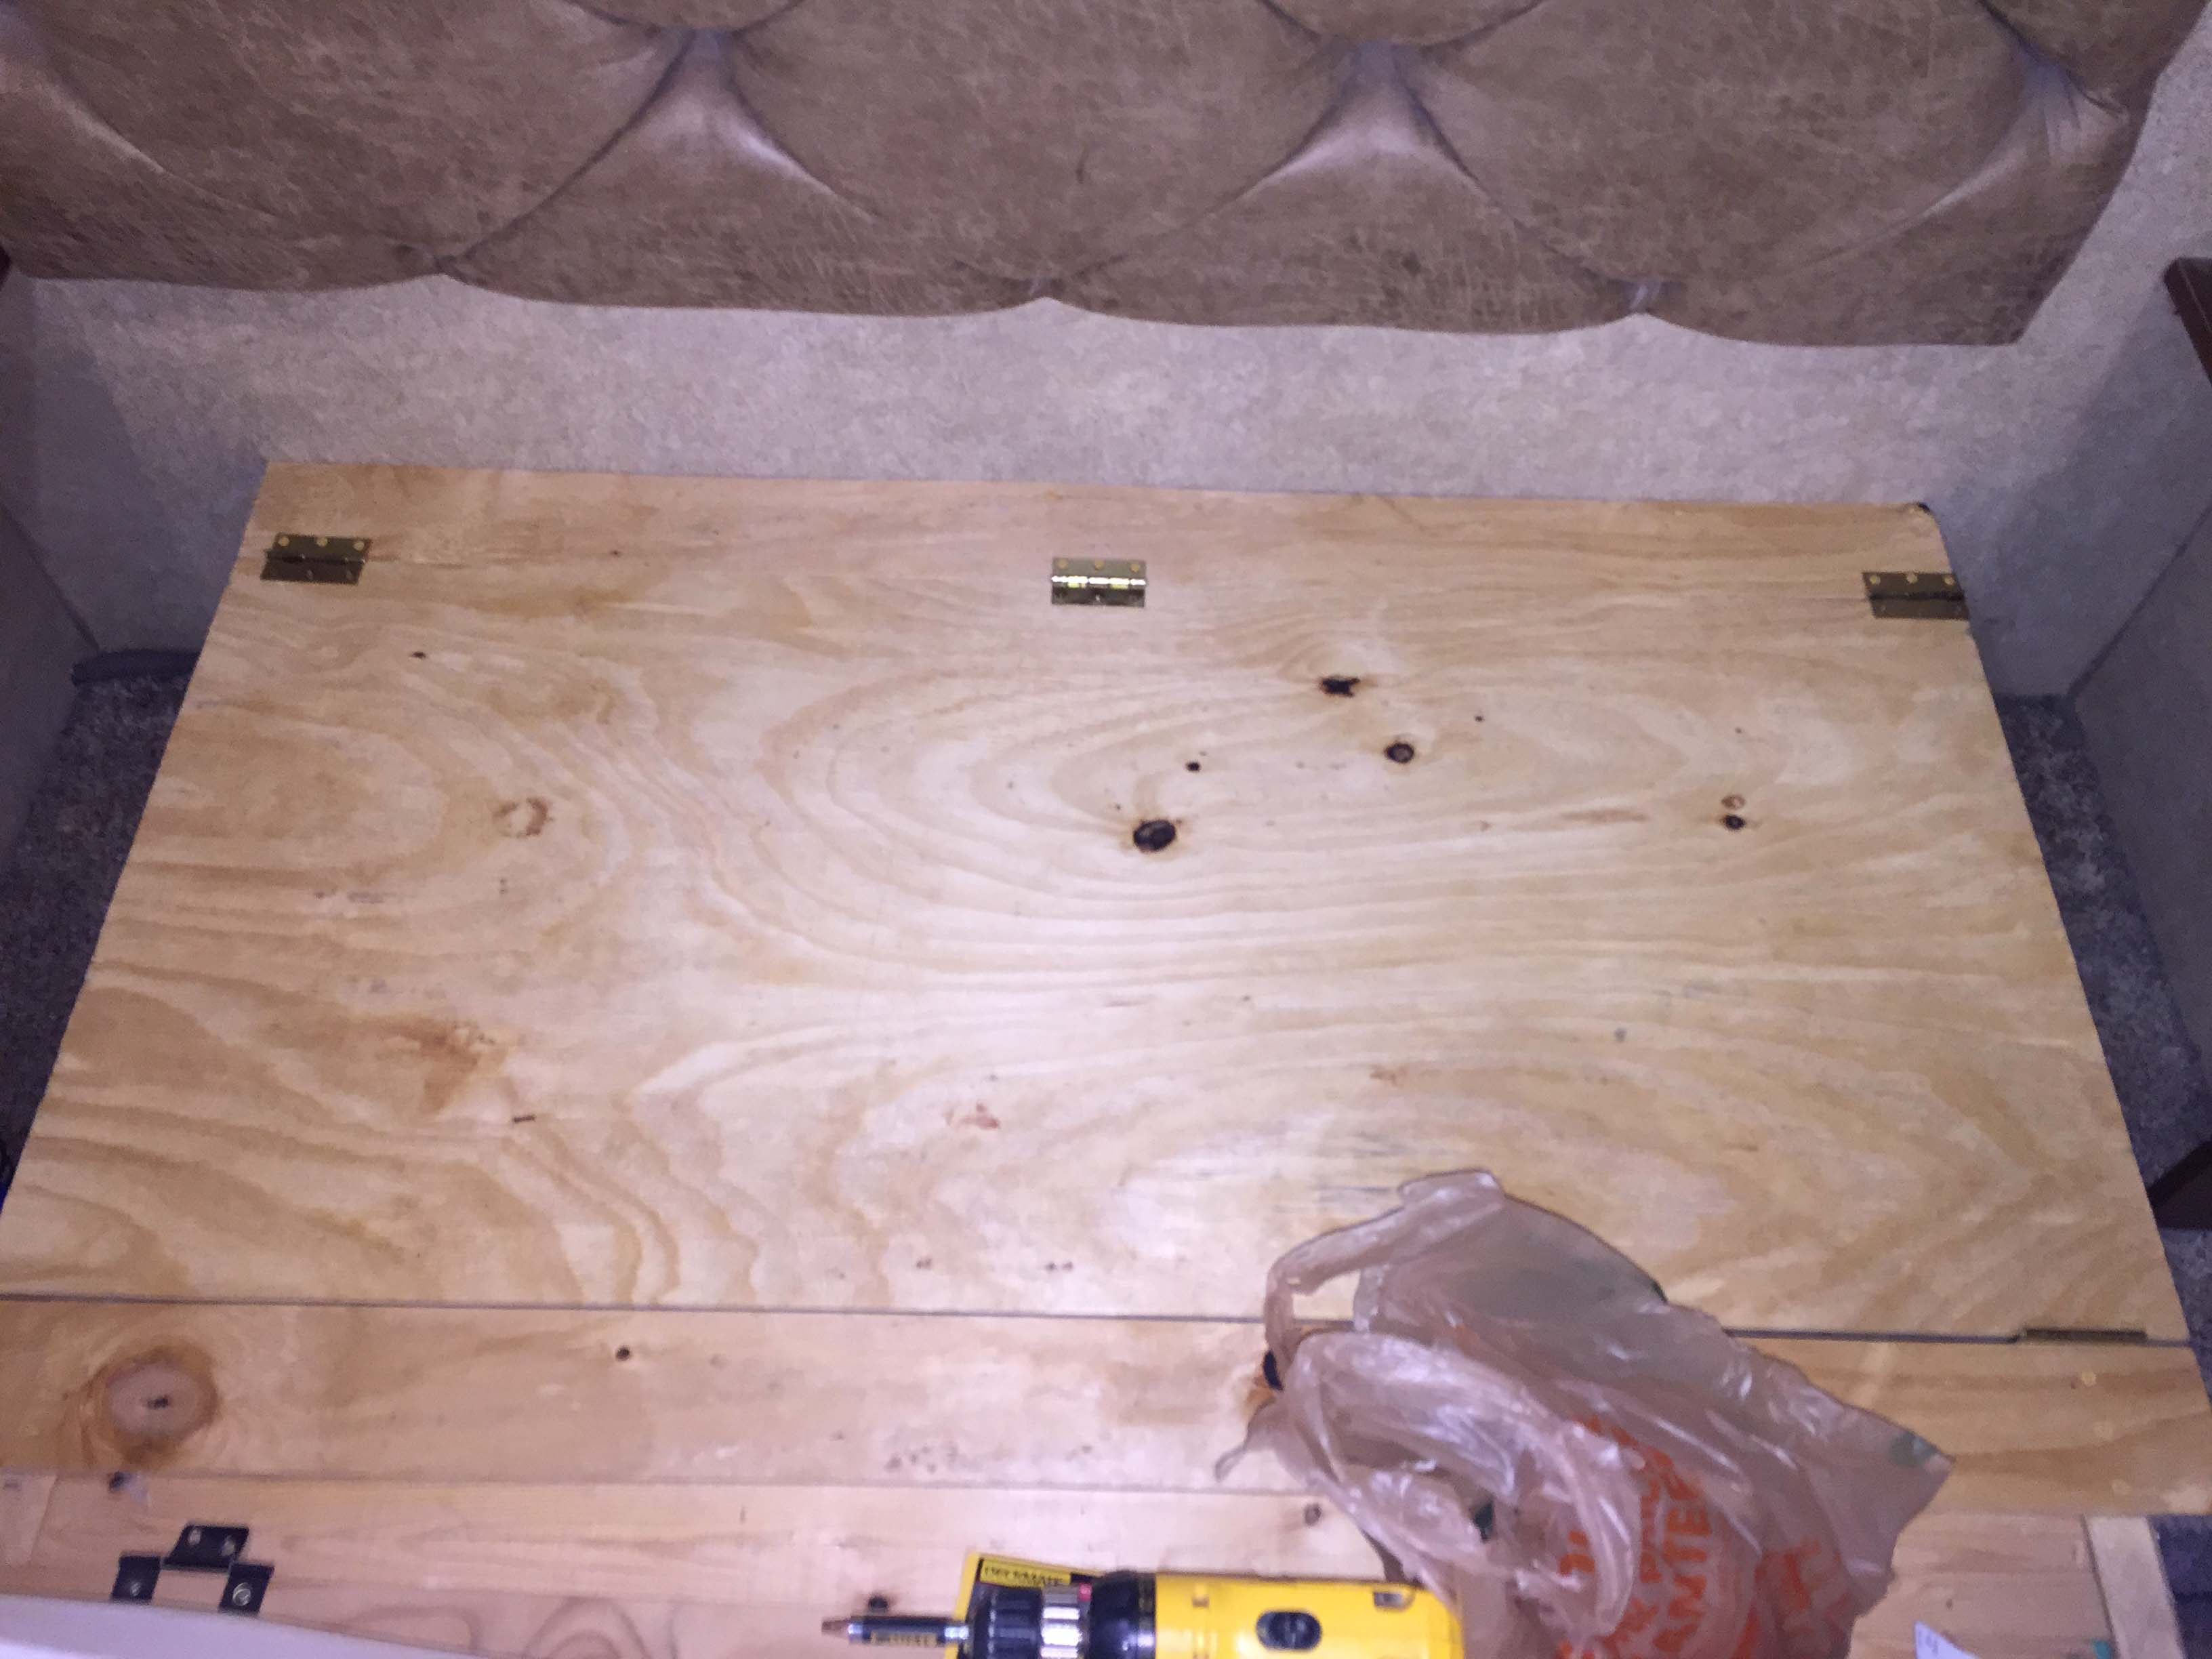
(In order to create a new hinged lid for that “back” area, I needed to cut the plywood into three pieces. Two narrow strips to use as “anchors” for both hinges, and one large piece to serve as the lid for the back area. I didn’t want to cut it myself, because with hinges you really need perfectly straight cuts, so I went to Home Depot. They will do cuts on a panel saw for free, but of course I had to buy the wood, which is OK because I had another plan for the piece I took from under the mattress, which I will cover in another post. I also decided to replace the hinges that were already there, they were just not heavy enough. Once I had the wood cut I put one strip all the way against the wall and added the hinges and the other in the middle, to anchor the original lid. I also added a piece of lumber to “bridge” the gap between the lid and the hinge anchor so the thin plywood wouldn’t bow in the middle once there was weight on it. – Lee)

It was relatively simple to do and made us both wonder why we hadn’t done it before! It actually took longer to figure out what would go in there (seldom used items like winter coats, sleeping bags, etc) than to do the work. (The best part of this is that it allowed me to take 1/2 the stuff that was in the “front” storage under the bed and put it in the back, which is all stuff we will hardly ever need, freeing up the space in the easier to access front for things we will need more often. Here’s what I was able to put in that reclaimed space: Queen size air mattress, 2 adult sleeping bags, 20 XL T-shirts, 4 sets of long johns, a pair each of dress shoes, cowboy boots and steel toed work boots, 6 long sleeve dress shirts, a spare set of queen sheets, a full size memory foam pillow, 8 pairs of over the calf socks, two belts, 2 ties, a shoe shine kit, and 4 pairs of jeans. – Lee)

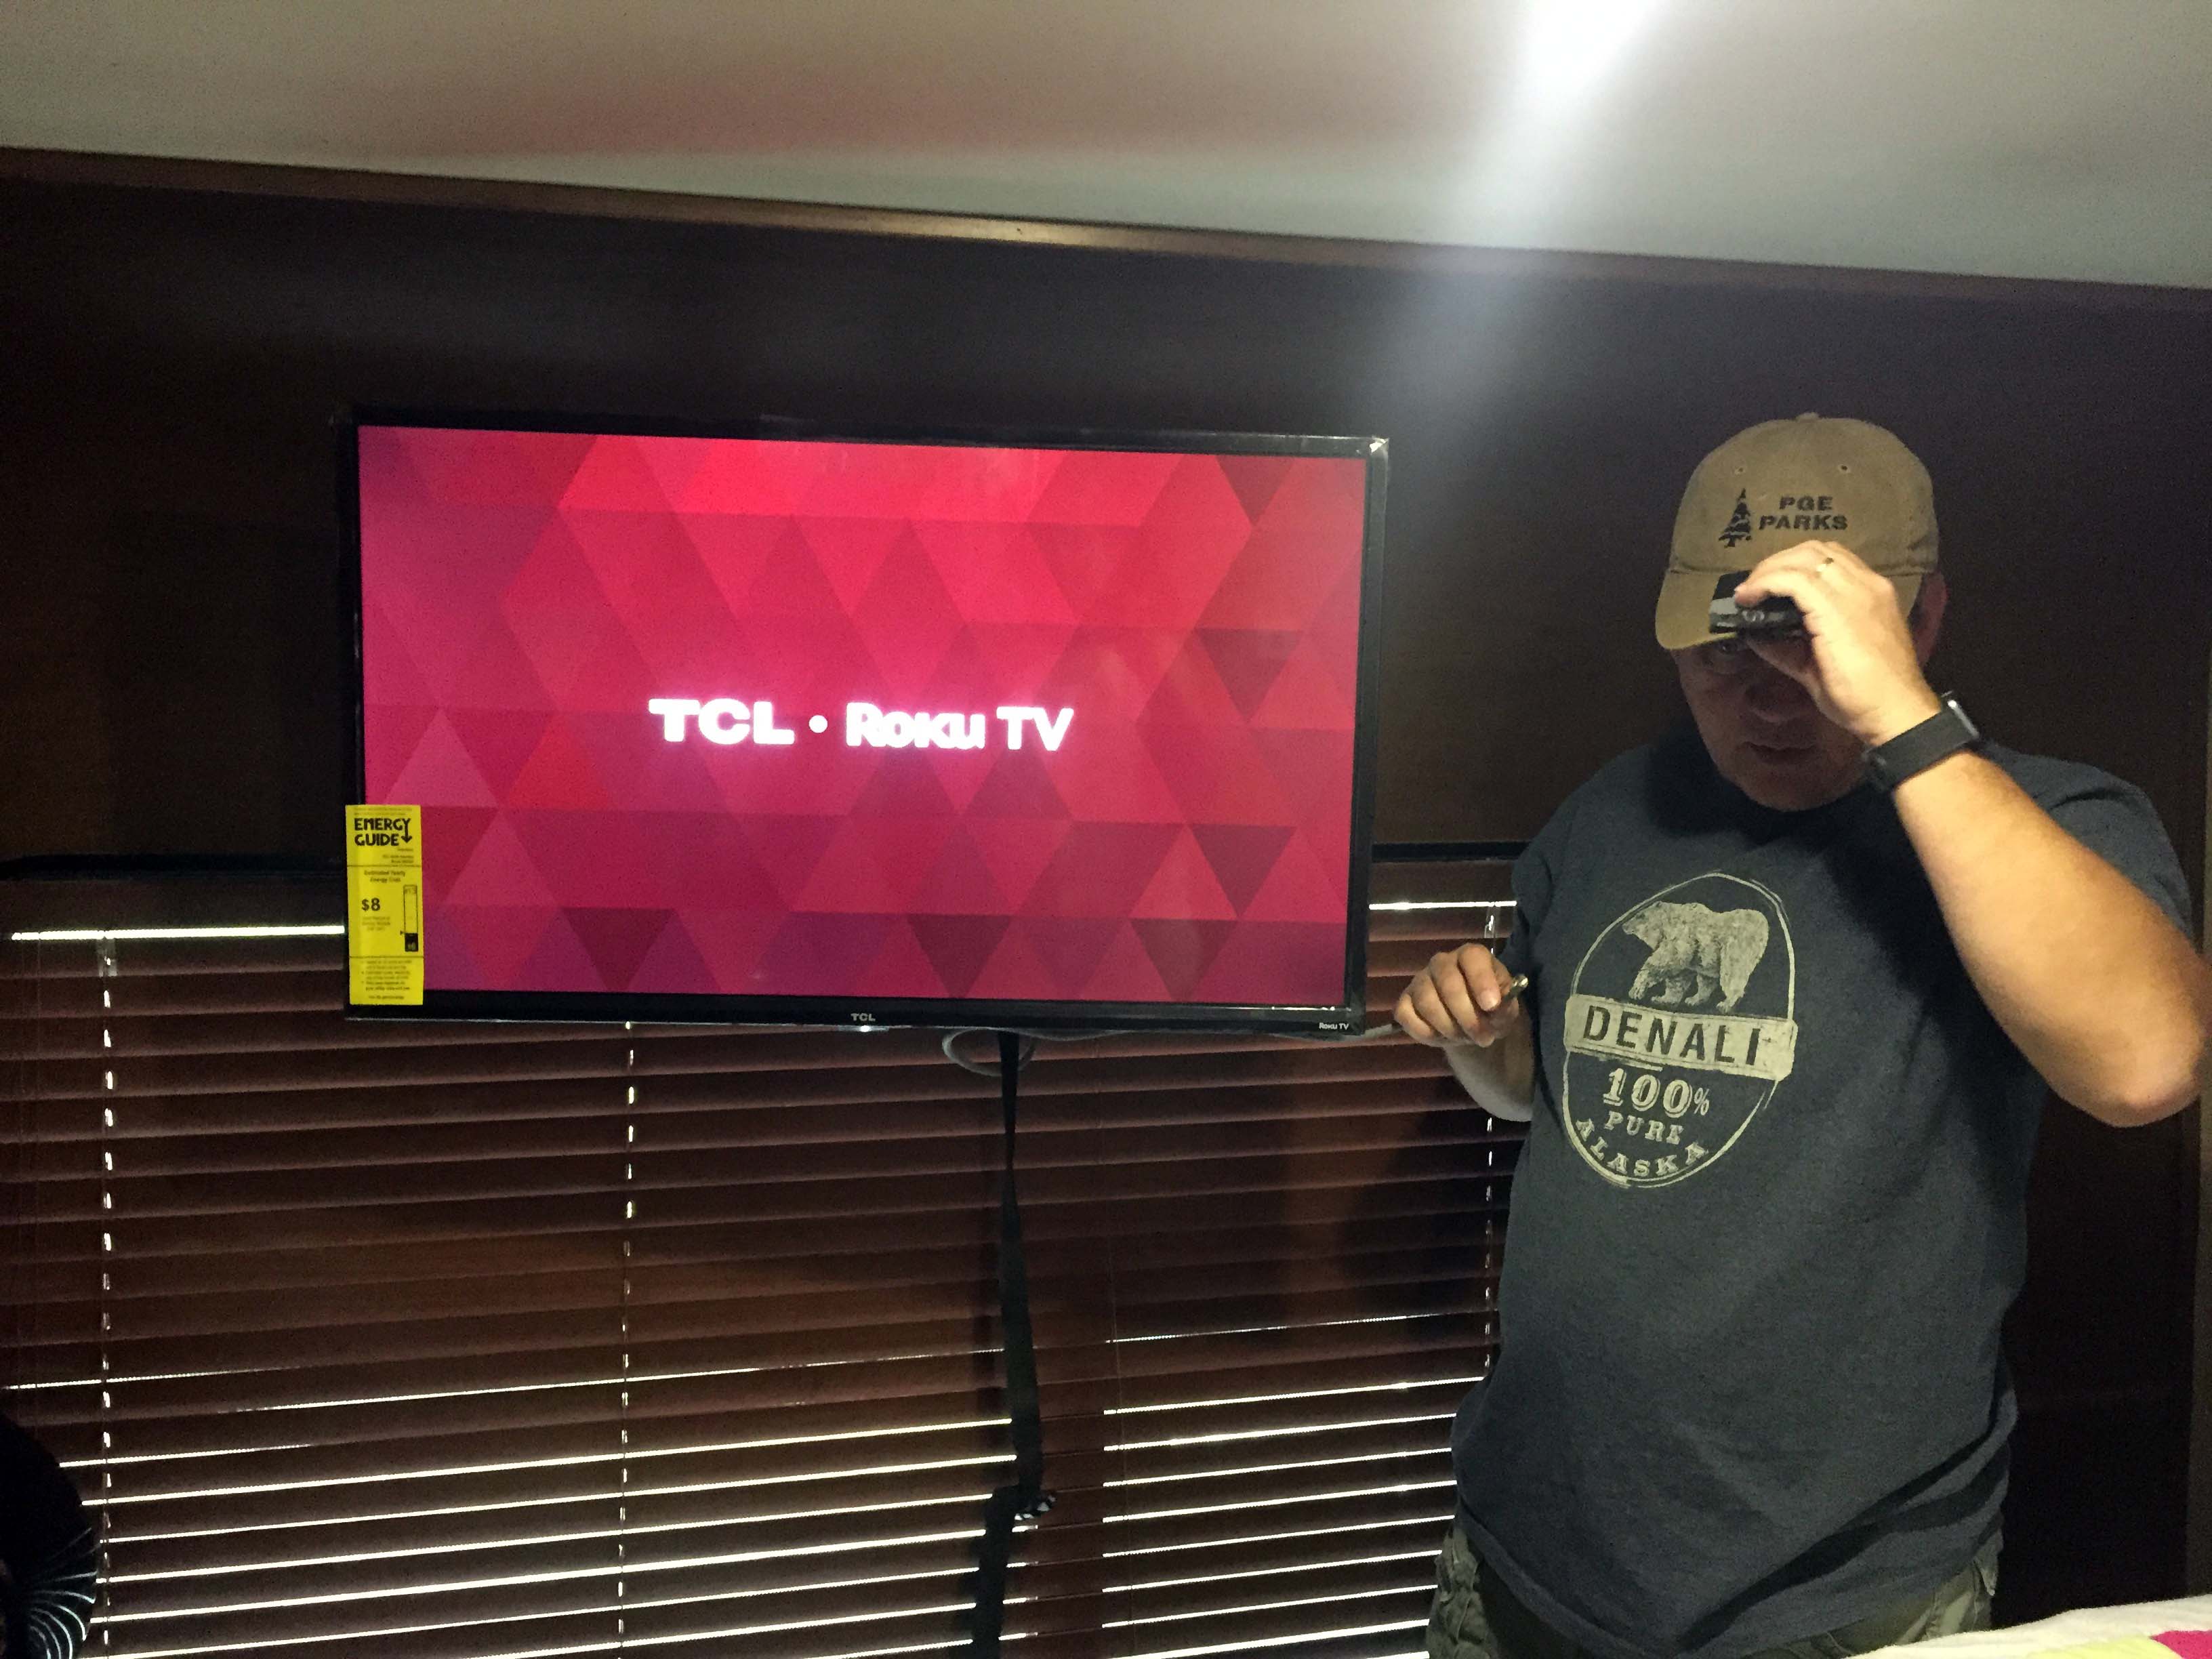
Next up was replacing our television set in the bedroom with a smart TV. (A smart TV allows you watch streaming channels like Netflix, Amazon, Hulu, etc, by using your WiFi. You can also put video files on a USB stick or external USB drive and plug it in to the TV to watch those files. – Lee) I never watch the TV in there because it is too small for me to see and Lee never watches it because he can’t use a memory stick to play files we have. Replacing the old 27″ Furrion with a 32″ ROKU TCL gave us both a larger screen and smart TV capability. Best of all it was lighter than the old one and at $140 was a bargain!! Again, big benefit for minimal cost and labor. (This was ridiculously simple, all I had to do was measure the space between the existing mount and the ceiling of the bedroom to make sure that whatever we bought would fit. I did NOT want to move that mount. Generally when those are installed at the factory, they use a large backing plate and if you remove the mount, there’s not necessarily anywhere solid enough to remount it. – Lee)

Lastly we finally replaced our microwave with a convection microwave. I remember vividly not wanting a convection oven as an upgrade when we ordered our rig, but as soon as I saw other people using theirs to bake I regretted it. Baking in a propane oven is not fun. I always said when the microwave died we would replace it with with a convection, but five years later it is still going strong. Luckily Lee did some research and learned the company who made our microwave also made a convection version, in the exact same case! This was important because it meant he wouldn’t need to do anything with the cabinetry or the wall mount. It would just be a matter of taking the old one down, and putting the new one up. The convection oven was also only $370, much cheaper than I expected it to be. So, Lee ordered the convection oven and voila! Again, something I wish we had done a long time ago.

Original RV microwave

Space once it was removed. I was able to help with this. Lee held it up while I took out the screws in the top that hold it in place. Most of the weight is on the bracket on the back wall. Once the retaining screws were out the two of us tilted it forward and lifted it off the bracket together.
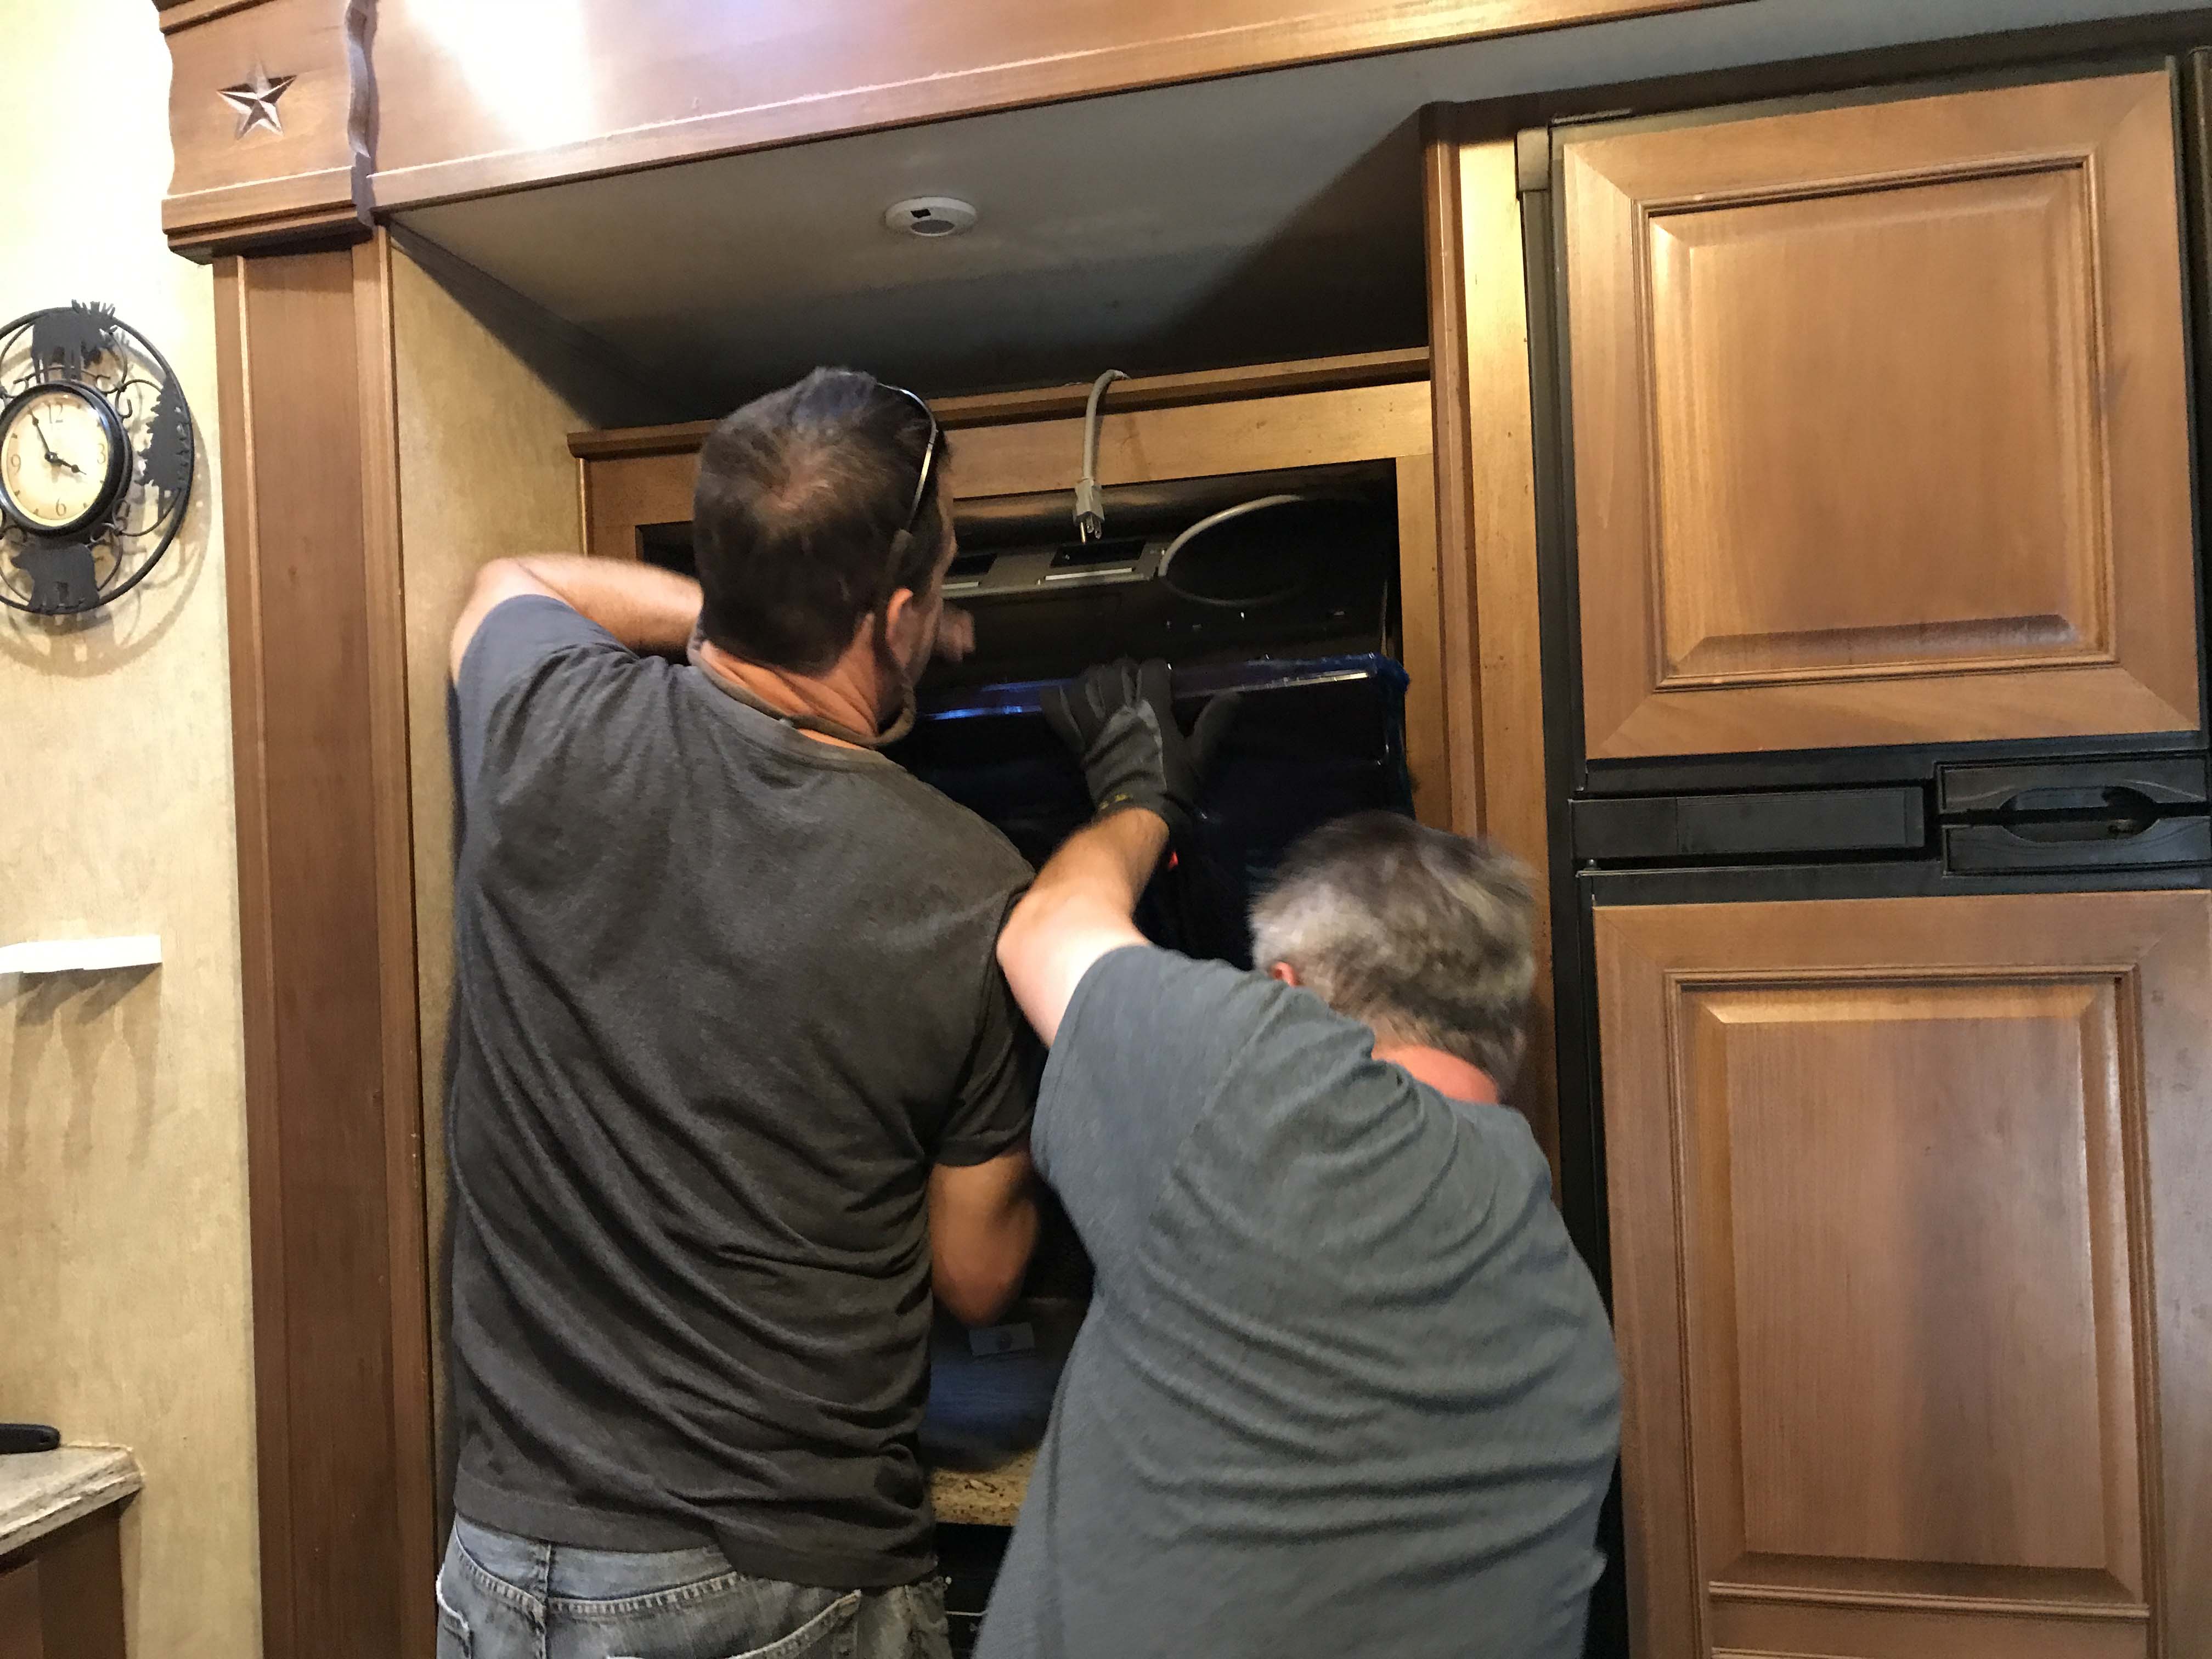
The one thing I will say about this change was having two strong people really helped when we put the new one up. It’s possible Lee and I would have been able to do it, but having Greg who is both tall and strong was a definite benefit. There is a metal hanger that the old one slid off and the new one had to slide on. Once it was on the hanger one person had to hold it while the other screwed it in. It’s a tight space and the convection oven is a bit bulky so Greg really helped.

The guys bringing in the new microwave
It was hard to slide it on the metal lip

Voila!!!
None of these jobs was particularly difficult, but you have to know what you are doing. So far I really like the convection oven. I baked cookies and egg rolls and they both came out really good. I was a little intimidated at first so I read the manual, and it is important that you use the right cooking containers depending on which setting you are using. I even watched a couple of You Tube videos, which helped a little, but they both said to adjust the temperature down from the recipe. I didn’t find that necessary, however, and used the same temperature and cook times that the recipe called for.
Next up we reclaim some extra space by removing our RV oven and cooktop. This is a much harder job, and as such will be getting it’s own post. Stay tuned!
Supporting our Blog
We very much appreciate your support of our blog.
- As an Amazon Associate I earn from qualifying purchases. Search Amazon Here
- You can purchase the ebook telling the story of how we became full-time RVers.
- You can purchase our recipe book filled with 80 recipes we have cooked in our RV and taste tested by Lee himself. You can purchase the kindle or paperback version on Amazon or buy the Apple version on Itunes.

Great way to reclaim space, will have to look at that in our next RV, current RV is pretty open under the bed but the next one we’re getting ready to order doesn’t have nearly the same space available.
Hint on the convection oven, parchment paper in the baking pan helps food turn out more crispy and makes the clean up so much easier! We love our convection oven, deliberately choose an RV without the propane oven and gained 2 extra drawers in the kitchen, so we’ve already decided the next RV will not have a propane oven. We’ve also found that we have to set our oven 10 minutes higher than the recipe for it to bake in the normal amount of time, so the “rules” that say to set it lower seem to vary based on the actual unit.
Awesome work!
Big changes to your living space.
On Mon, Oct 7, 2019 at 8:20 PM Camper Chronicles wrote:
> Lee and Tracy posted: “When you are working and traveling, it isn’t often > that you have the time or money to make modifications. You think about > them, but real life usually gets in the way and they just don’t get done. > (No matter how interested I am in doing these things, I am” >
Furrion’s claim to fame is their ability to take the extremes of being in an RV. I own a couple TCL TVs in our home and I love them. I’m typing on one now. I”m curious to see how they hold up in your RV. Keep us posted. Thanks.
Our we replaced our big Furion that developed a major image problem and so far the Sony is fine. Fair point though. Lee by the way thinks there isn’t as much vibrating in the RV as people think there is and he also doesn’t believe these RV specific products are any different than any other. Obviously that is our opinion but if it’s true I’d love to see the data proving it.
Pingback: Removing the RV Stove and Creating a Cabinet – Camper Chronicles
We love our convection oven too! The new RV has a propane oven as well and we’ve never used it. (our old rv didn’t have one so I’m used to using the convection one). I wish we could remove/replace our propane oven with drawers. Can’t wait to hear how “easy” it is.
Pingback: October 2019 Budget – Camper Chronicles
Pingback: Sixth Year – By The Numbers – Camper Chronicles
We are on year 2 of our full-time journey. We have an 2019 Open Range 376FBH. Our oven, microwave area looks almost identical to yours. We’ve been looking for a replacement for the standard microwave. Any chance you have the link to the model convection oven microwave you bought to replace yours?
Congrats on your two years. It’s a High Pointe and Lee says they are hard to find. Model EC942KIW. Lee thinks he bought it from the RV Upgrade Store