
Again written by Lee – Trace
For those of you who aren’t interested in all of this stuff, just scroll to the end.
Previously, on Camper Chronicles…..
If you didn’t read the first post about this, here’s a speedy recap. For those of you suckers who read the whole saga, you should have just waited and read the recap, and saved yourself a bunch of time.
I decided to fix a minor leak in the fresh water tank, and also decided while I was at it to go ahead replace the belly pan, the fresh water low point drain valve, extend the outlet of the valve to a more convenient location, replace the fresh water vent valves, install a See Level tank monitor system, and add better insulation. (Basically a one day job turned into a multiple day job. Don’t get me wrong, I appreciate it when he fixes things, but this felt like the never ending project. – Trace) While I was under there I discovered a design flaw that was causing my fresh water tank to sag quite a bit, so I had to come up with a solution for that. Before I could do that, though, I needed to install the See Level first, for logistical reasons.
The See Level System
If you’ve never had an RV, it might surprise you to know that even though they come equipped with sensor that tell you how much fresh/gray/black water is in the tanks, the sensors in the black tank usually stop working the first time the tank is filled. Toilet paper and other……gunk gets on the sensors and they give false readings. The gray usually stops working a little while later. I hate that, and I’ve been wanting to install a See Level for a while now. Those sensors mount on the outside of the tanks, so they don’t get gunked up, and they give you a percentage reading of how full the tank is, as opposed to the Empty, 1/3, 2/3, Full options of the standard monitors. And since they mount on the outside, there’s no need to remove the old sensors.
Another great feature is that they use the existing wiring that your current sensors use, so not only do you not have to remove the old sensors, you don’t need to run new wires. You just snip the old wires from the original sensors, and splice them to the wires on the See Level sensors. See Level is available in a wide variety of configurations for just about any rig arrangement, so you will almost certainly be able to get exactly what combination of tanks/LP/monitors/pump switch options you need or want. We have 1 each of fresh, gray and black, and the model I got includes those, battery voltage and a button for LP, which I didn’t hook up, because I didn’t need it. The SL “senders” are basically flexible circuit boards with a series of sensors on them. You actually cut them with a scissors to the exact size you need. Before you order them, you need to know the height of your tank, and if your tank is taller than the tallest sender they have, you can stack them. Once you know exactly what you need, and you’ve ordered and received them, installation is actually very easy. Taking the belly pan off was more of a pain than this install.
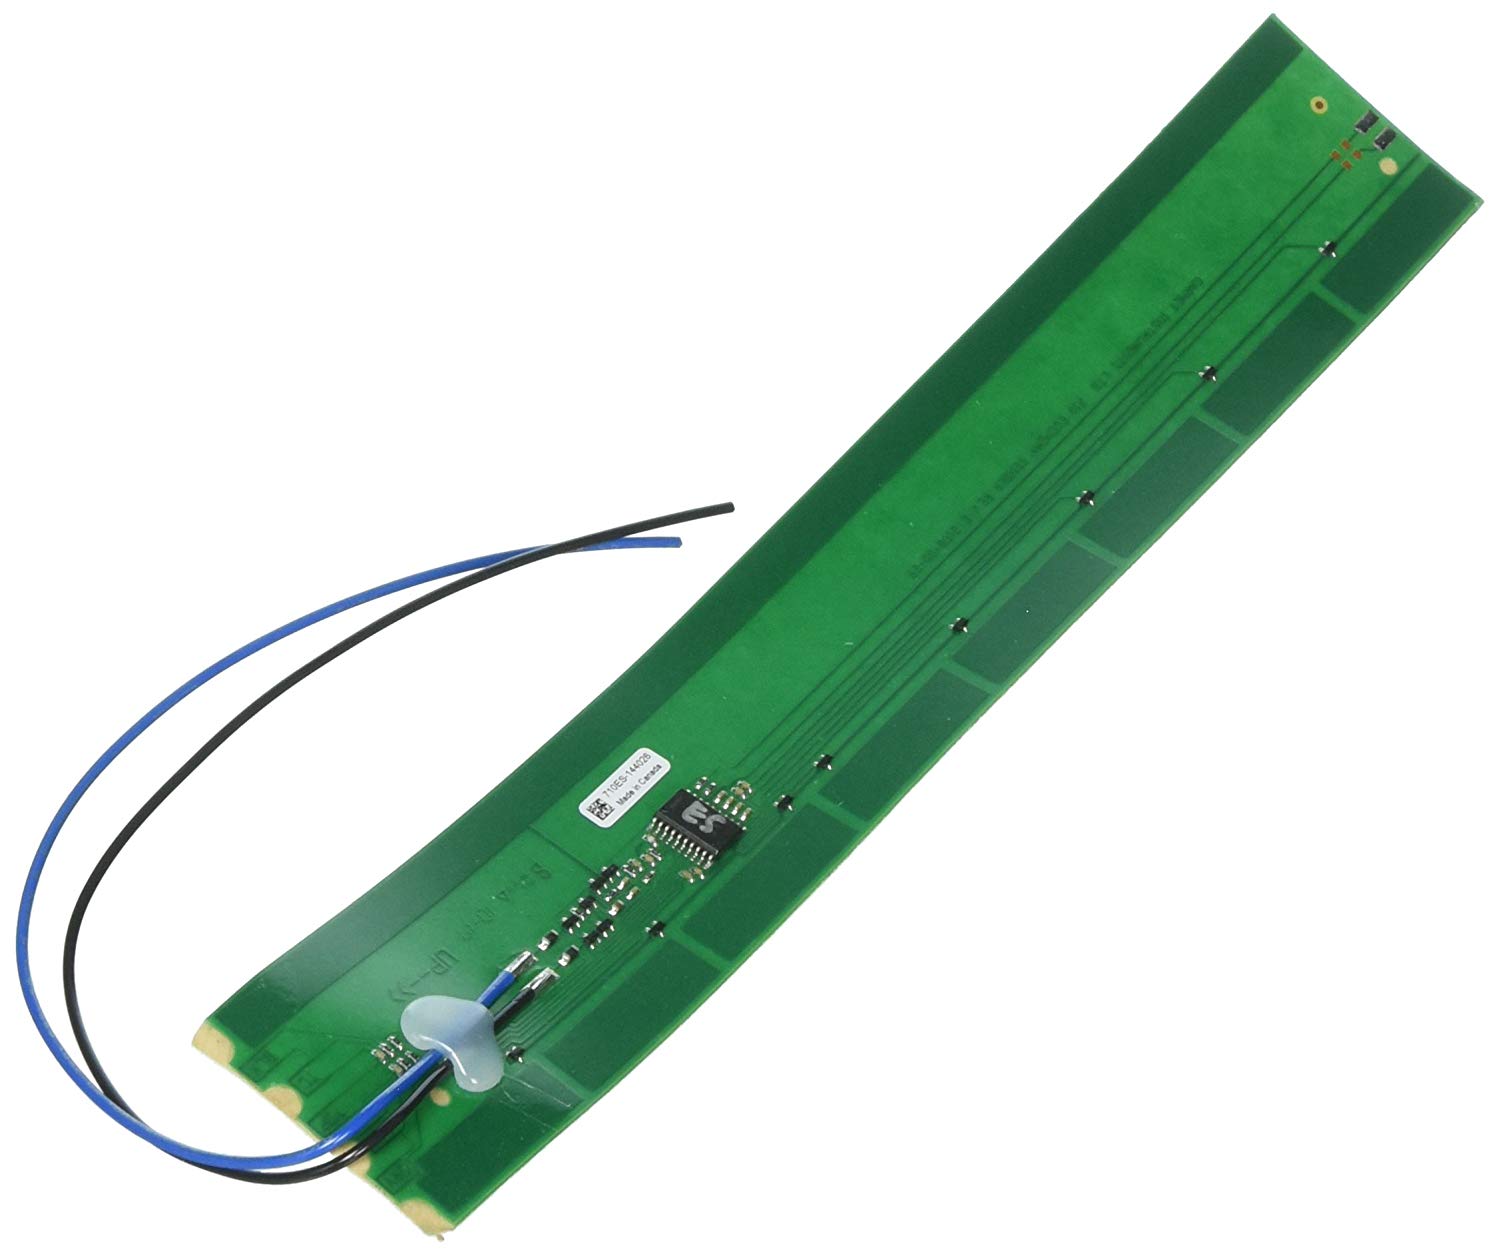
If you look at the picture above, you can see a row of dark rectangles along the right edge. If your tank is shorter than the sender, you cut it to size between those dark rectangles, which are the sensors. Then you prep the tank by cleaning it really well, and using painter’s tape to tape the sender to the tank for testing. The senders have a very strong adhesive back, but once you place them it’s very hard to remove them so it’s best to test everything to make sure the placement works before committing the adhesive. The wires get connected to the positive and negative from the original wiring, and then at the control center end your wires get connected to a harness that goes to the back of the display. As long as everything shares the same ground connection, the system will function.
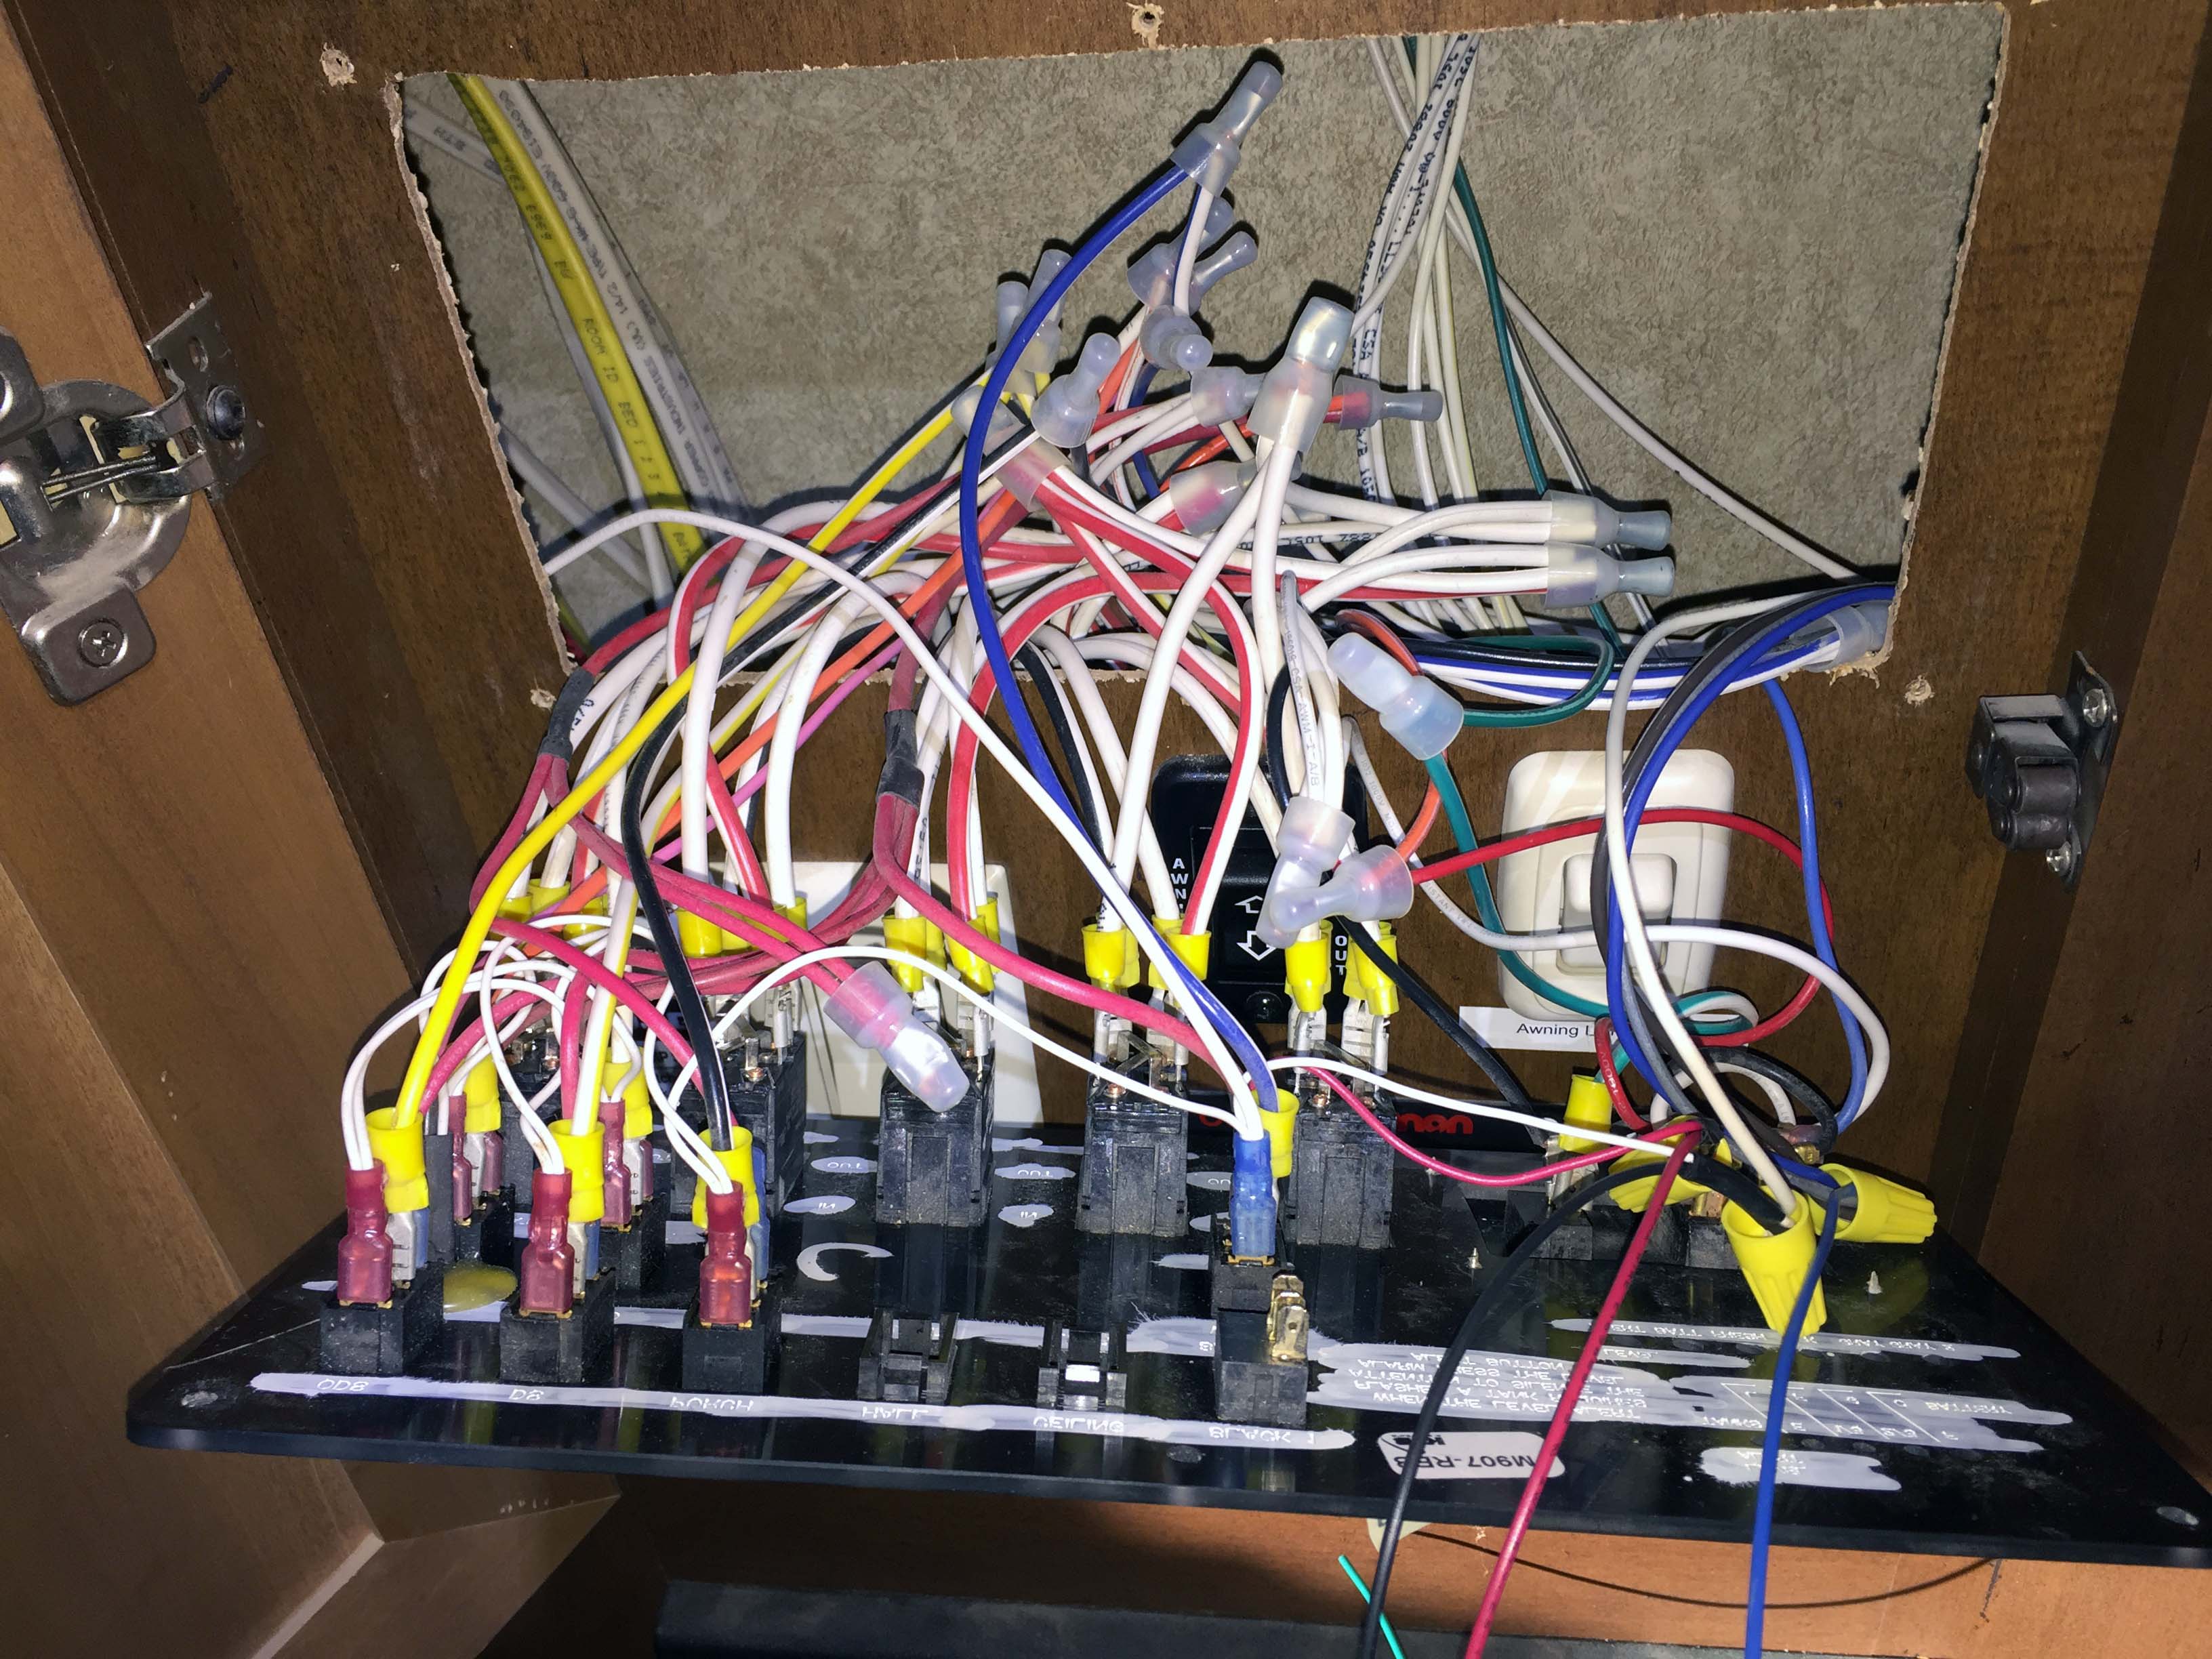
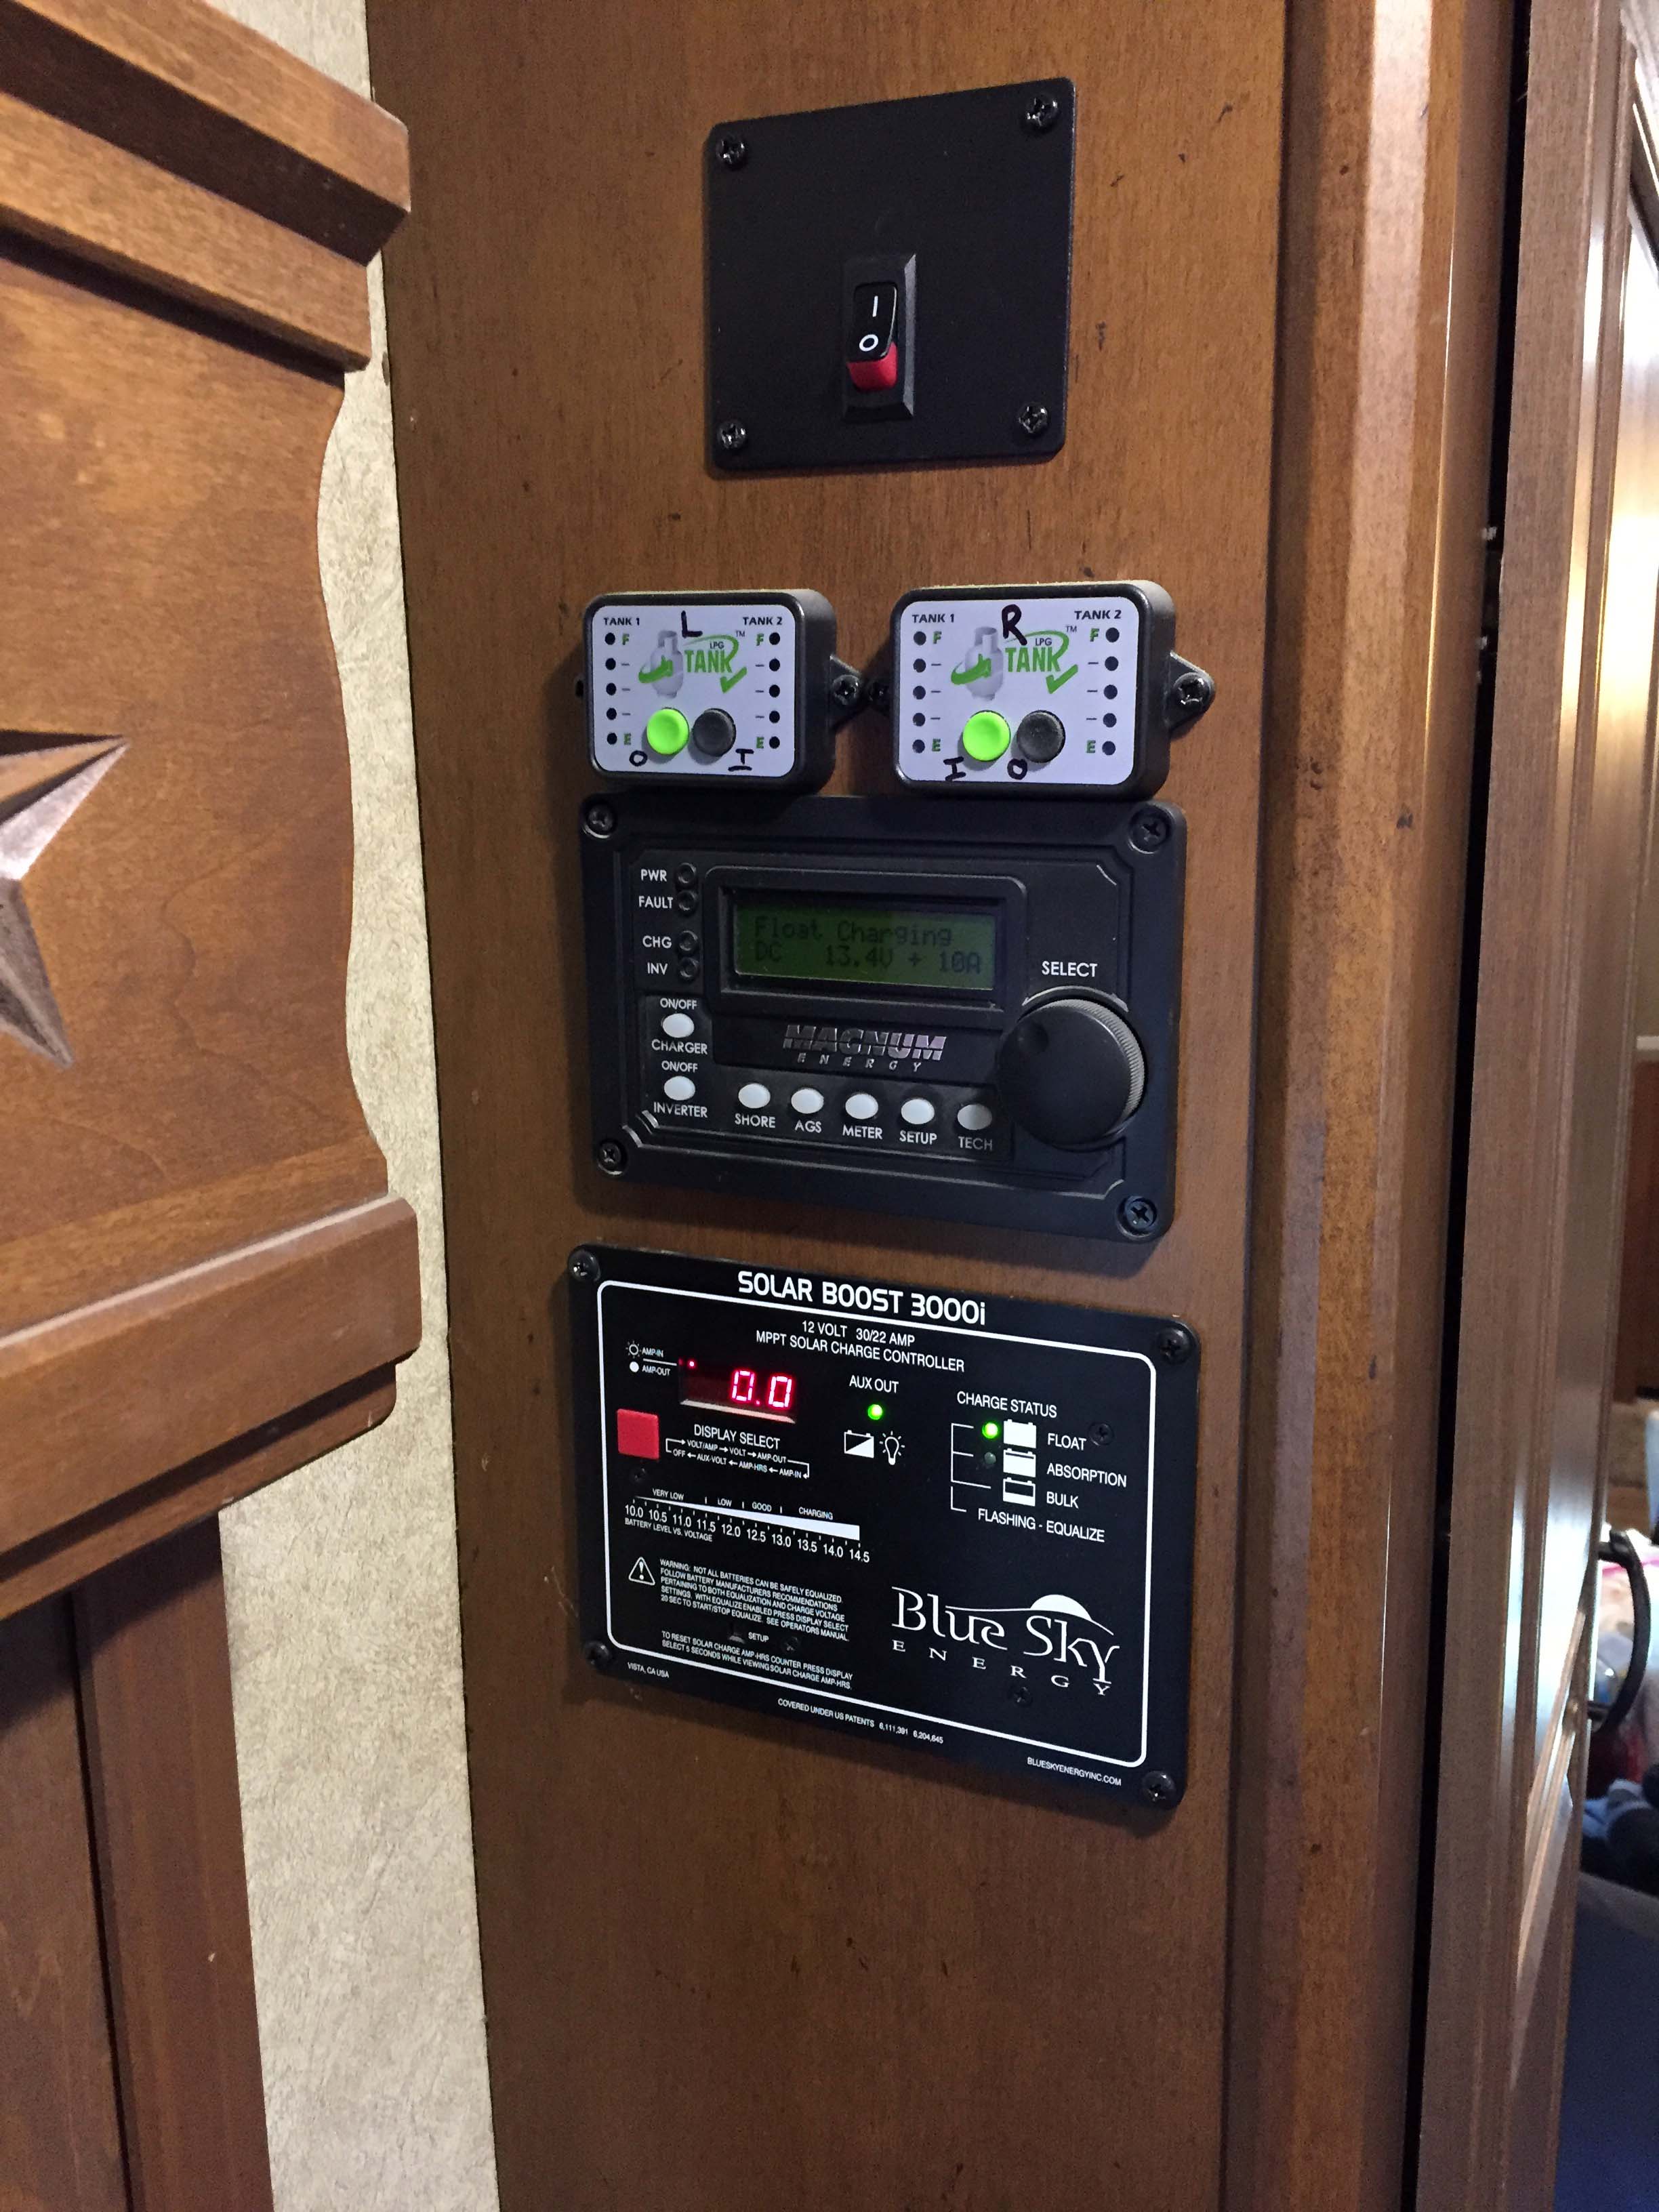
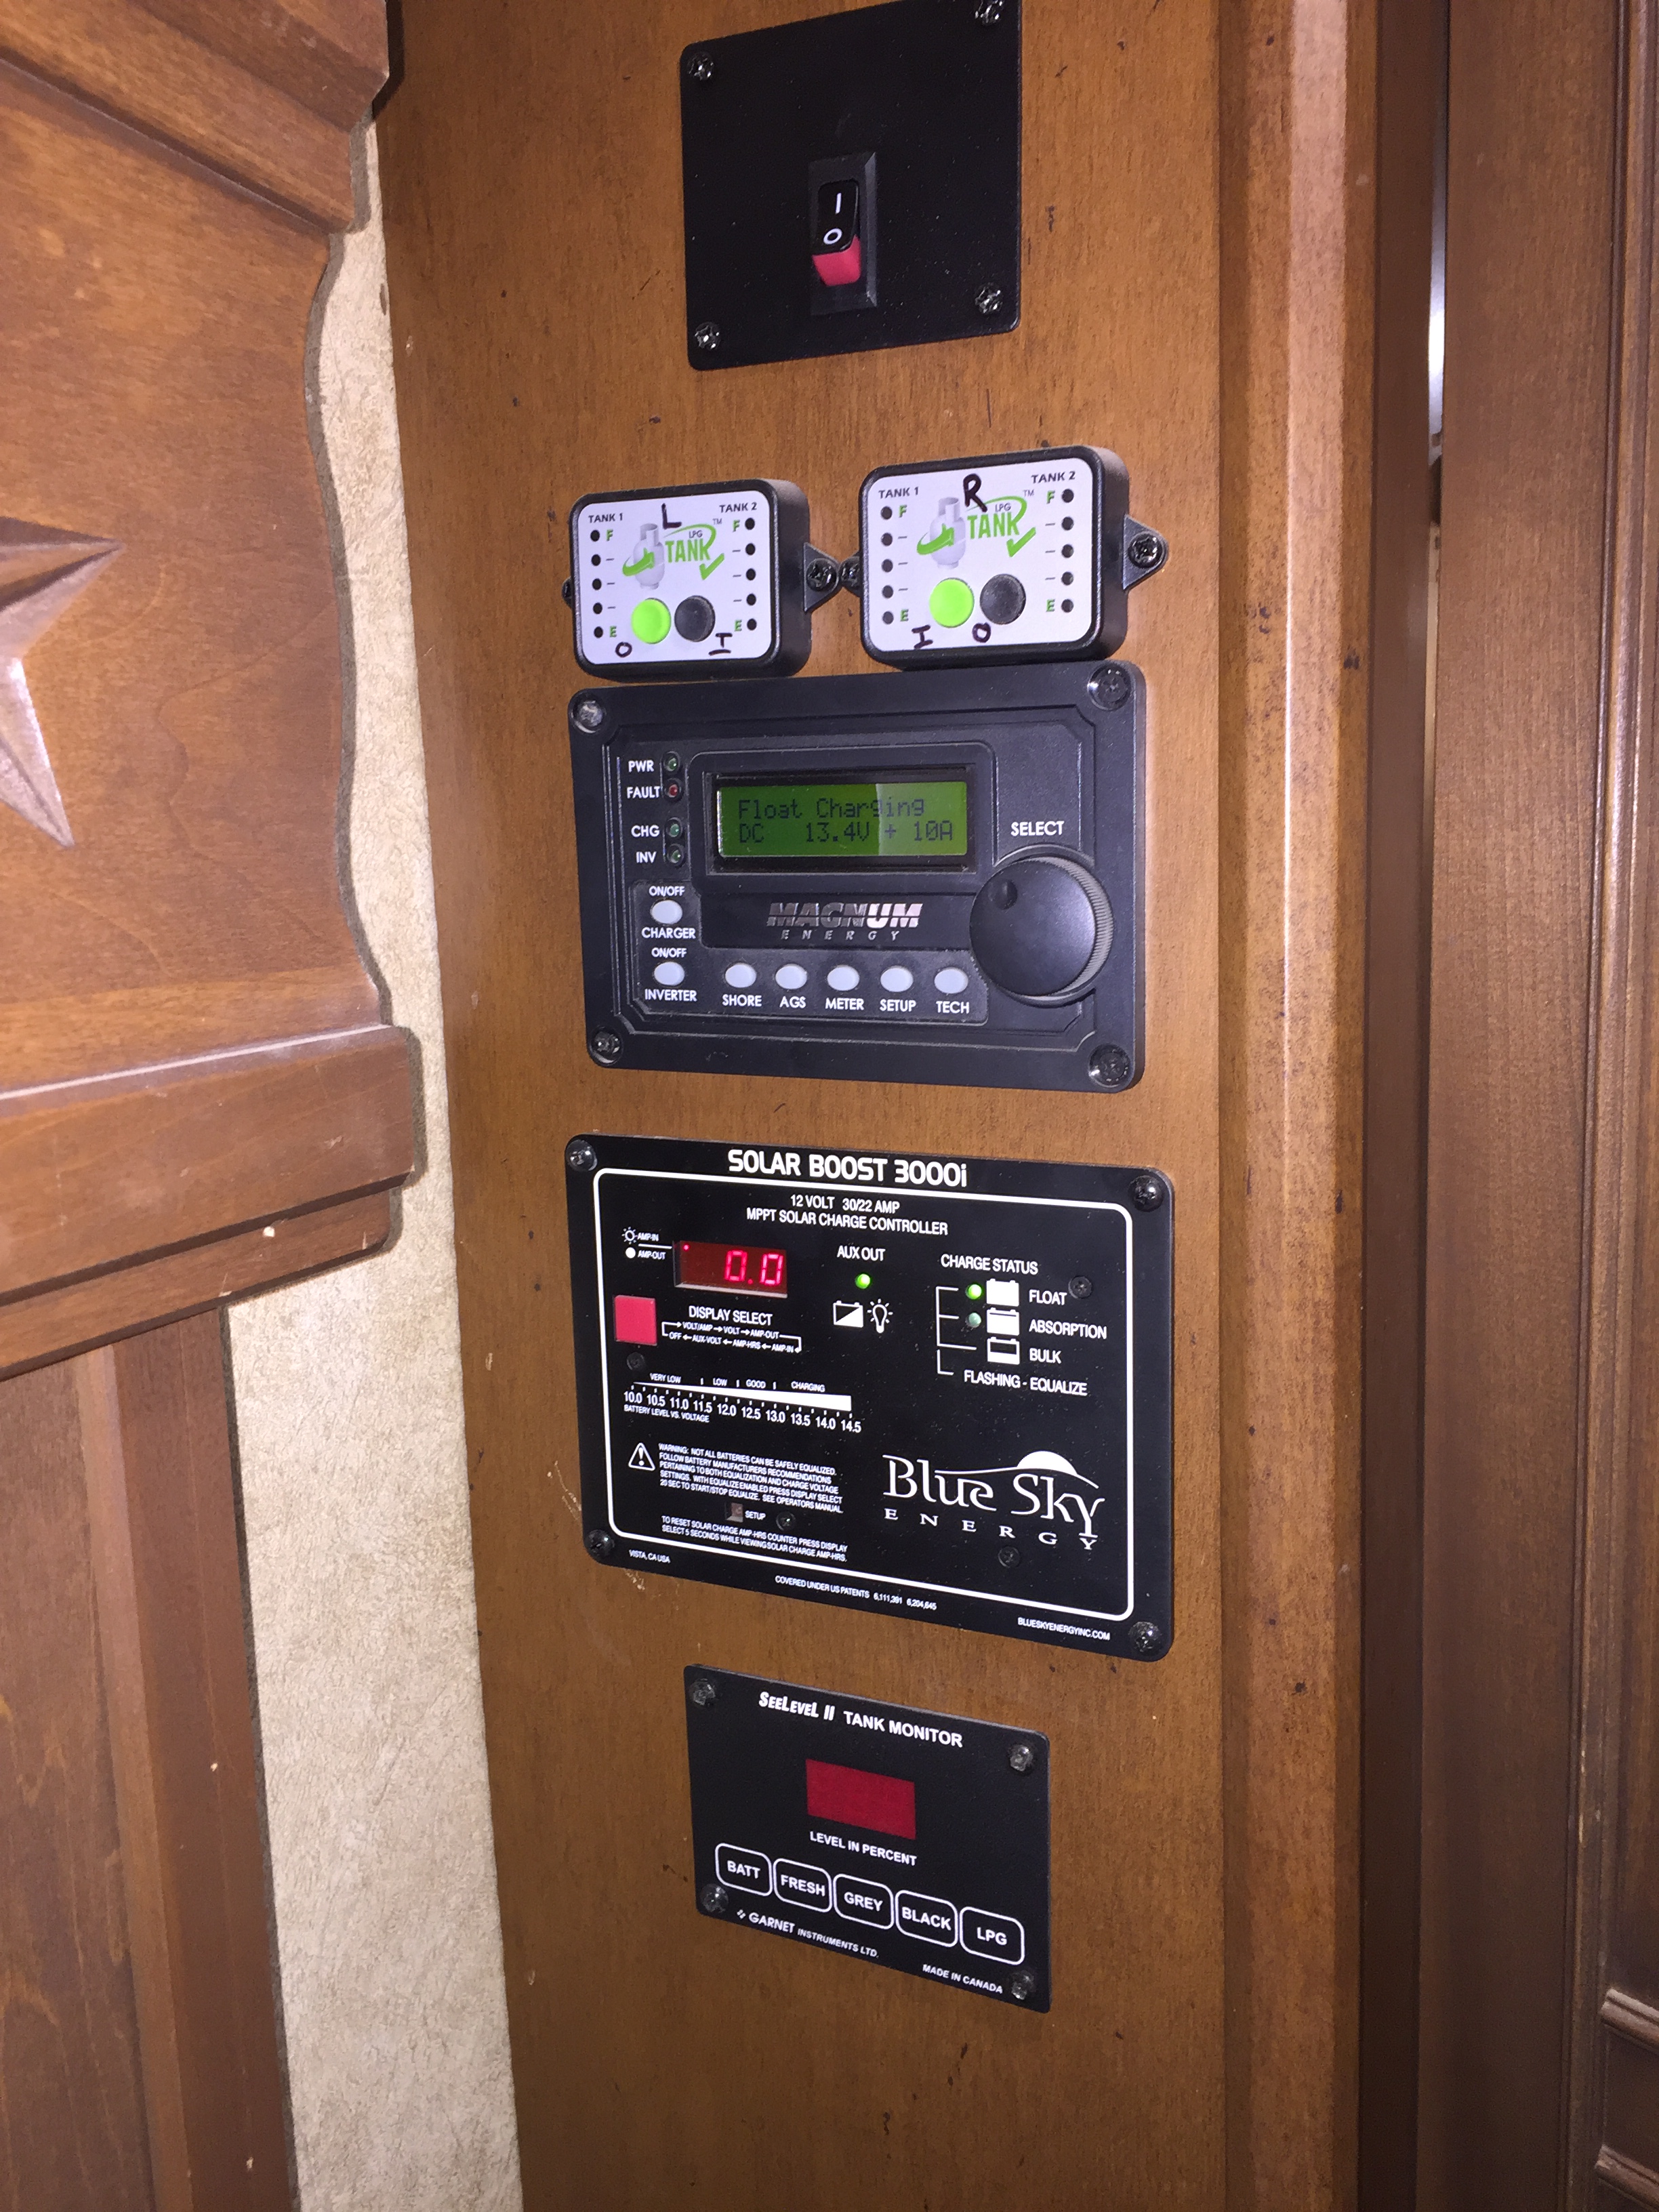
Above is the back of my control center. I needed to locate and snip the wires from the original display, which was top right on the panel, lower right of the picture. The red, black and blue wires you see there are the wires going to the new display so I could test it. I decided to put the display inside, instead of in the convenience center outside. I thought the best place for it would be on the side of the cabinet along with the solar displays, the Winegard switch, and my LP tank monitors. The existing control center is already crowded, plus there’s a nice cable chase where all that solar and other stuff is, so fishing the wire would be easy.
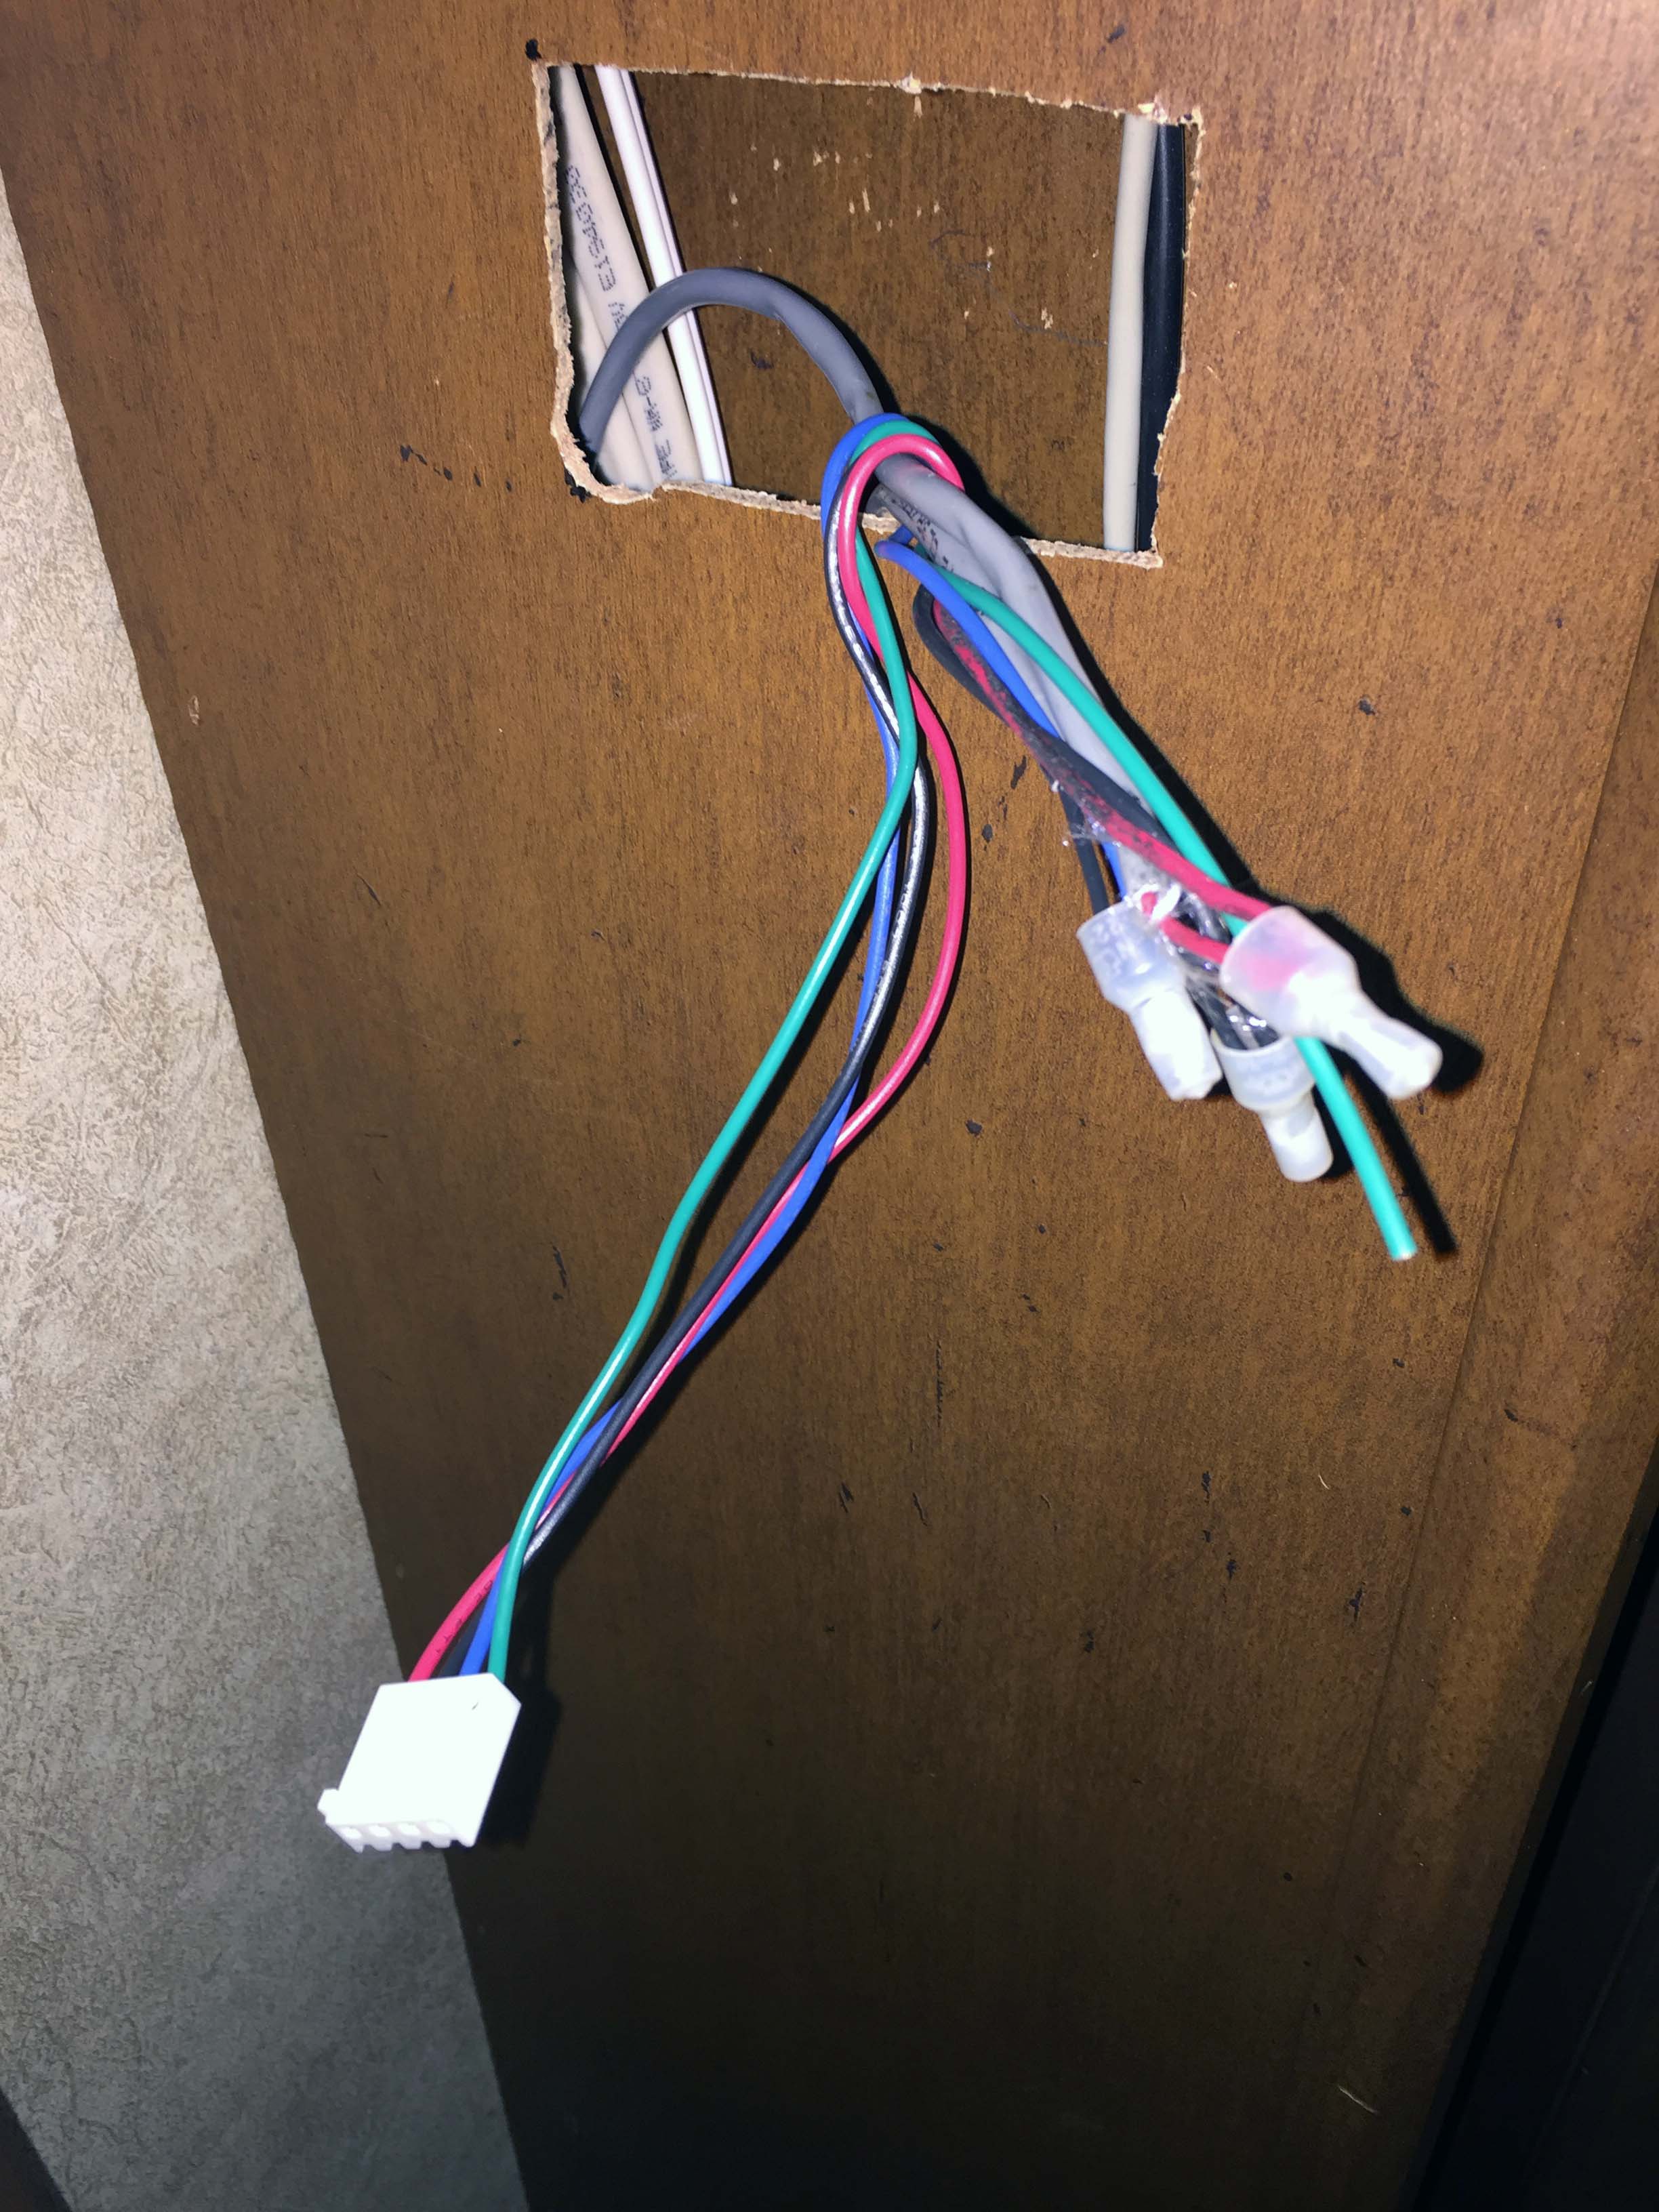
The scariest thing, as always, is putting a hole in the rig, so I carefully measured and used a drill to do the corners, and then a fine edge rat tail saw to make the display hole as neat as I could. My biggest concern apart from screwing up the cabinet wall was cutting into something else by accident, so once I got the corner holes drilled I used my little scope camera to peek inside to see what I might be hitting. Sure enough, there was a fair number of loose wires in there, so I was extra careful when cutting, and as soon as I had enough room to get a finger in there, I used a pinky to hold the wires back away from the saw. Here you can see the wires lurking inside waiting to cause havoc.

Once I had the hole ready, I fished the wires up and hooked everything up and then tested the system.
Everything worked perfectly, so I completed the installation of the display and then went back to the tanks to finalize those senders.

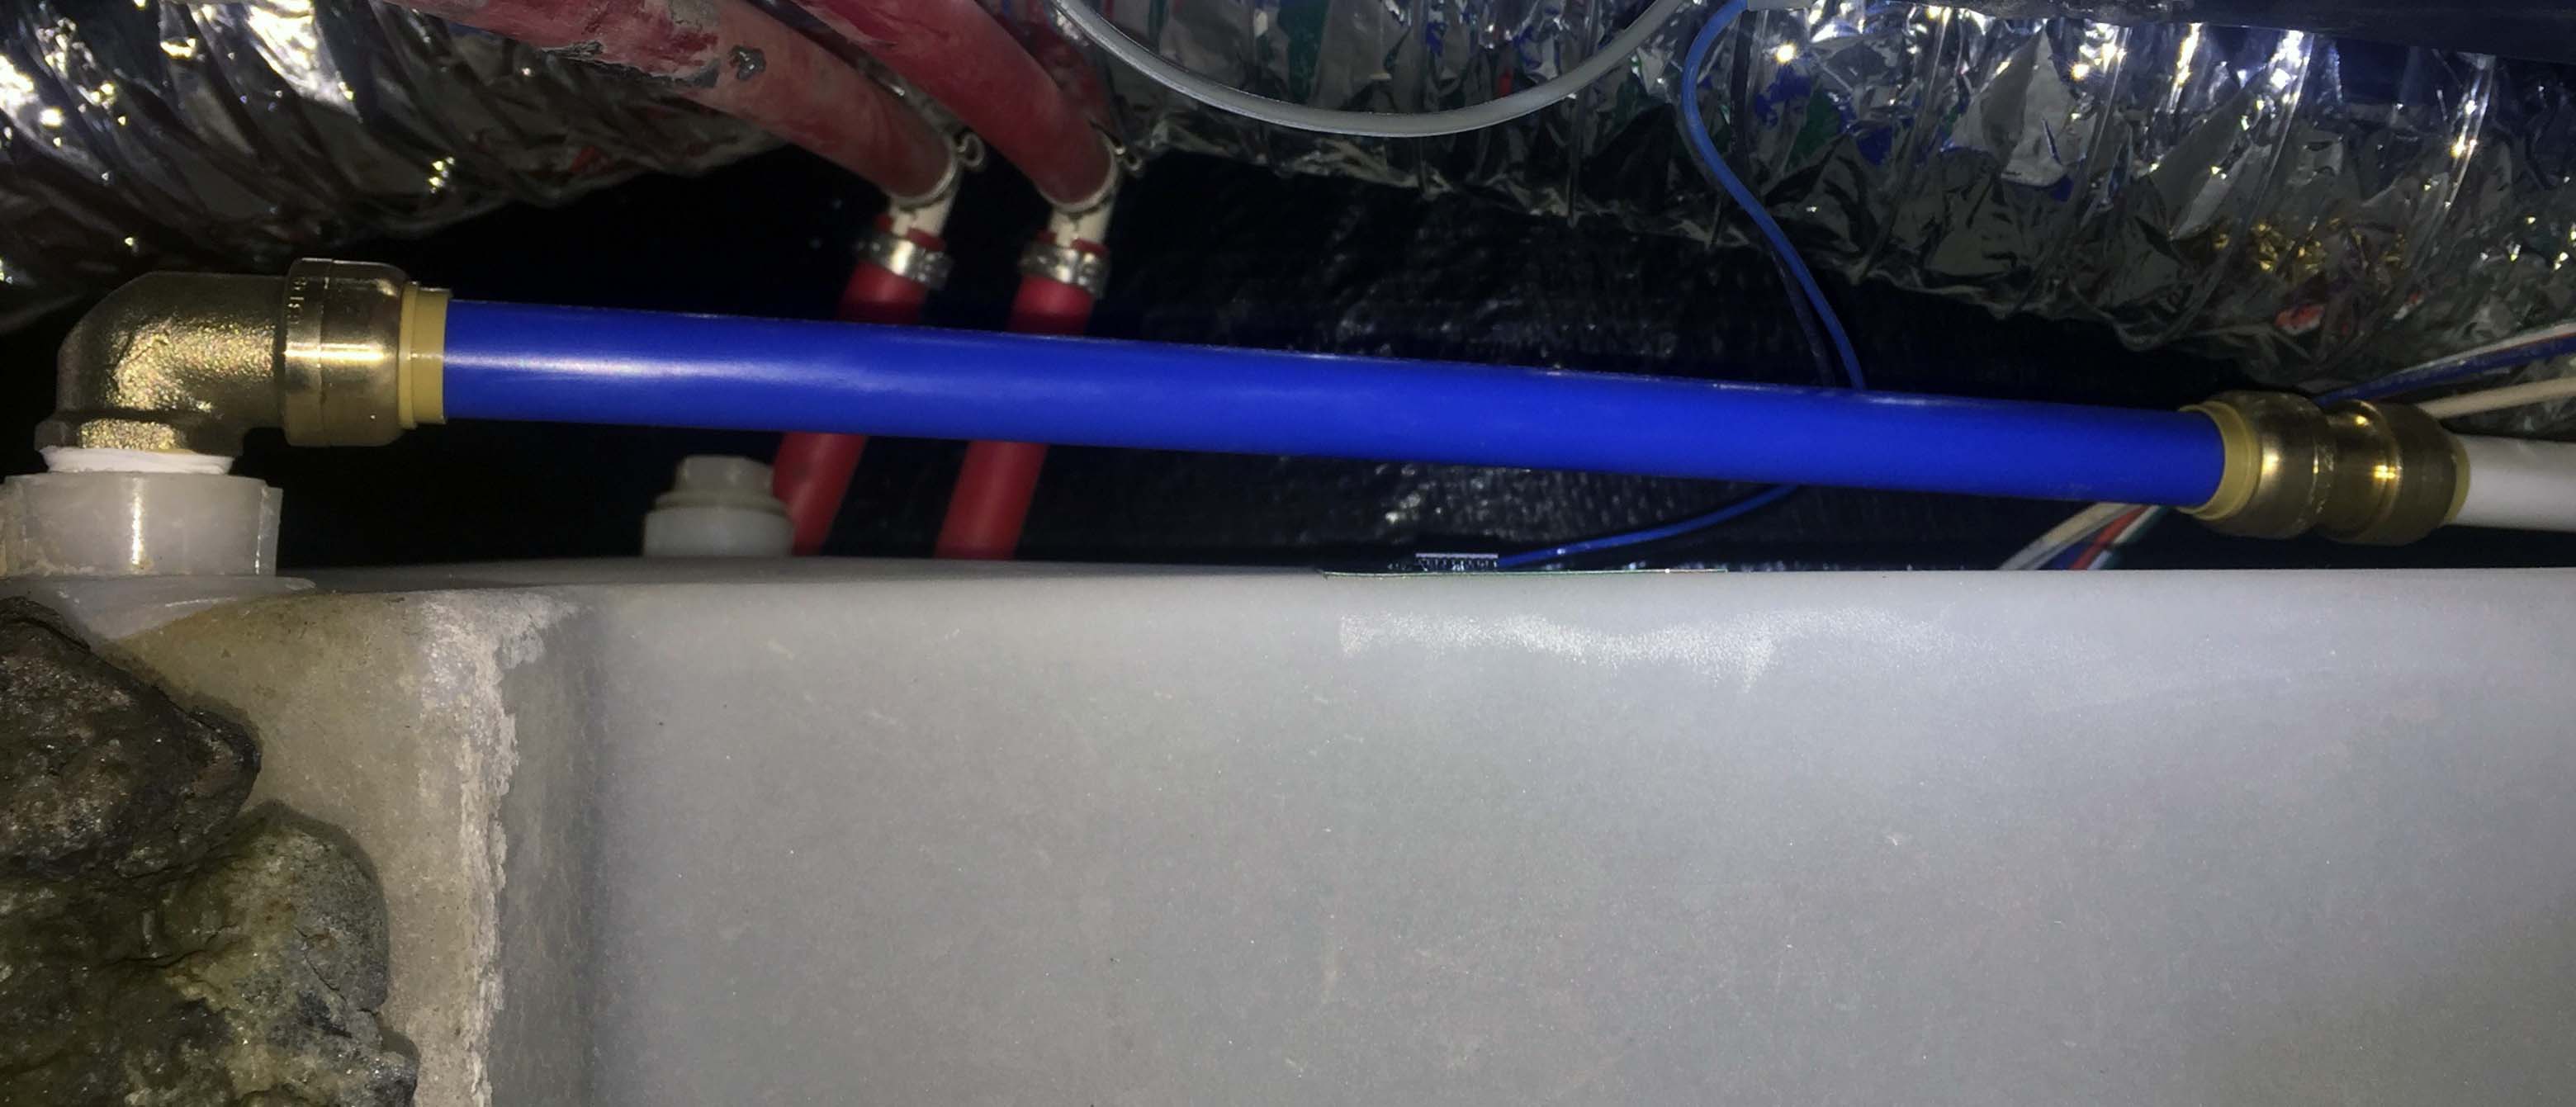
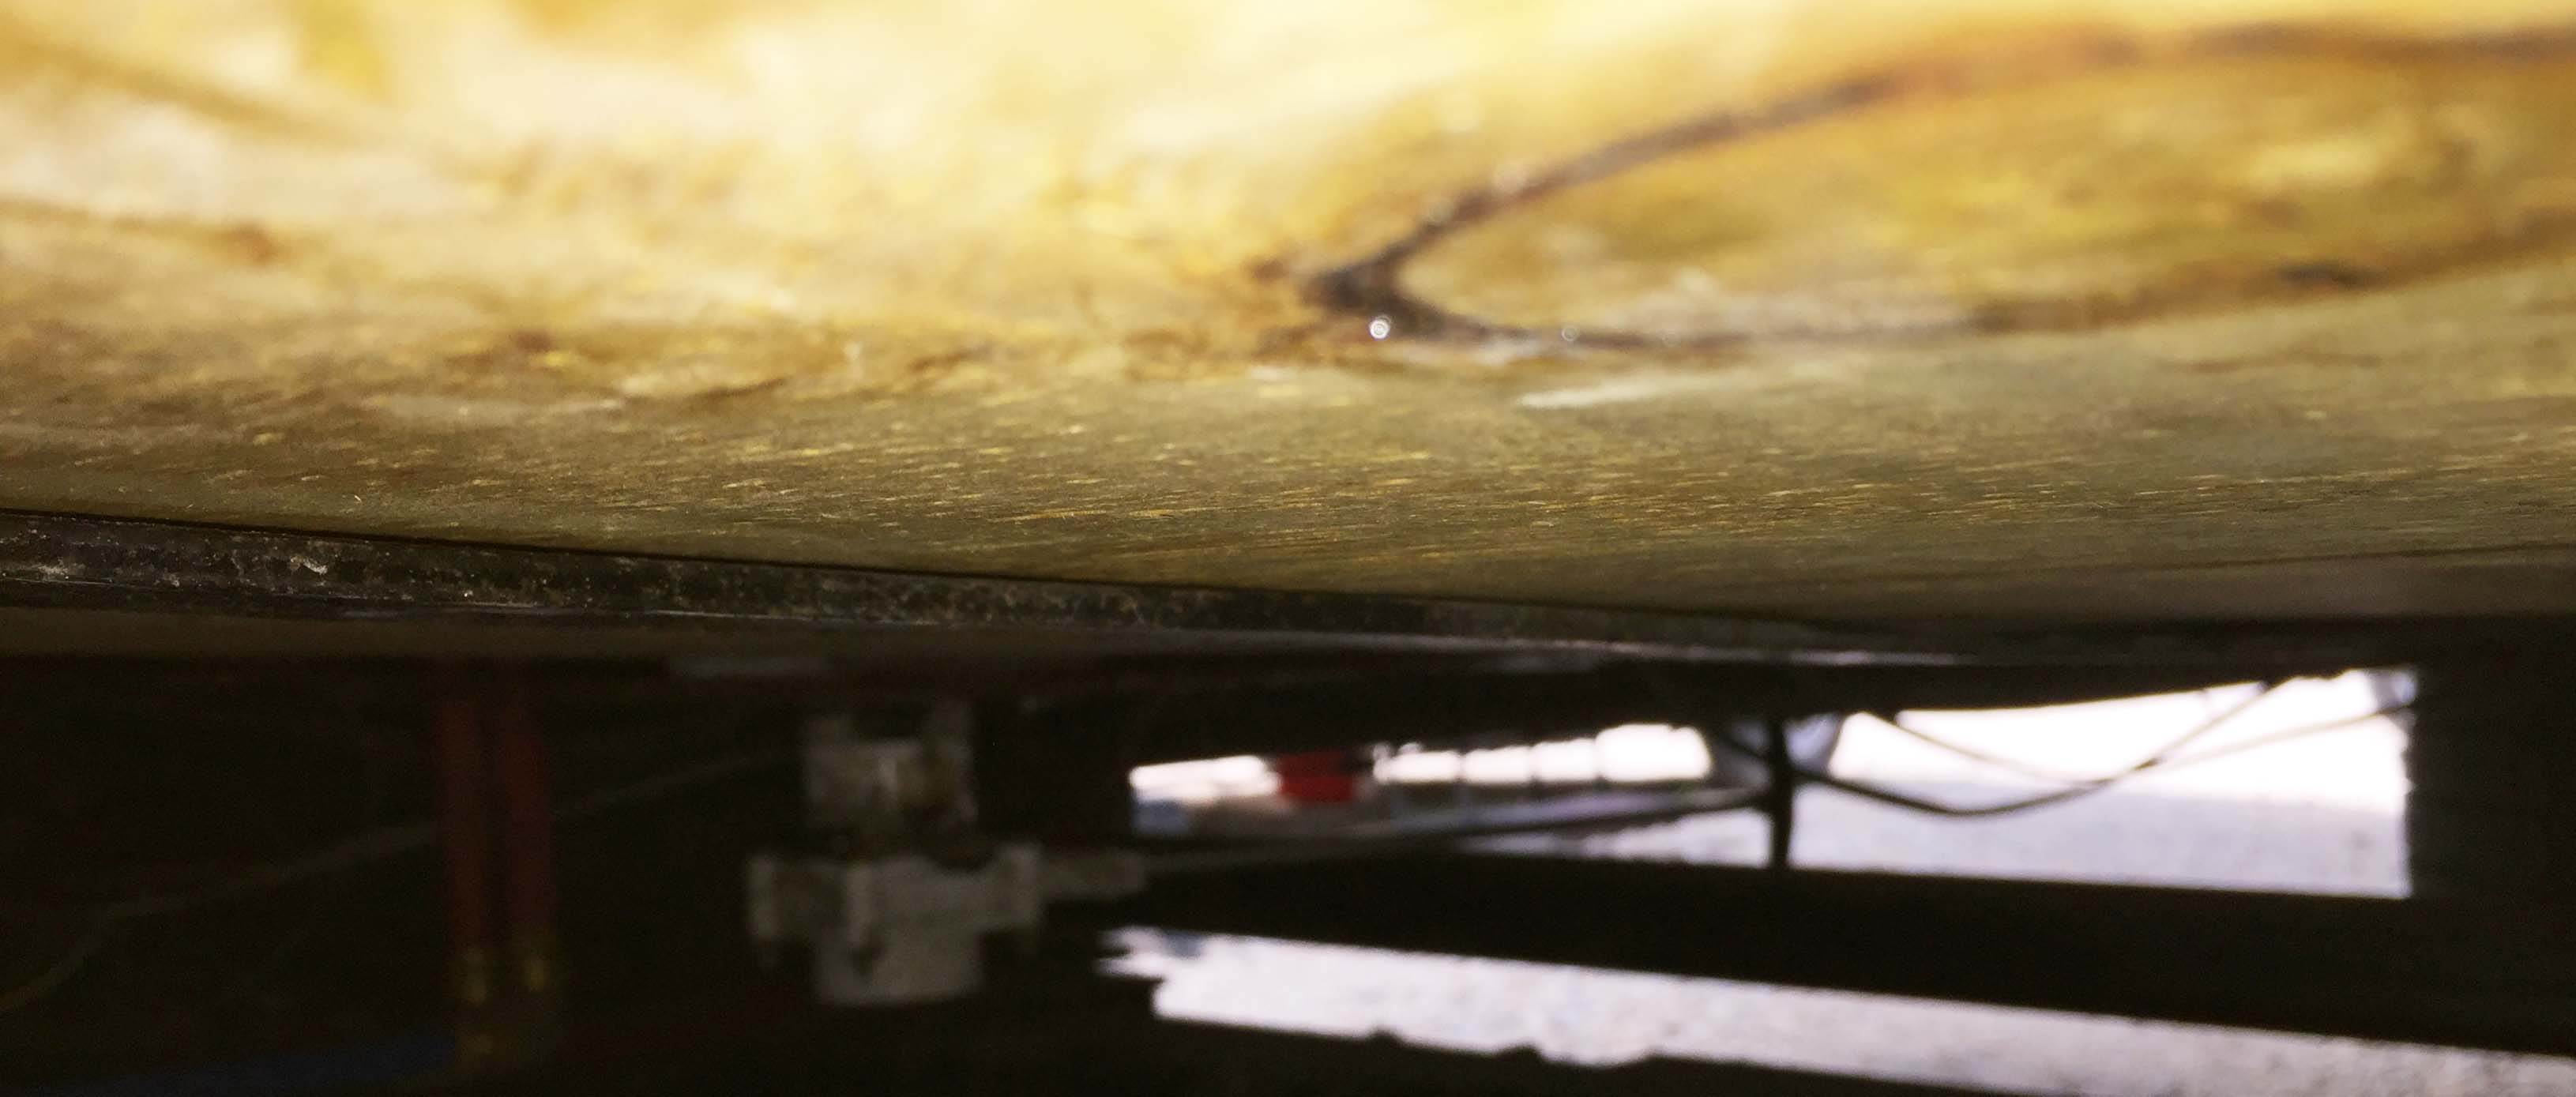
Sadly, I was so involved in being extra careful to place those senders in exactly the right spot and secure the wires that I completely forgot to take pictures of the senders on the tank. I do have one image of the fresh water tank inlet repair where you can just barely see the sender.
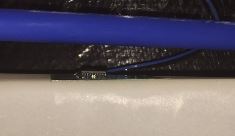
Here’s a closer shot where you can see it a teeny bit better:
Like I said, it’s very simple, and so far it is working well consistently.
Once that was all done, I was comfortable testing the replacement fitting on the fresh water tank for leaks. I put twenty gallons of water into the tank, waited an hour and no leaks. Excellent news, which allowed me to start work on the fresh water tank sagging problem. My first thought was to just add more straps, but I realized that would be a ton of work drilling through all that steel and sourcing new straps, etc. It also occurred to me that I would still get sagging between the straps. There was several inches of headroom above the tank, so I decided to use 3/4″ plywood across the straps covering the entire length and width of the tank. Measuring and cutting was the easy part, but getting a 5′ x 4′ piece of 3/4″ plywood under the rig and then laying on my back and getting it up onto me and then up above the axle and between the straps and the fresh water tank was a bit of a challenge. (I will mention here that I did offer to help, but he has his teeth in the project and politely declined. Didn’t want you to think I was laying around eating bon bons while he was working so hard 🙂 – Trace). I unbolted one side of the straps and sort of let them hang down like a ramp, and I was able to lift just one side of the tank and wiggle it around until it was wedged in place and then slide the edge of the plywood up onto the straps and then slowly work it up the strap ramps until it was all the way in, and then hold it up with one hand while I re-bolted the center strap. After that the rest of the straps were easy.
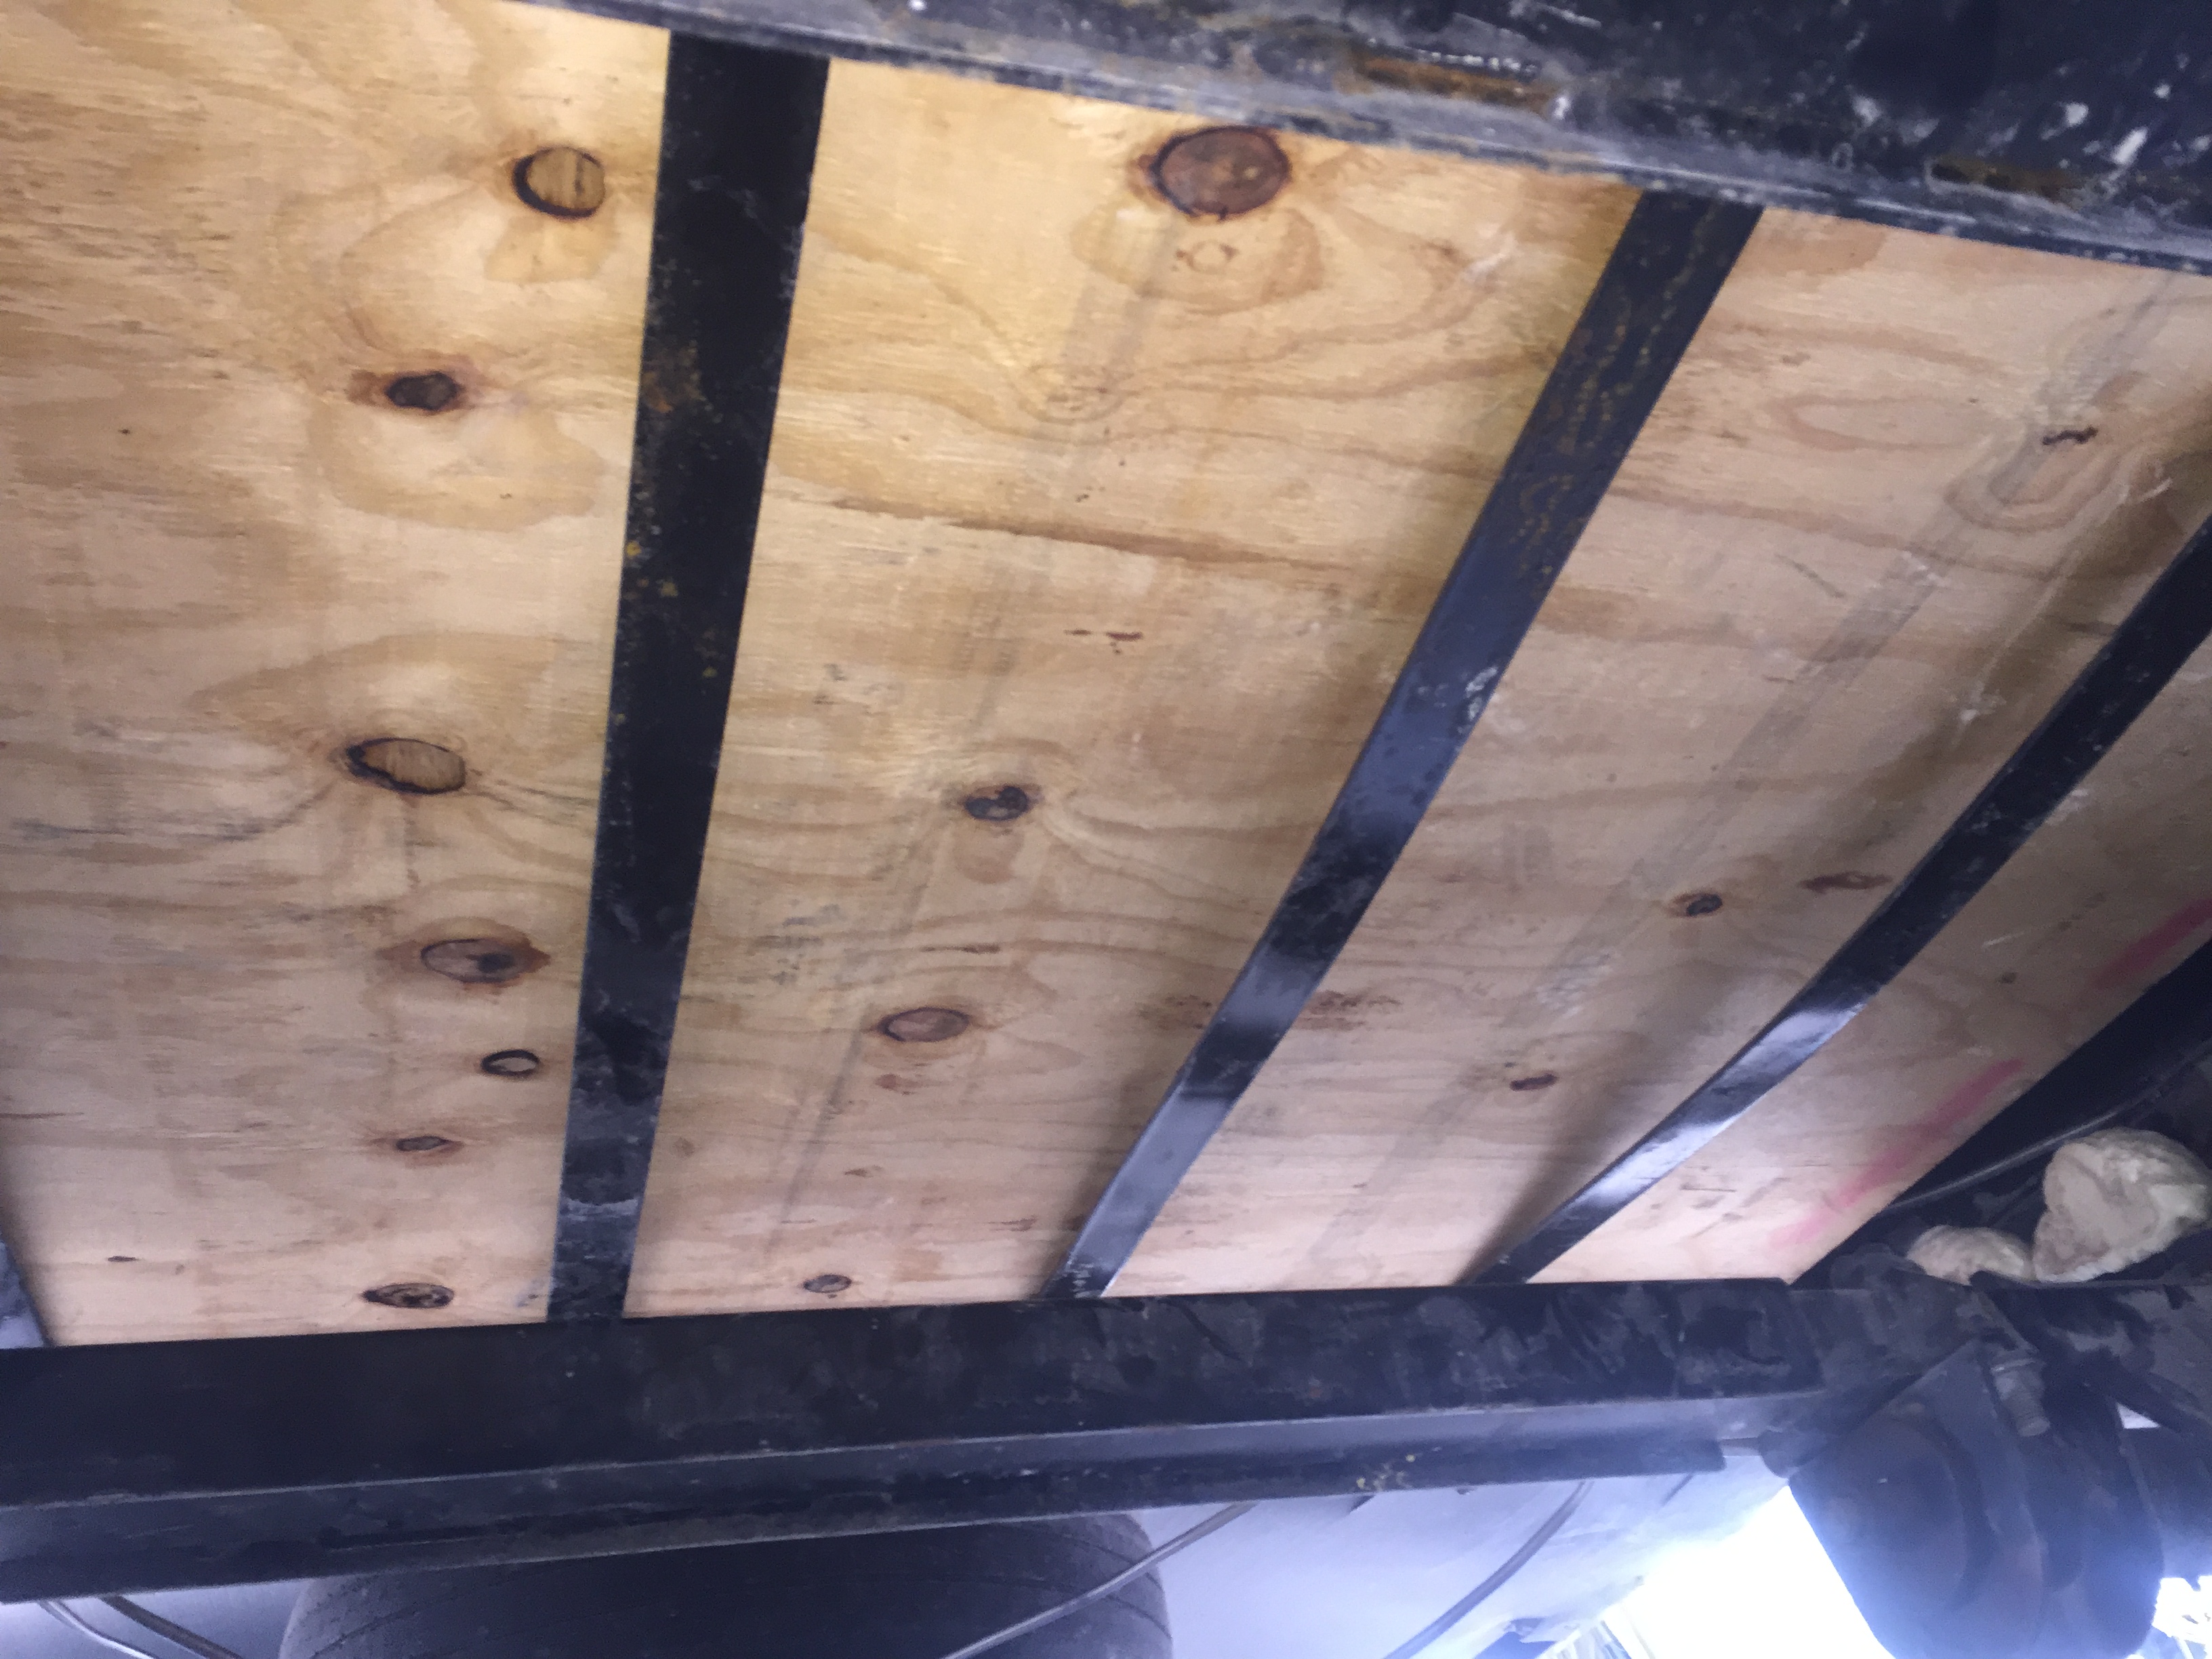
Unfortunately, once I got all that done, it was painfully obvious that the straps were still bowed a lot, and I wasn’t happy with all the weight load being along the edges, and possibly the plywood bowing or maybe even cracking. So I took a moment to one at a time remove each strap and flip them over so the bow would be oriented up instead of down. There was still some gap between the straps and the wood, but not anywhere near as much. I felt better. (This is why I love this guy. Most people would have called it done, but he looked ahead, saw a possible problem, and proactively worked to fix it. That’s my guy – Trace)
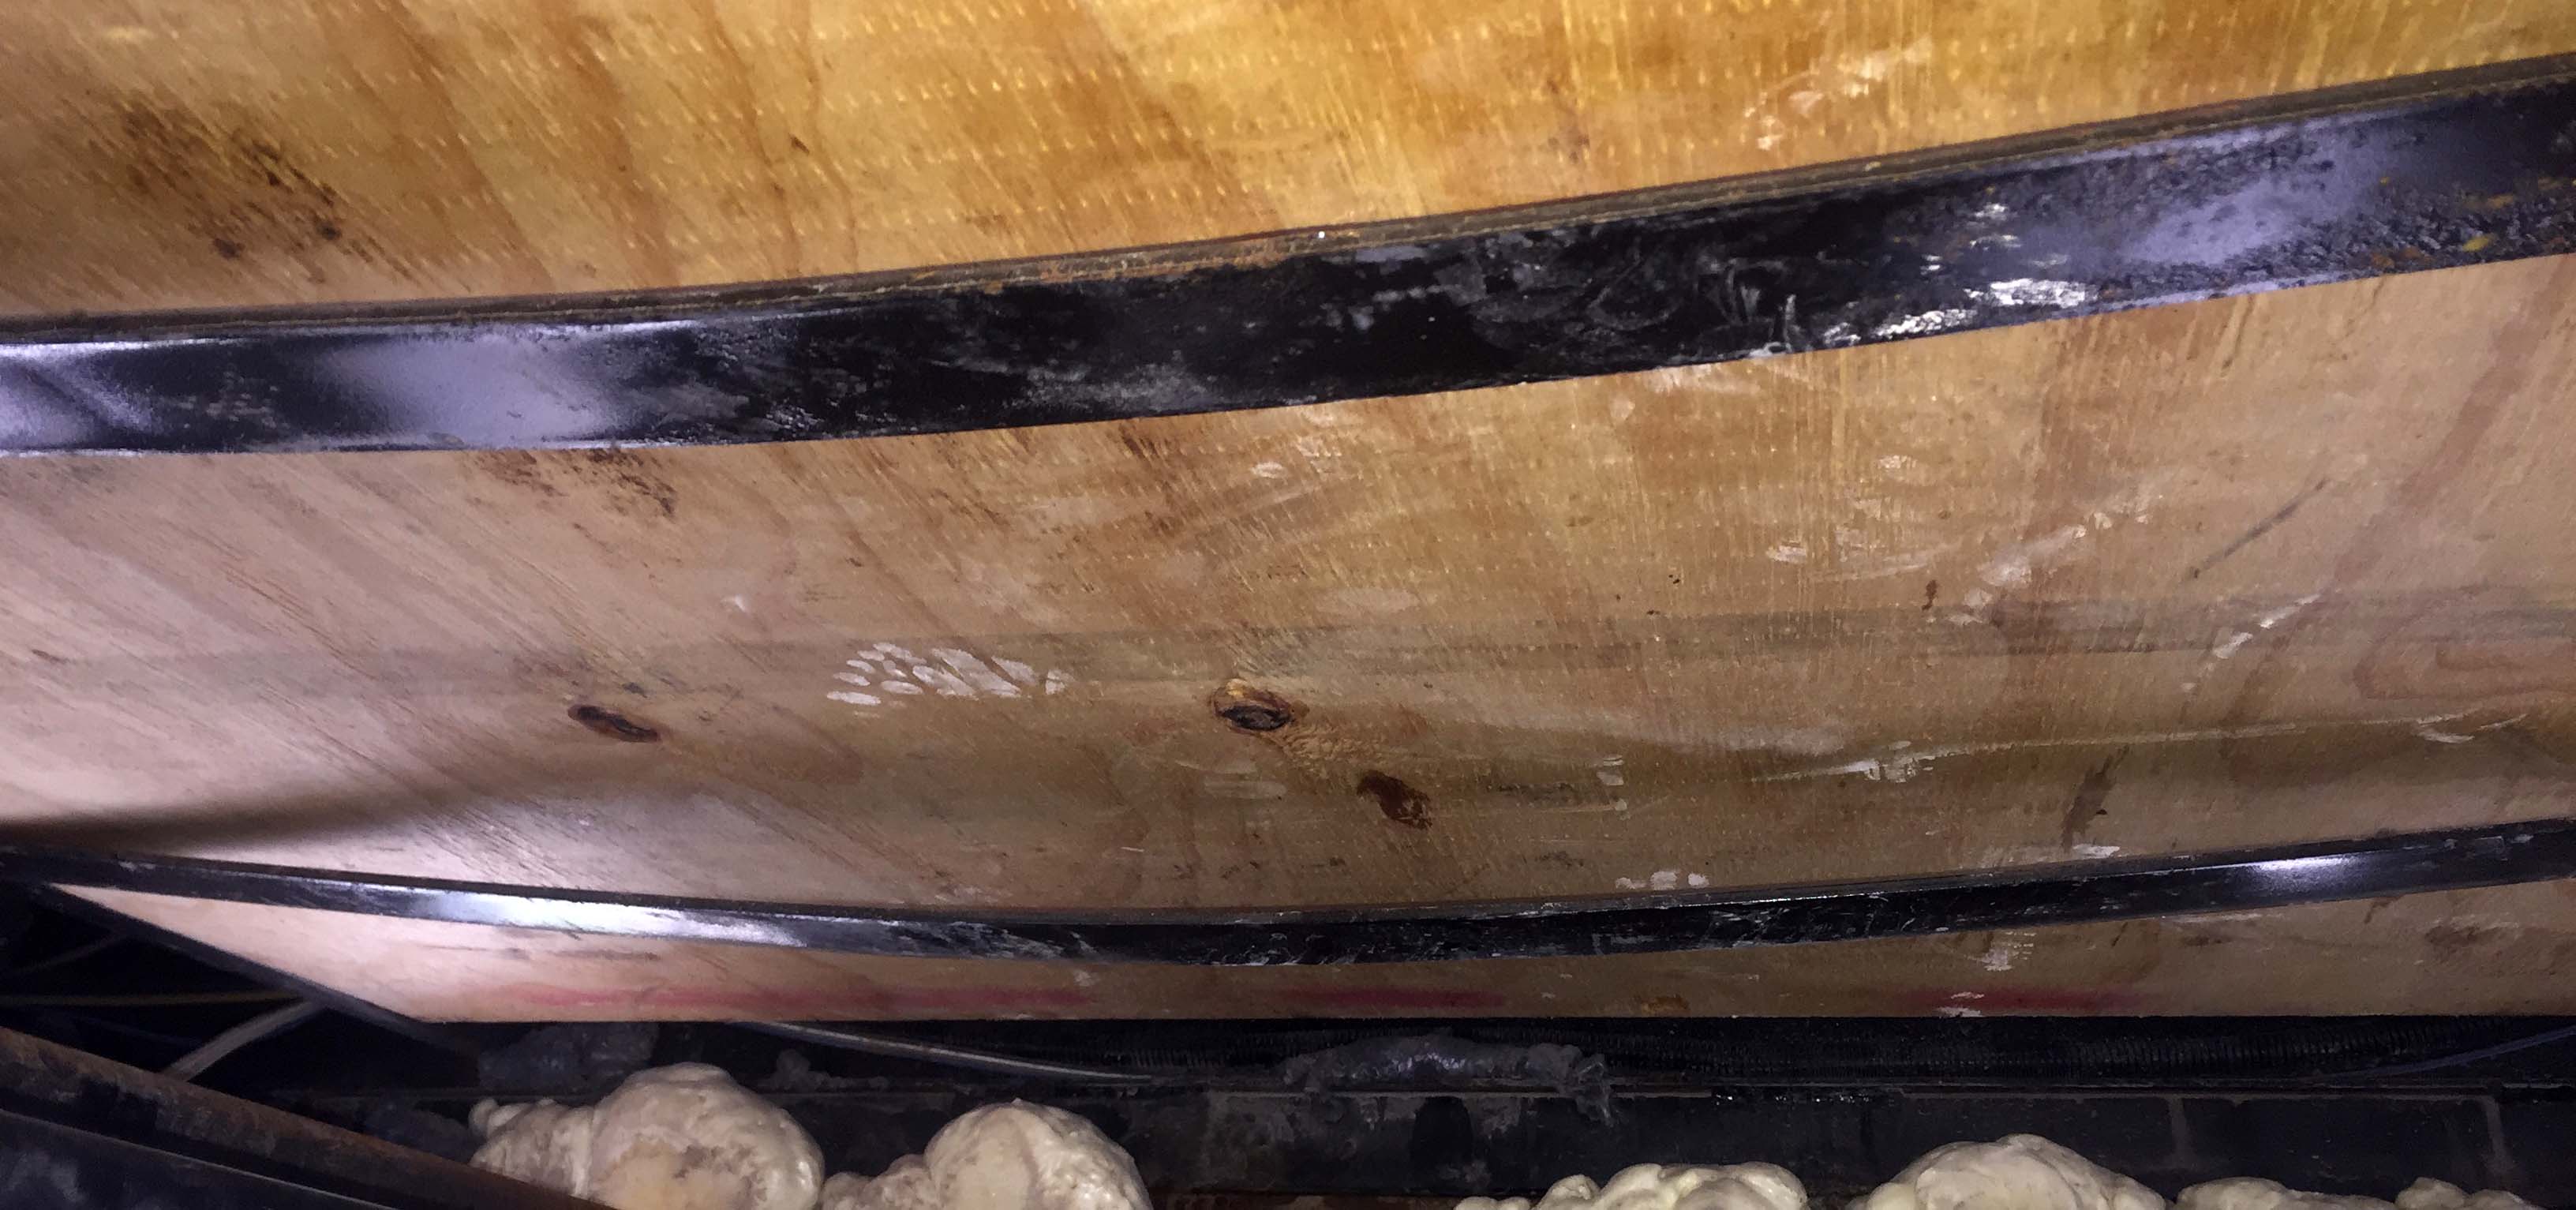
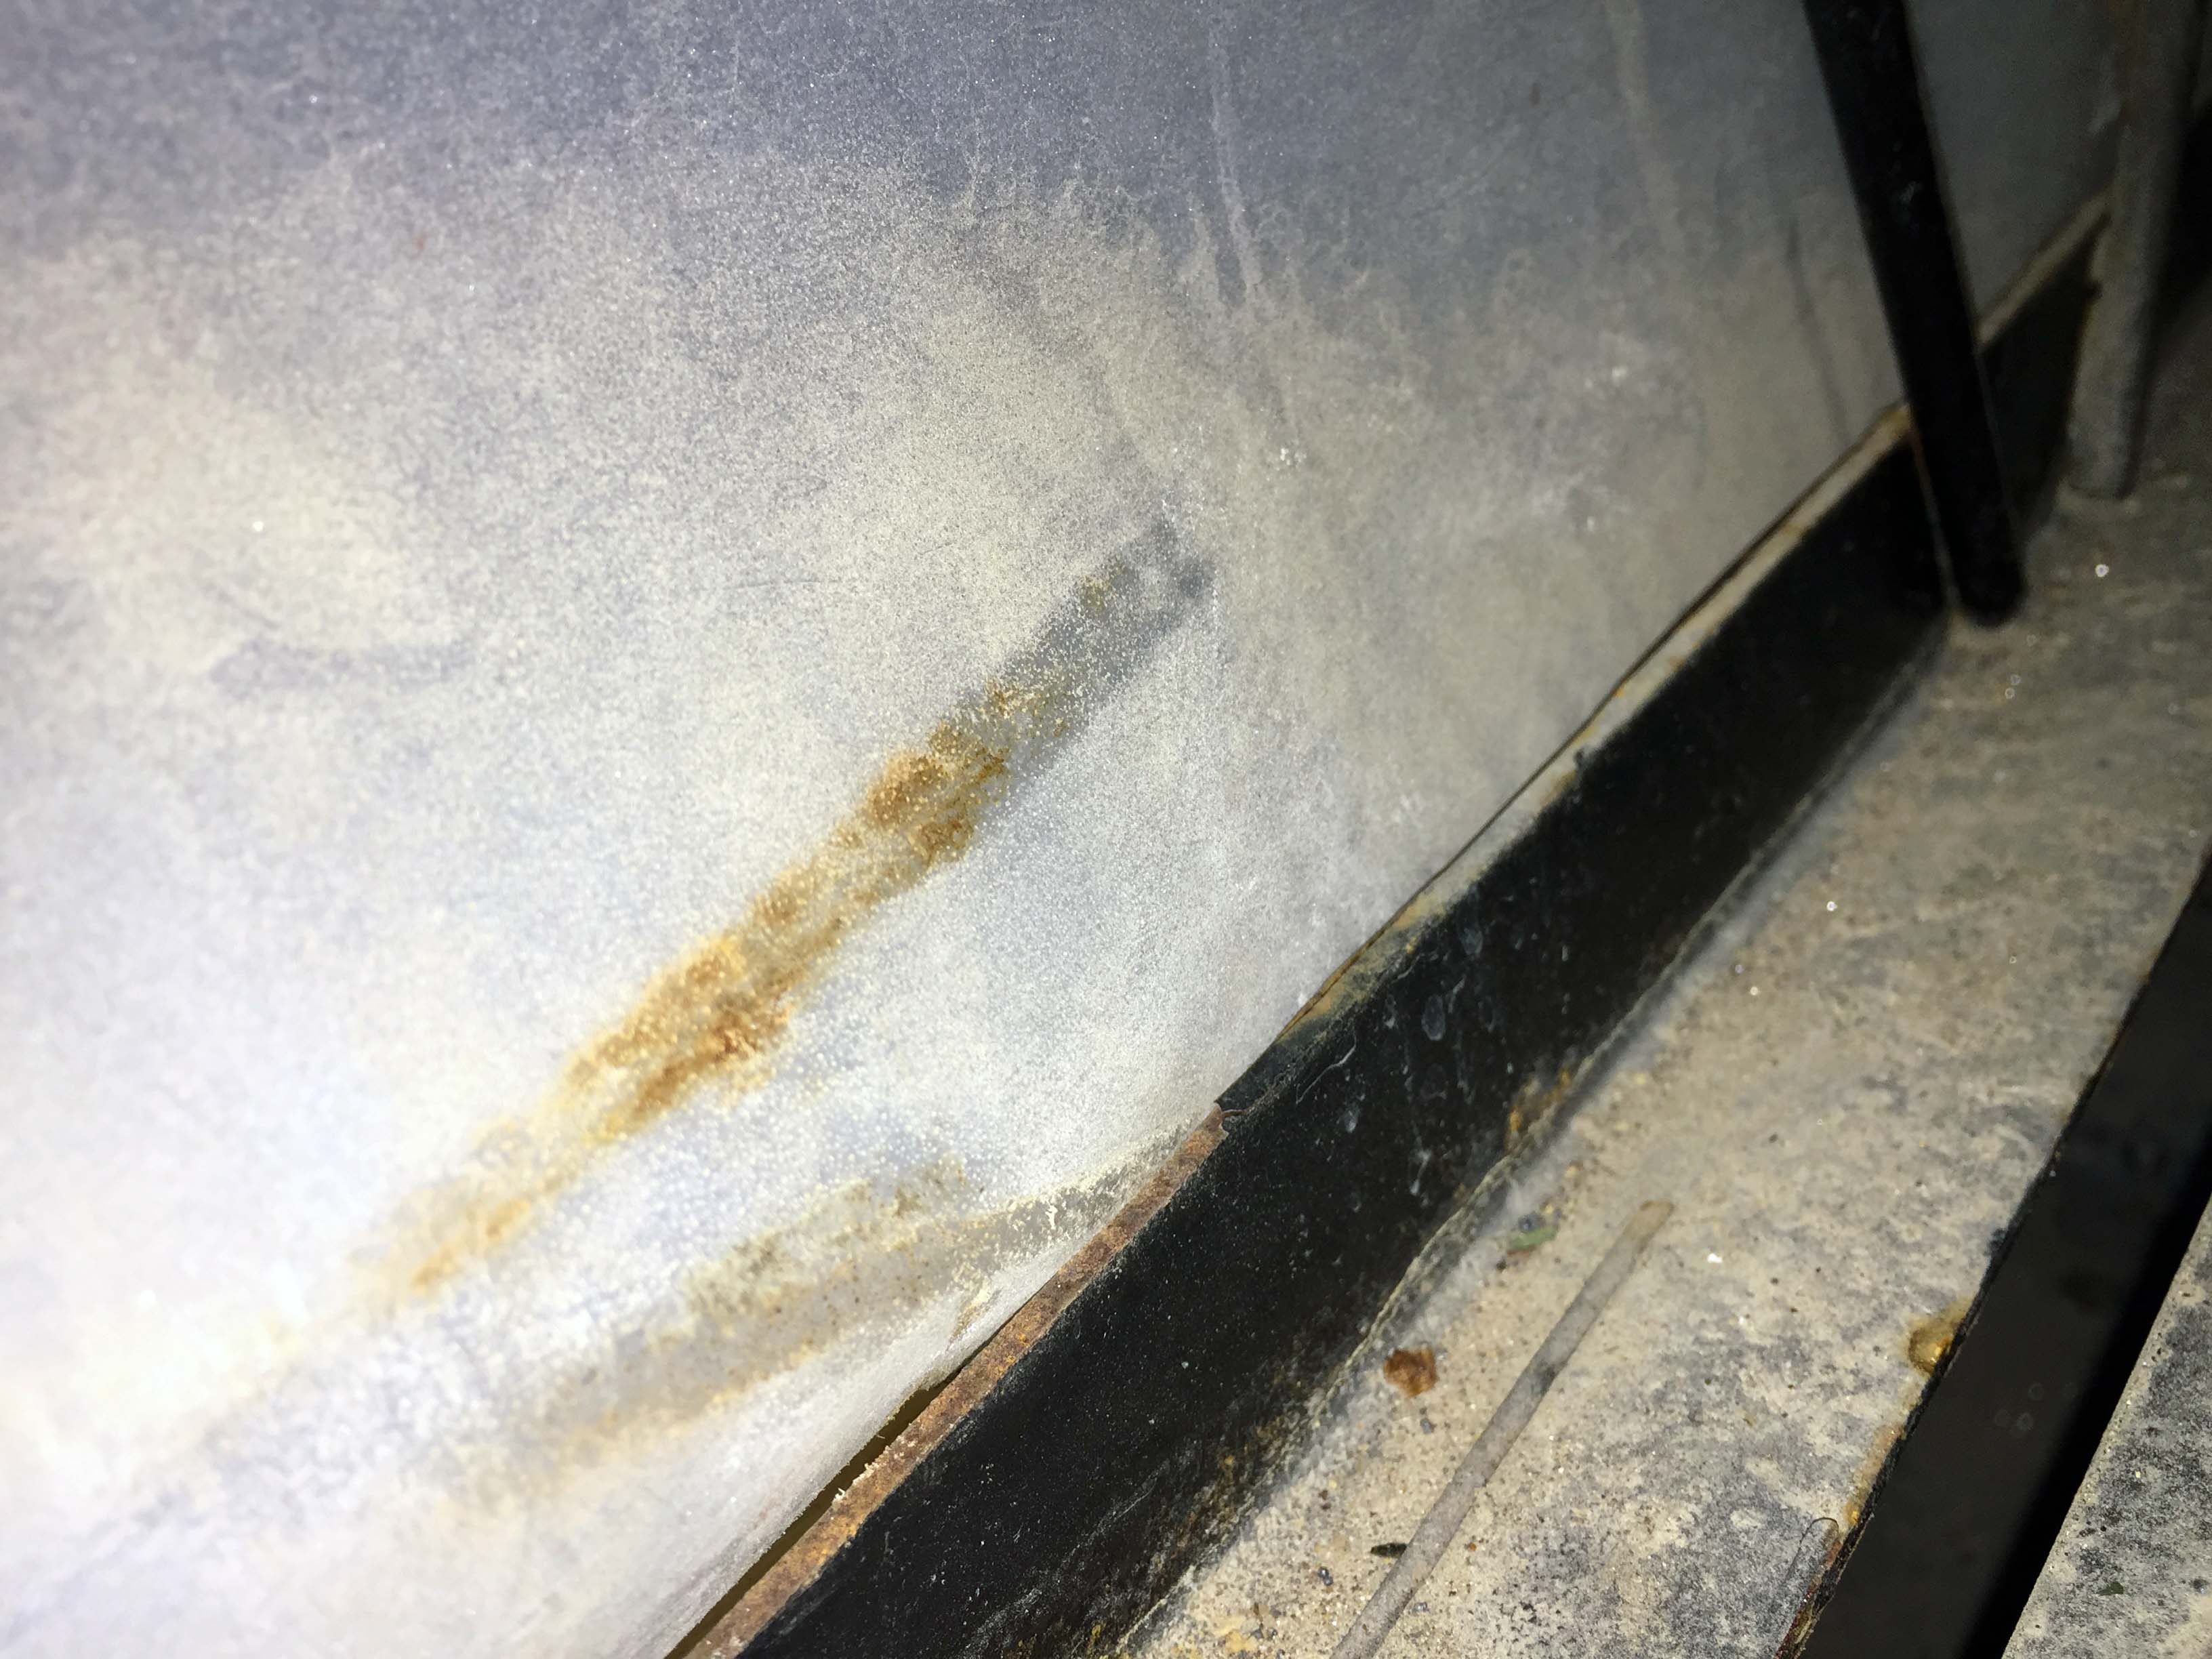
I also was able to get a really good look at the part of the tank that was the most “wrinkled” before. Here’s what it looked like once it was on the wood instead of just hanging out in space.
As you can see it’s settled a little, but it’s still not completely straightened out, and there’s still a pretty large amount of gap between the bottom of the tank at that wrinkle, and the wood. It was reasonably warm out, which helps plastic regain it’s shape, so I started the fresh water fill and sat under the rig with my head between the black and gray tank carefully watching and listening for anything that might indicate a leak. As it slowly filled, the weight and the warmth helped it settle in pretty well. After about 15 gallons I could already see it settling. It was a little like watching the minute hand on a clock move almost imperceptibly slowly, but it was definitely improving. I took a picture about every 10-15 gallons, and you can see the slow improvement.
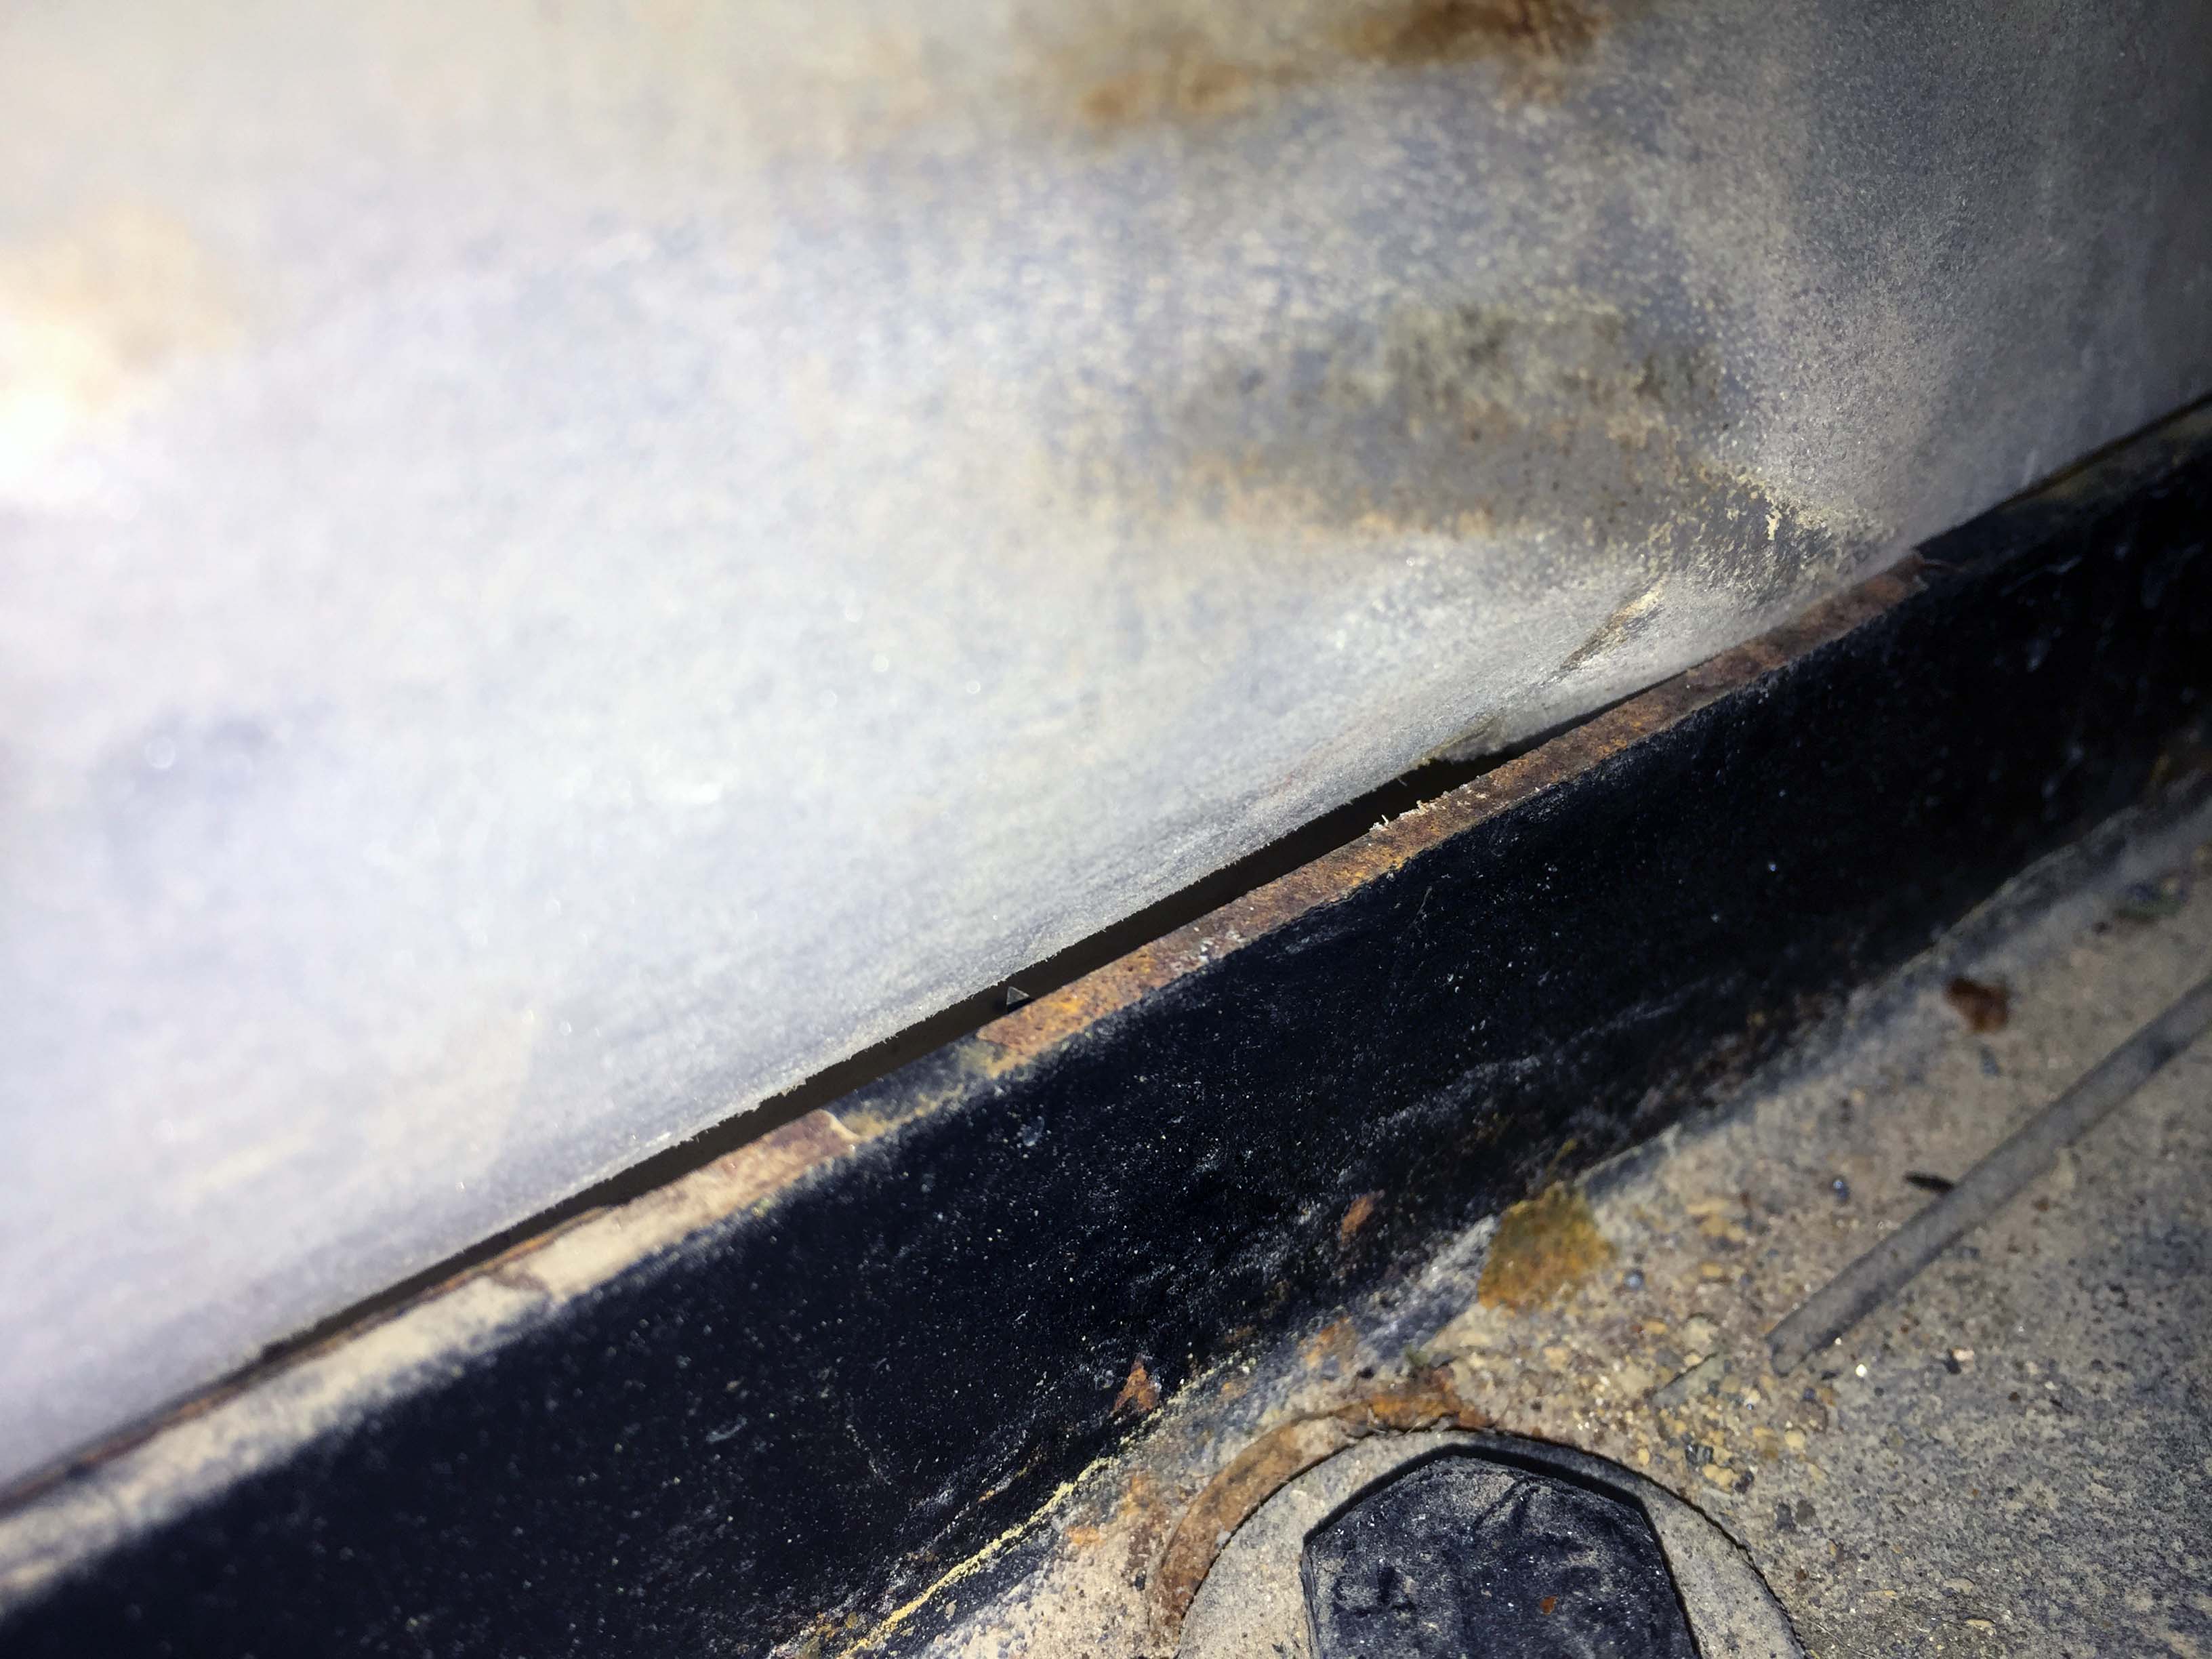

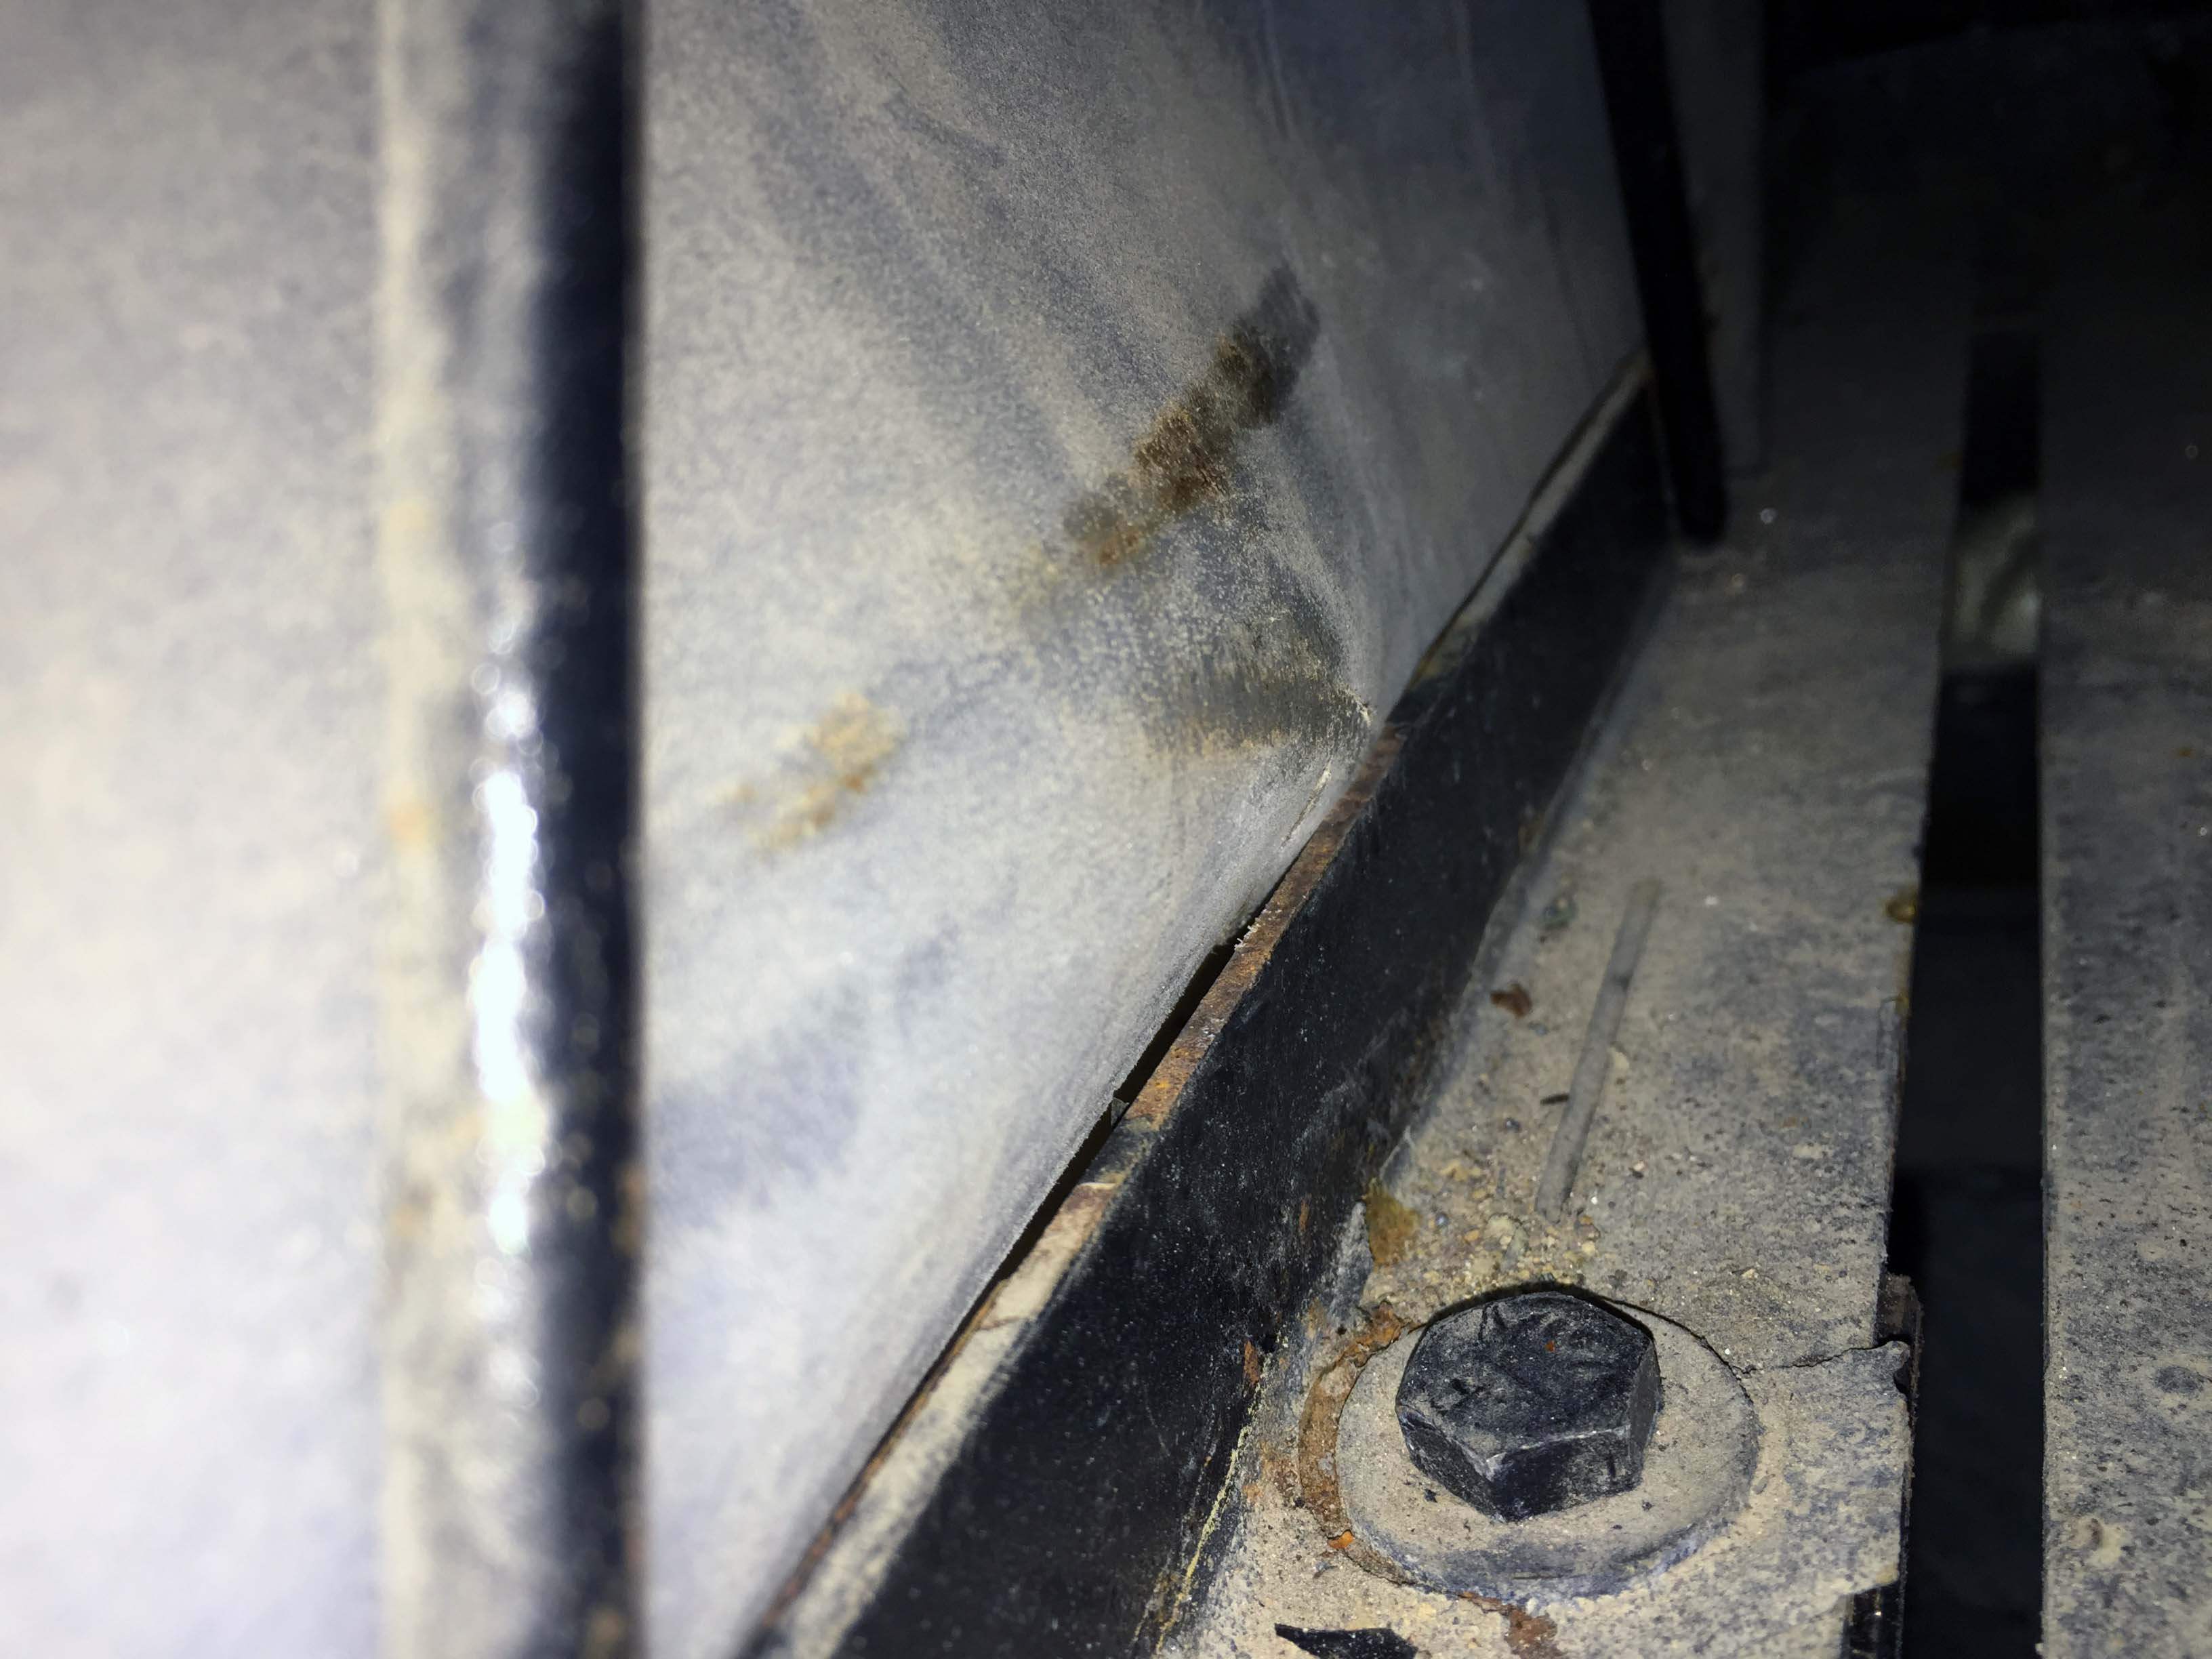
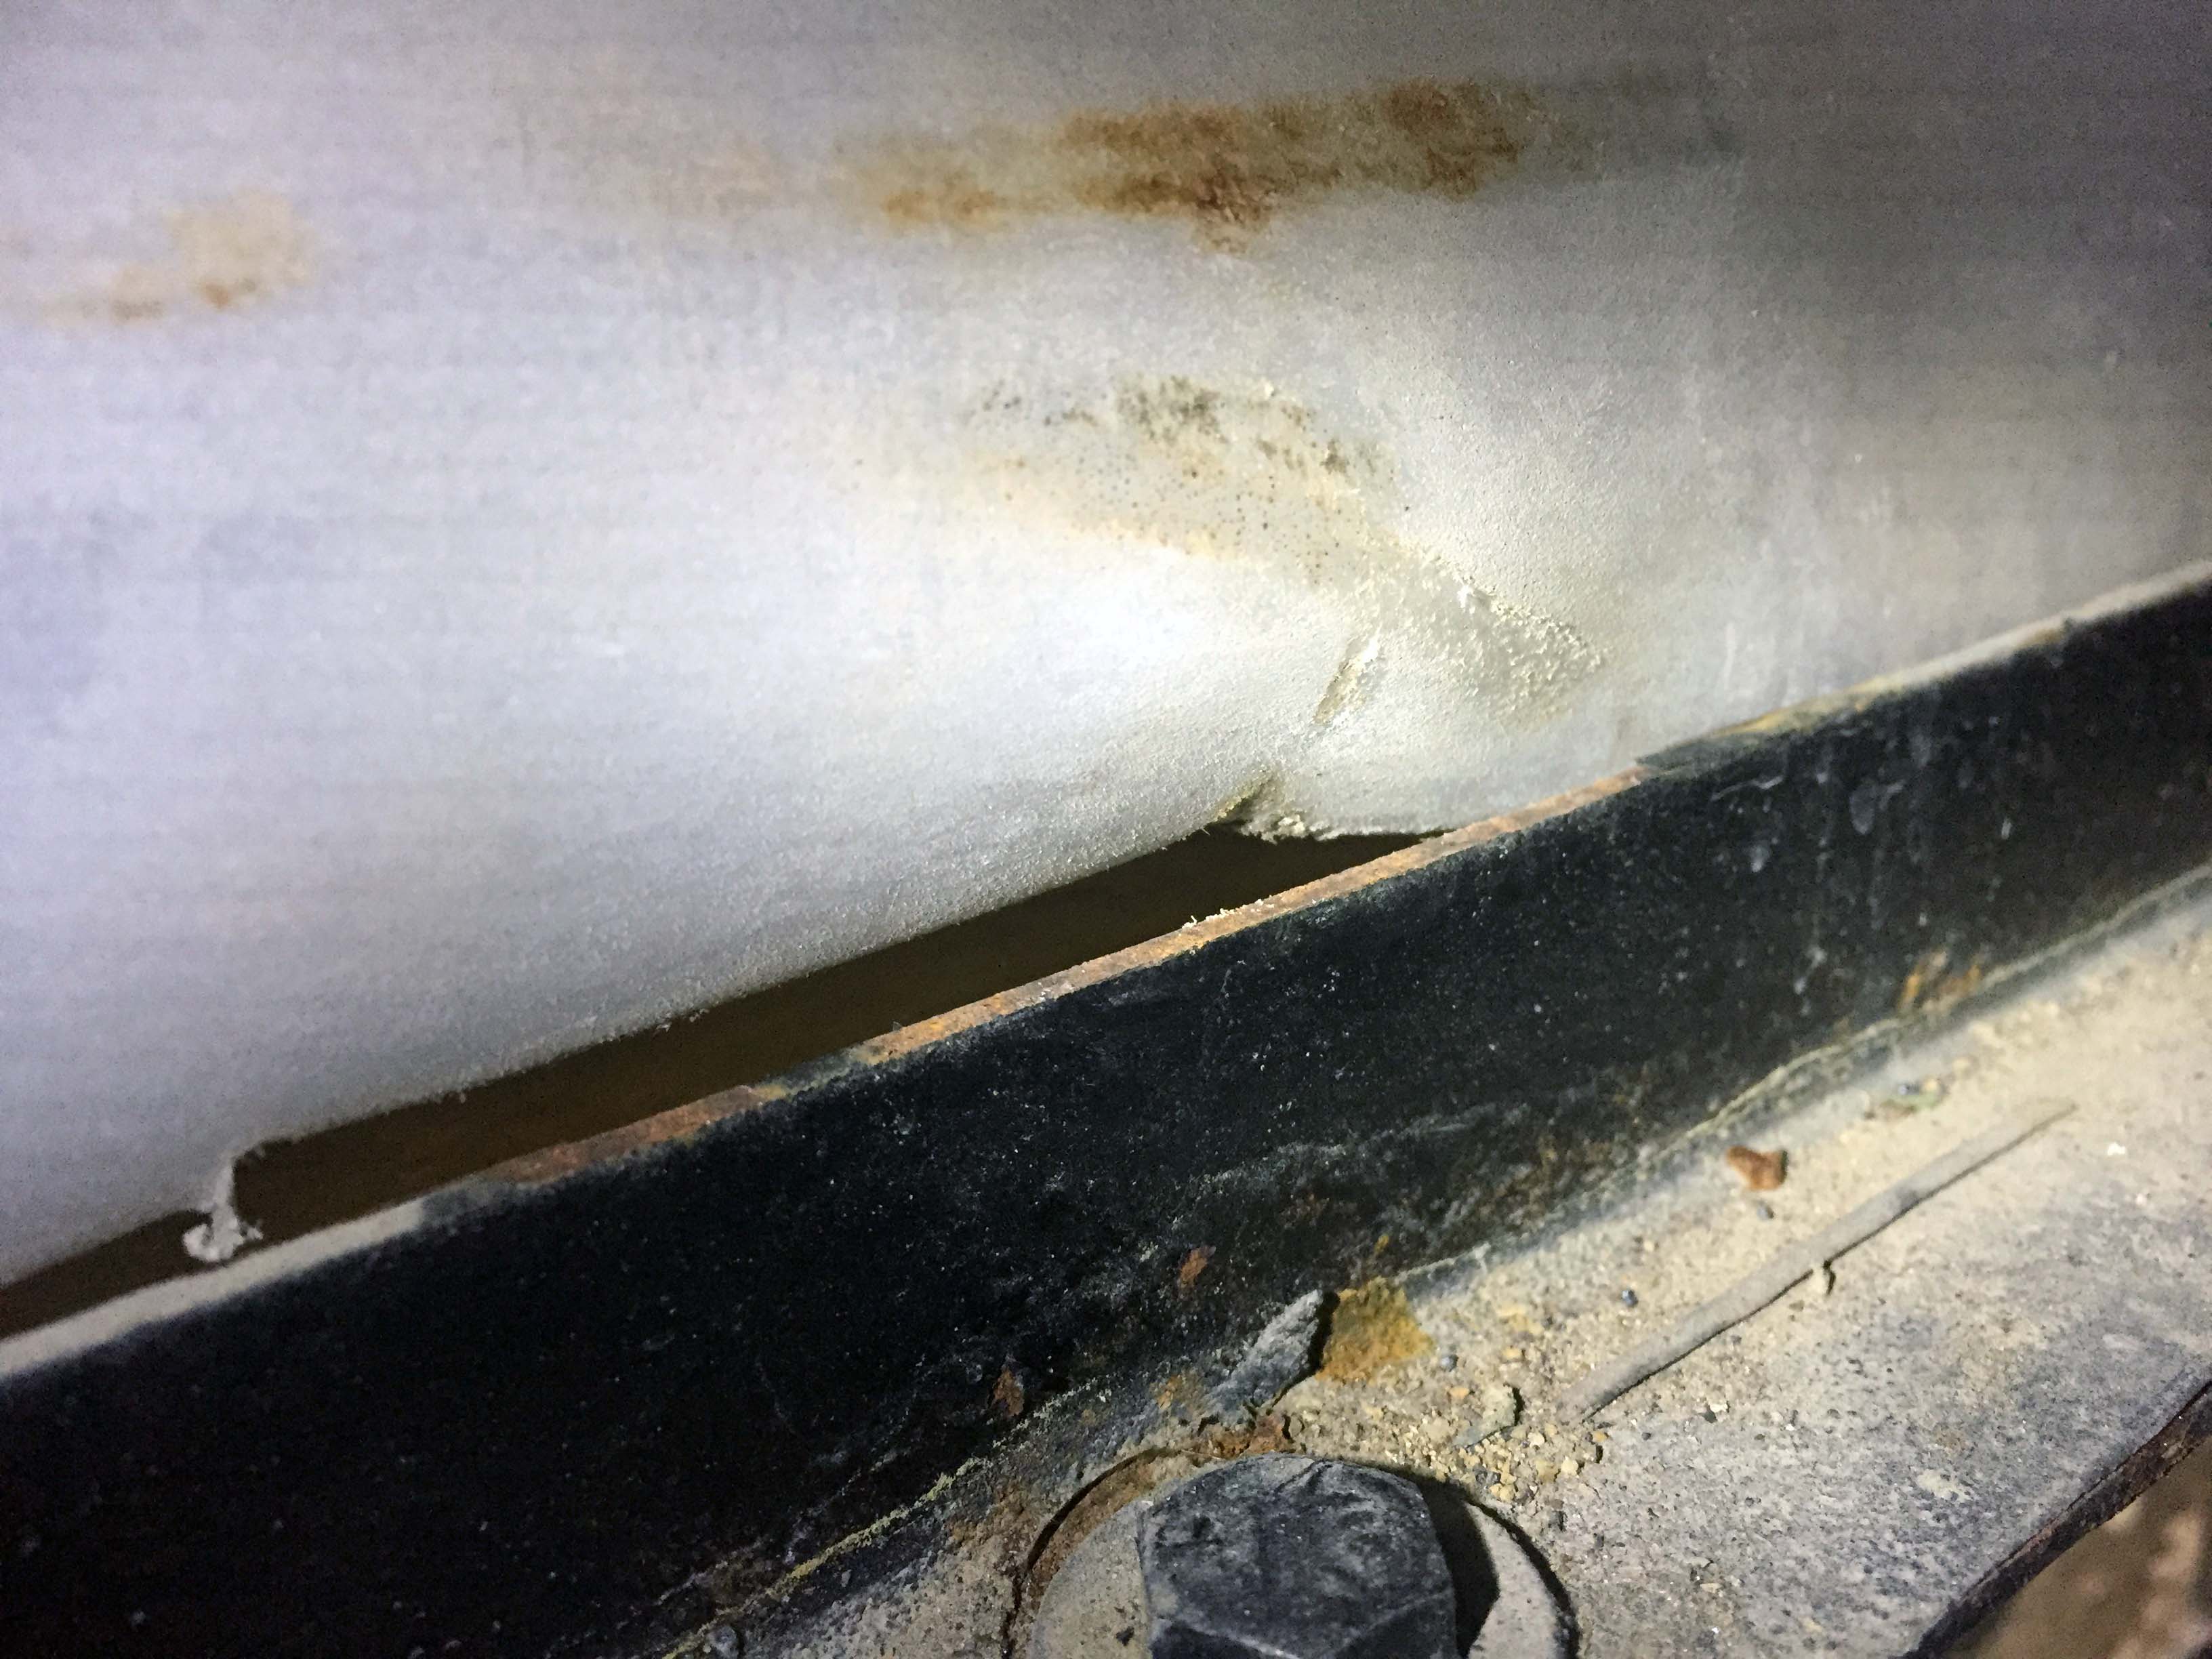
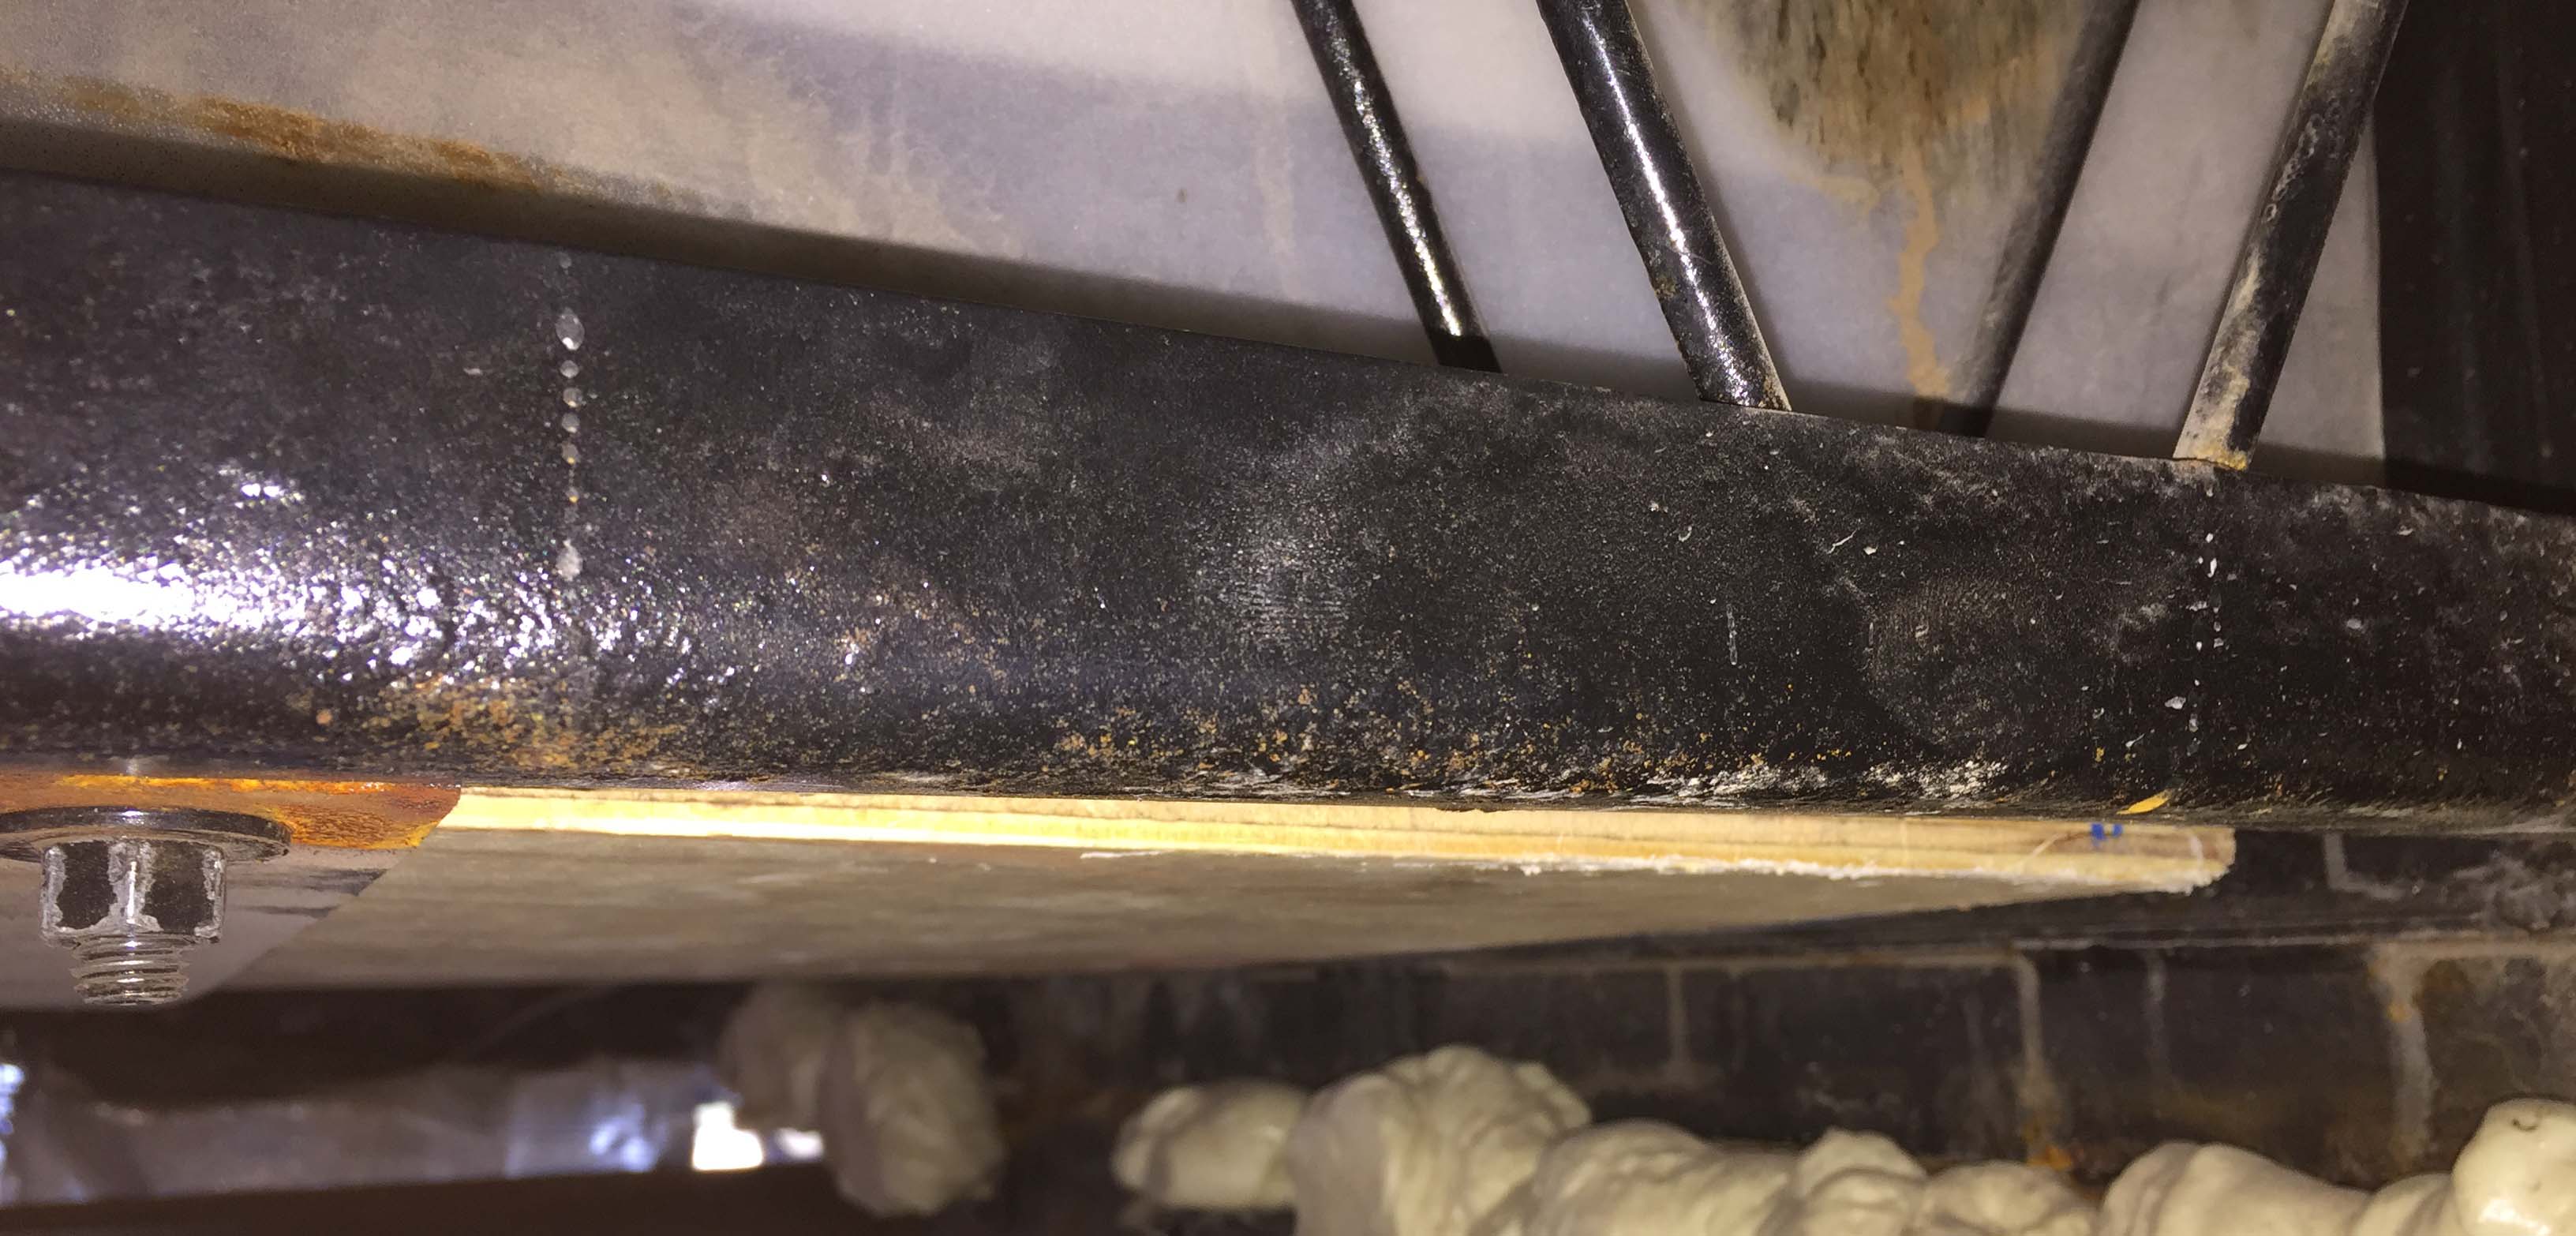
Once I was well over half full, at about 340 lbs of water, I checked the gap between the straps and the wood. The straps were more or less straightened out, and the wood had settled against them evenly and flat, wit no gaps anywhere.
I also took a look at the unsupported end, and there was only about 1/2″ of deflection, so I’m confident that the fix is a good one and will hold more or less indefinitely.
This was a good day’s work, the rest could wait till the next day, so this is also a great place to stop this post. The next day I tackled the next part of the project. Some of it went well, some of it didn’t. Foreshadowing!
If you find all of this boring and would rather have something fun to read, you’re not alone.
Camper Chronicles is a participant in the Amazon Services LLC Associates Program, a program designed to provide a means for sites to earn advertising fees by advertising and linking to amazon.com. We very much appreciate any purchase you make via our website links. There is no additional cost to you and helps support our blog. Search Amazon.com here

Or you can check out our recipe book filled with 80 real recipes we have cooked in our RV and taste tested by Lee himself. The cookbook specializes in recipes that have a limited number of ingredients, without sacrificing flavor and is organized into categories that matter to full time RVers such as Happy Hours, Travel Days, and Pot Lucks You can preview the kindle version on Amazon


I enjoy the details of your work, including your reasoning. Your successes are partially attributable to having a patient and supportive spouse.
I know, I’m very lucky! – Lee
Very informative…glad the tank didn’t leak.
Definitely going to be taking a look at stuff when we get the rig. Seeing potential things that could cause issues later and proactively developing solutions is better than the alternative. Your posts are a great resource for putting things on the radar that might not otherwise even be thought of until they become much more serious. Thanks. I read on the Montana owners forum of somebody putting the tank on a sheet of plywood as you have done but not nearly the details and process involved as you have illustrated.
Nice to hear others have done this.
I’ll tell you…wouldn’t you just love to have been able to be at the factory when they were at this point in the construction of your rig? I personally would have paid a movie admission to watch that film. Lee Perkins, starring in “Why On Earth Are You Doing THAT?”
LOL. They never would have finished it 😉