
Since Trace is busy with her new job, I’m catching up on some posts that I promised to write but never got around to. I’m going to do them in the order that they happened, and this first one is from waaay back in June, when I repaired our kitchen sink. This is actually the second time I’ve done this repair, the first time was in November of 2015 when we were in the Redwoods. It was a pretty big job, and has held up for 3 1/2 years, but I really hated doing it, so this time I decided to fix it a little differently in the hopes of not ever having to do it again.
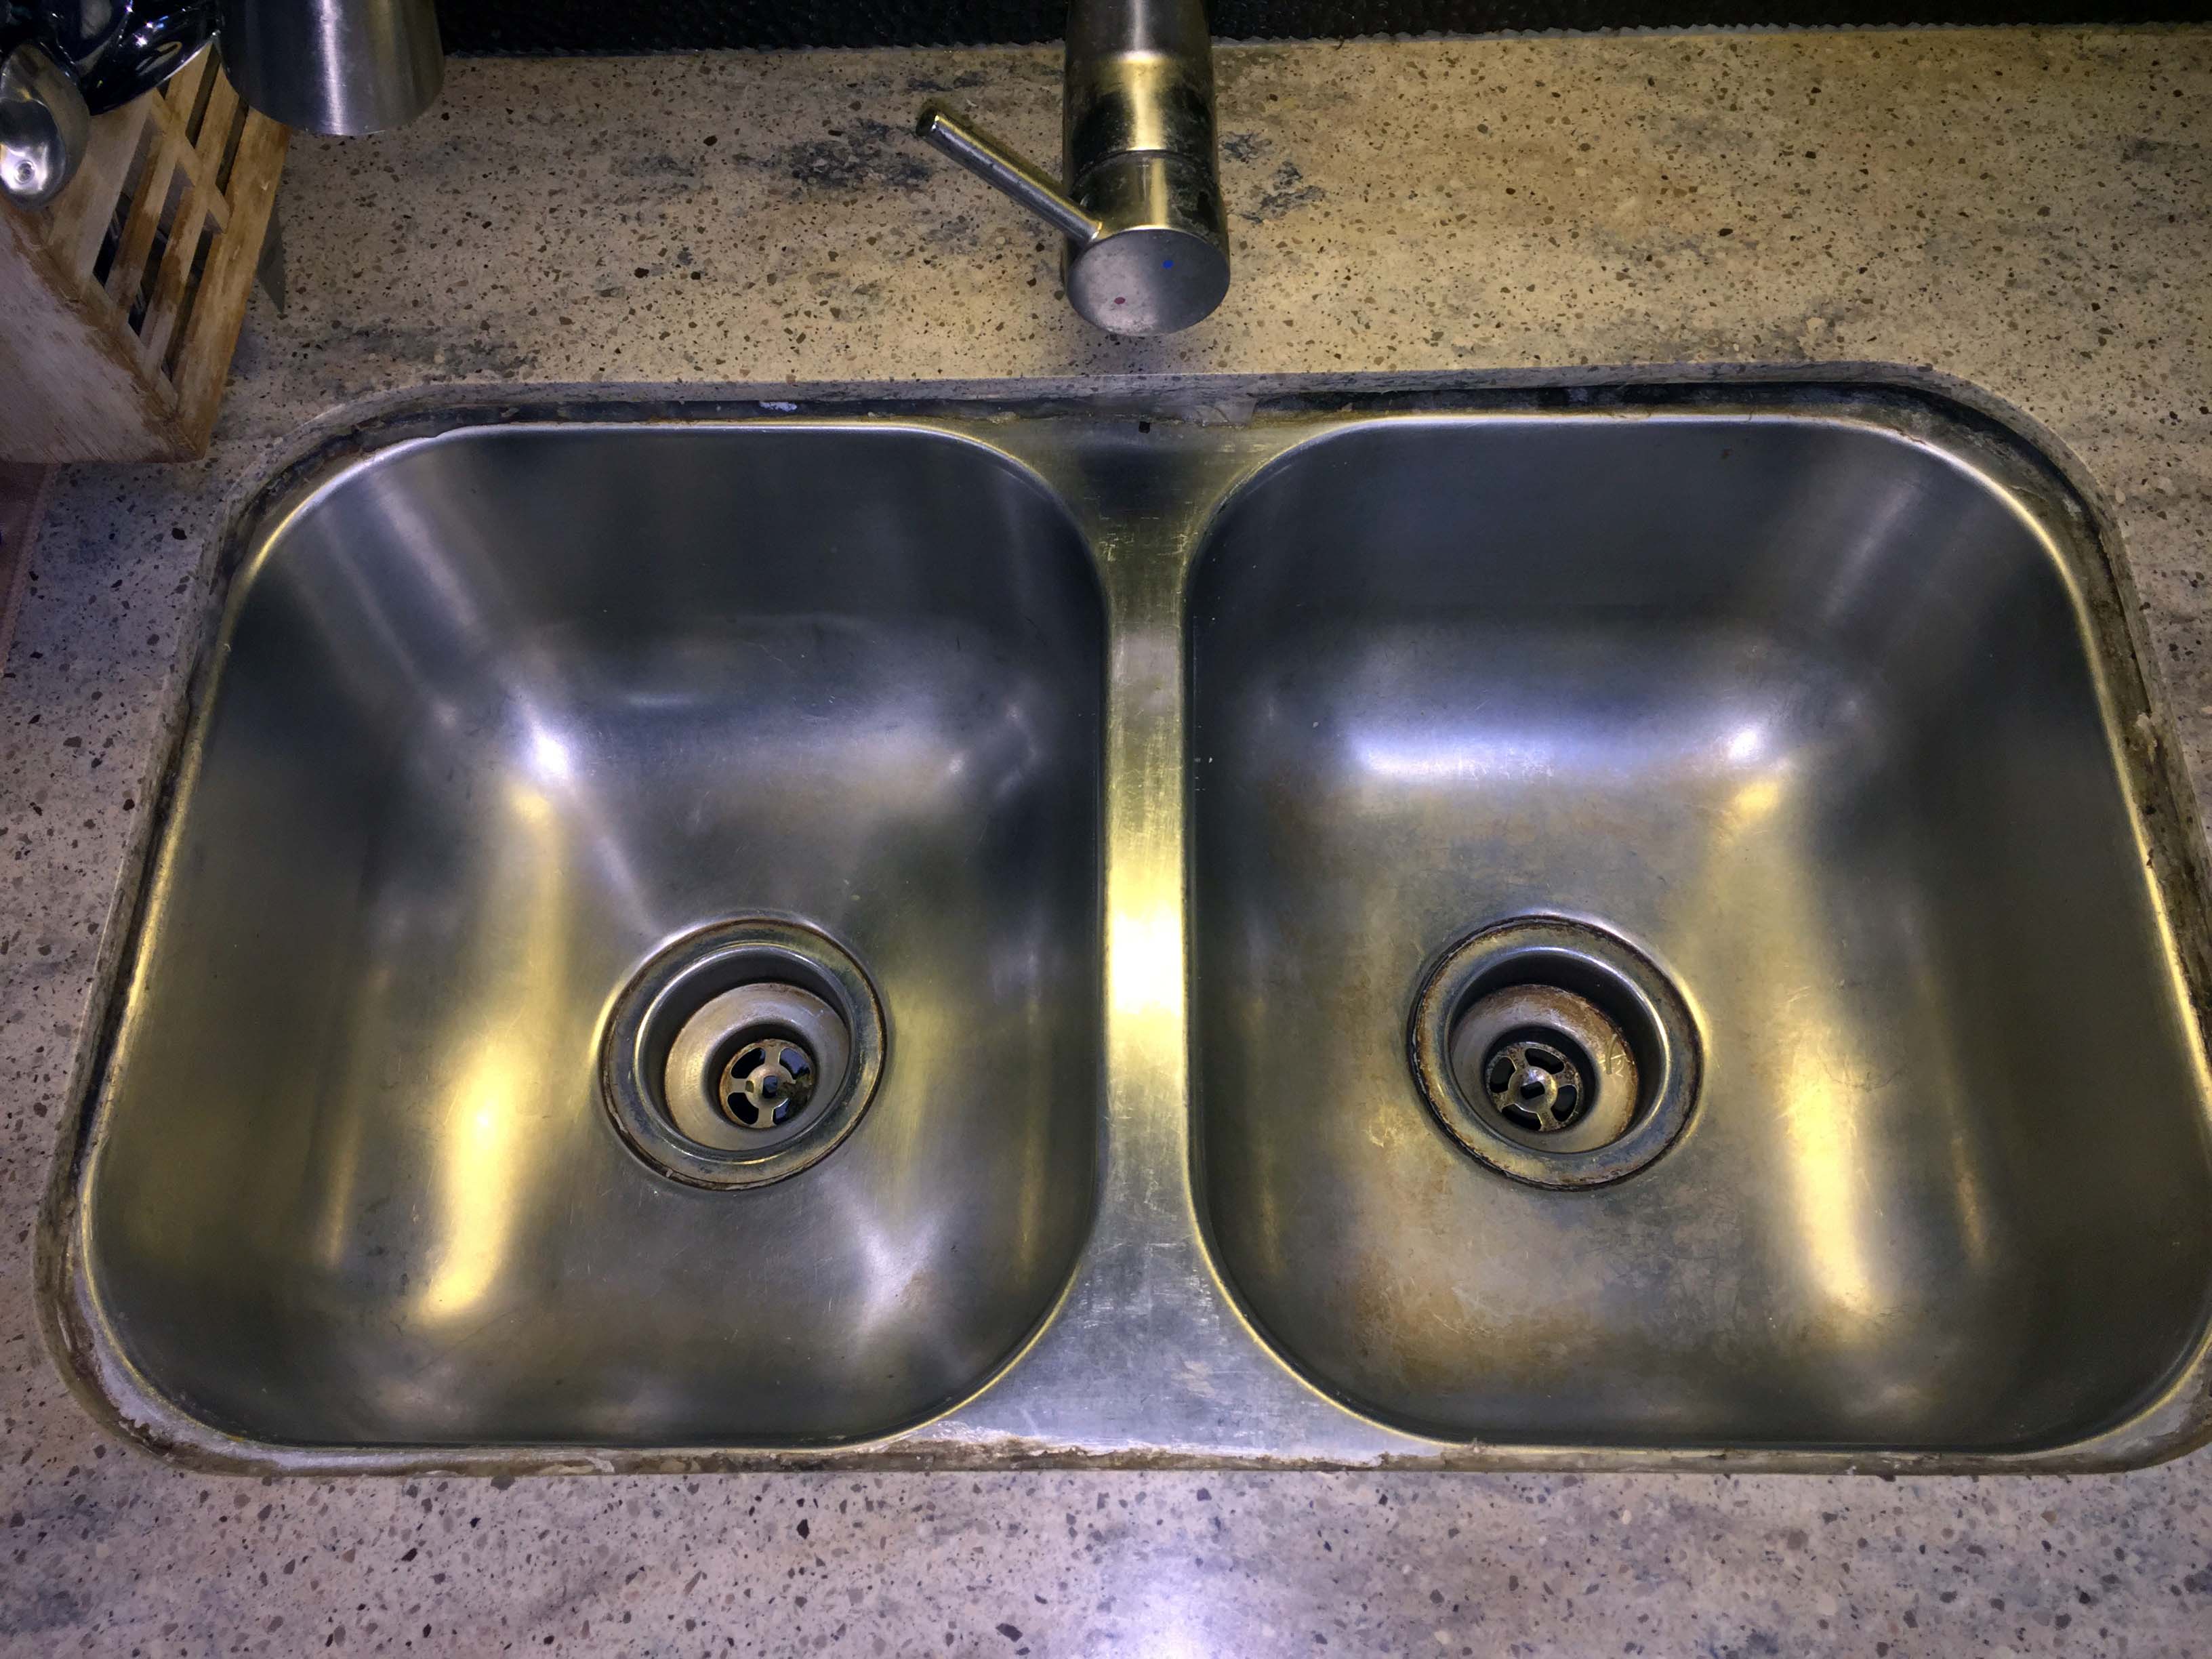
Here you can see the sink and in this picture if you look in the upper right corner and the upper right side you can see what the problem is.
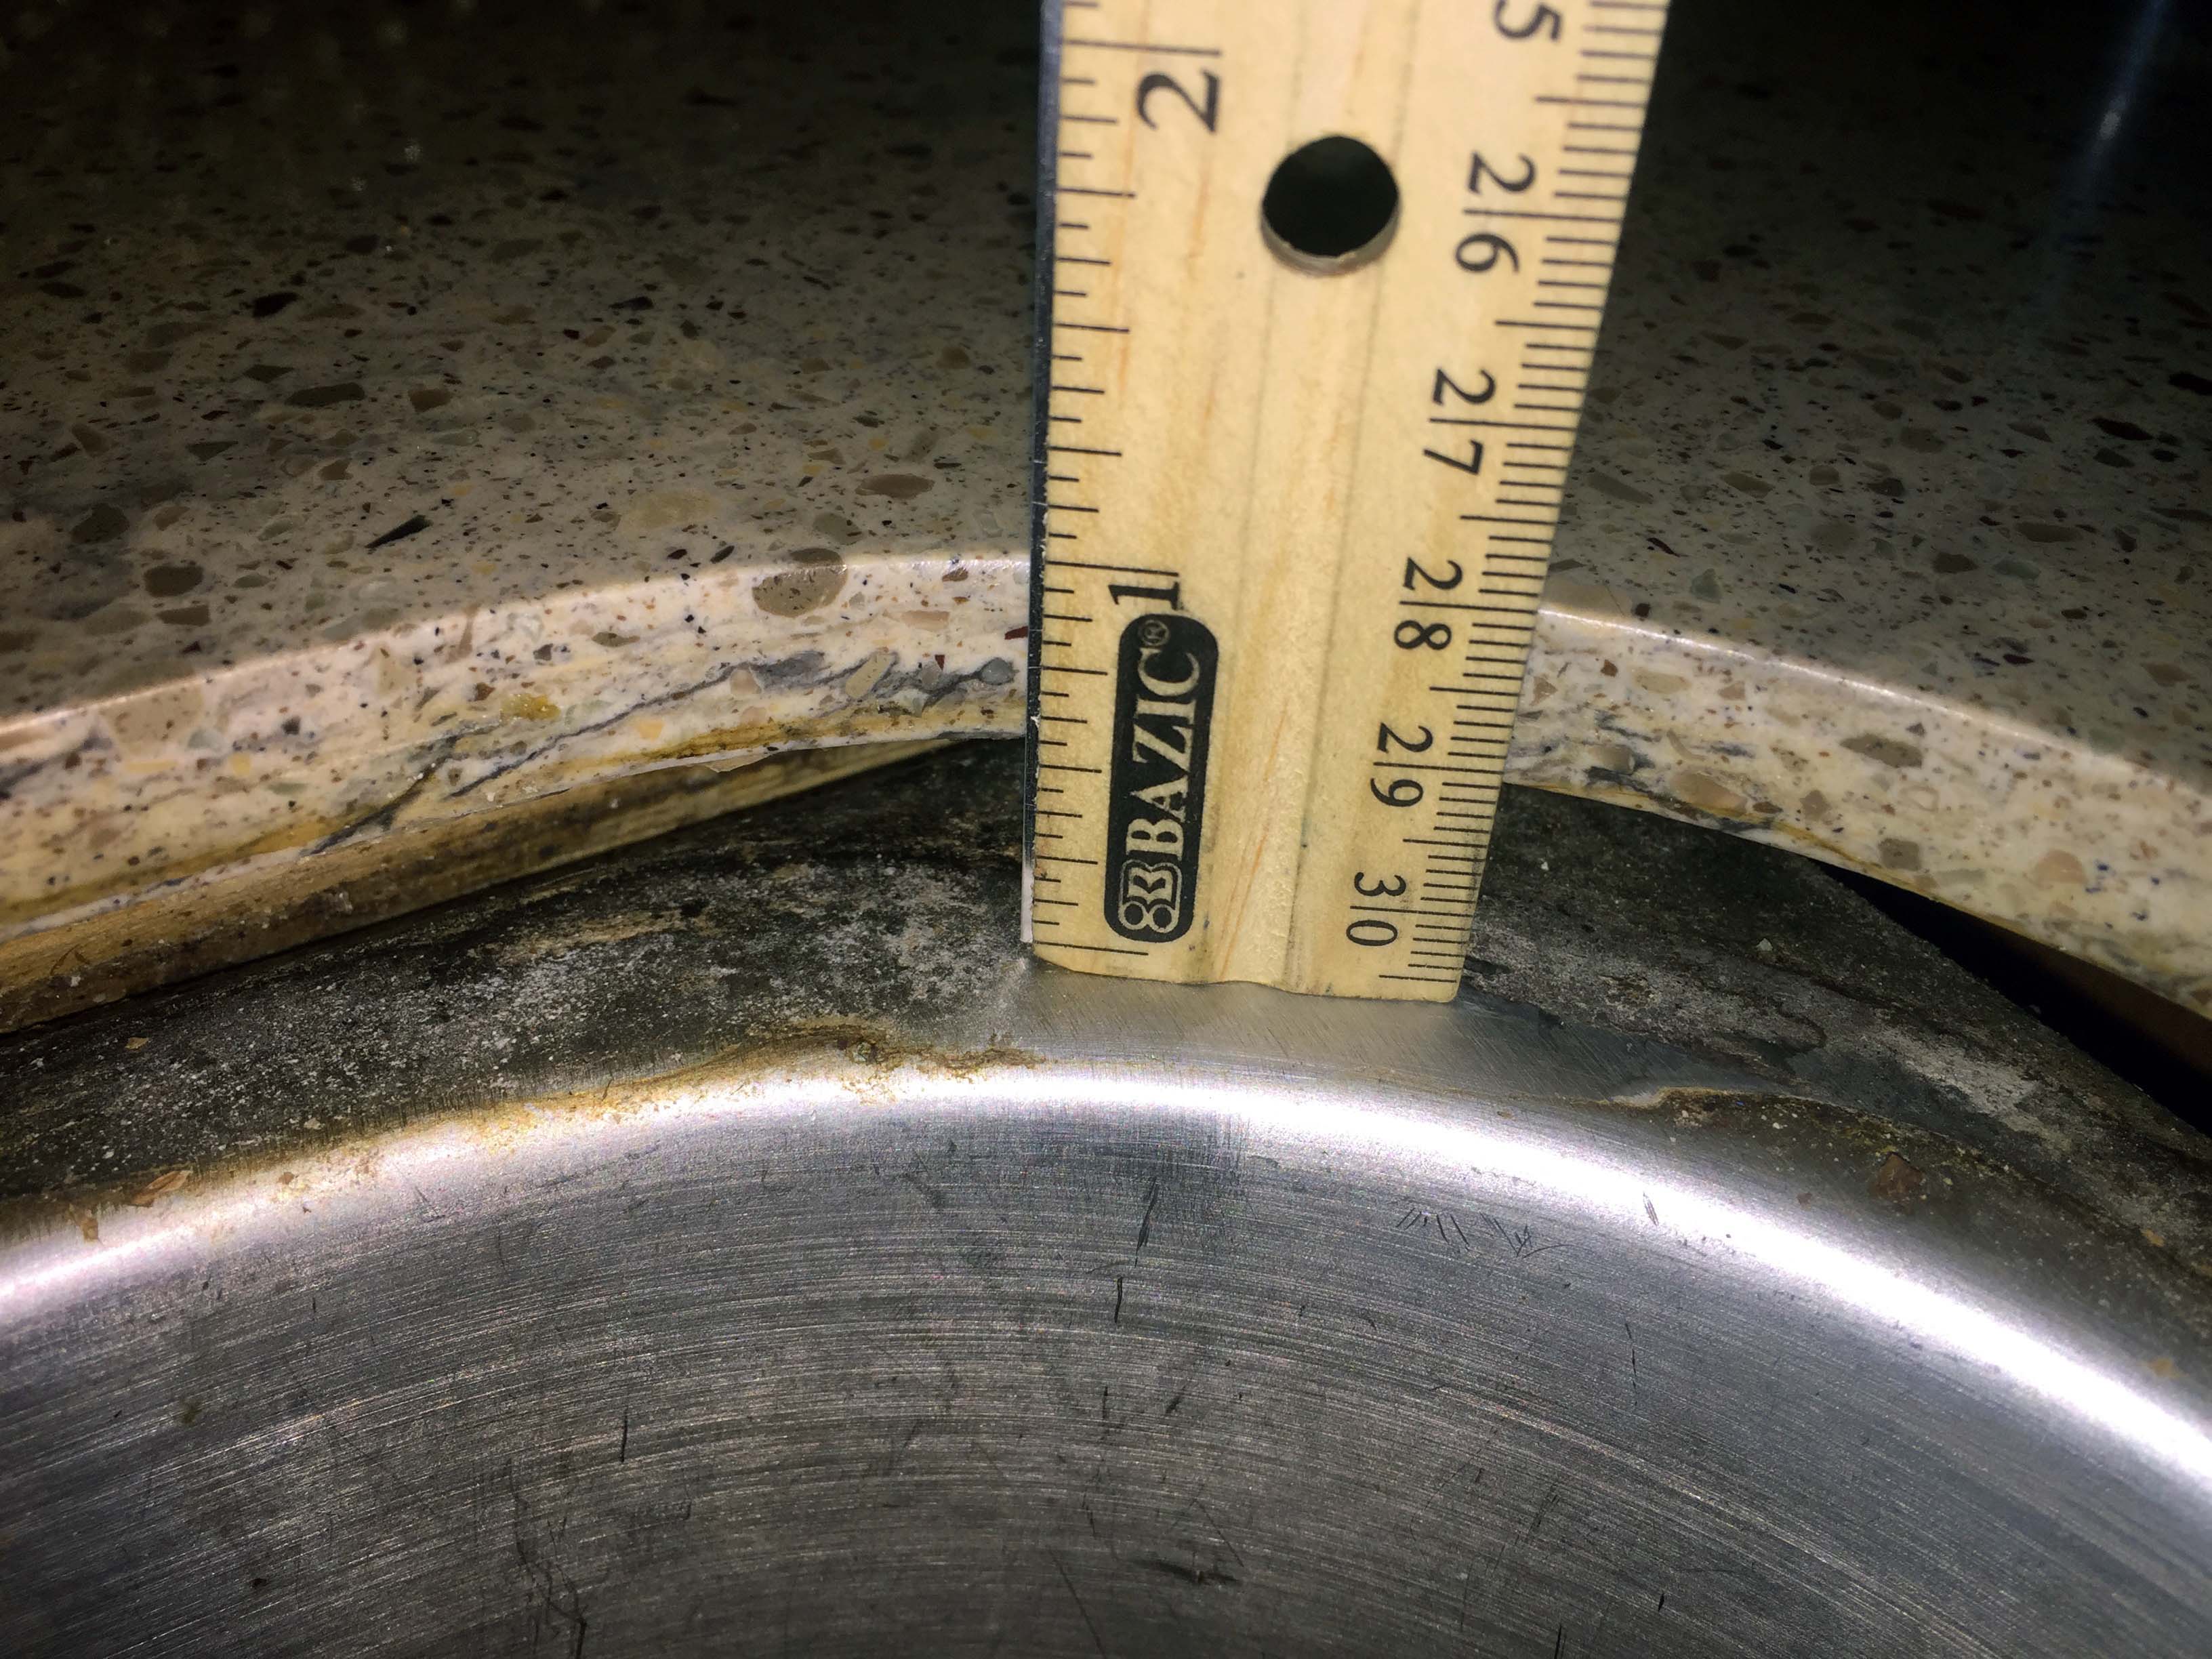
These next couple of pictures you can see even better, where the sink, is separating from the counter top surface.

And here you can actually see how much separation there is. With the sink empty, there’s a half inch gap!
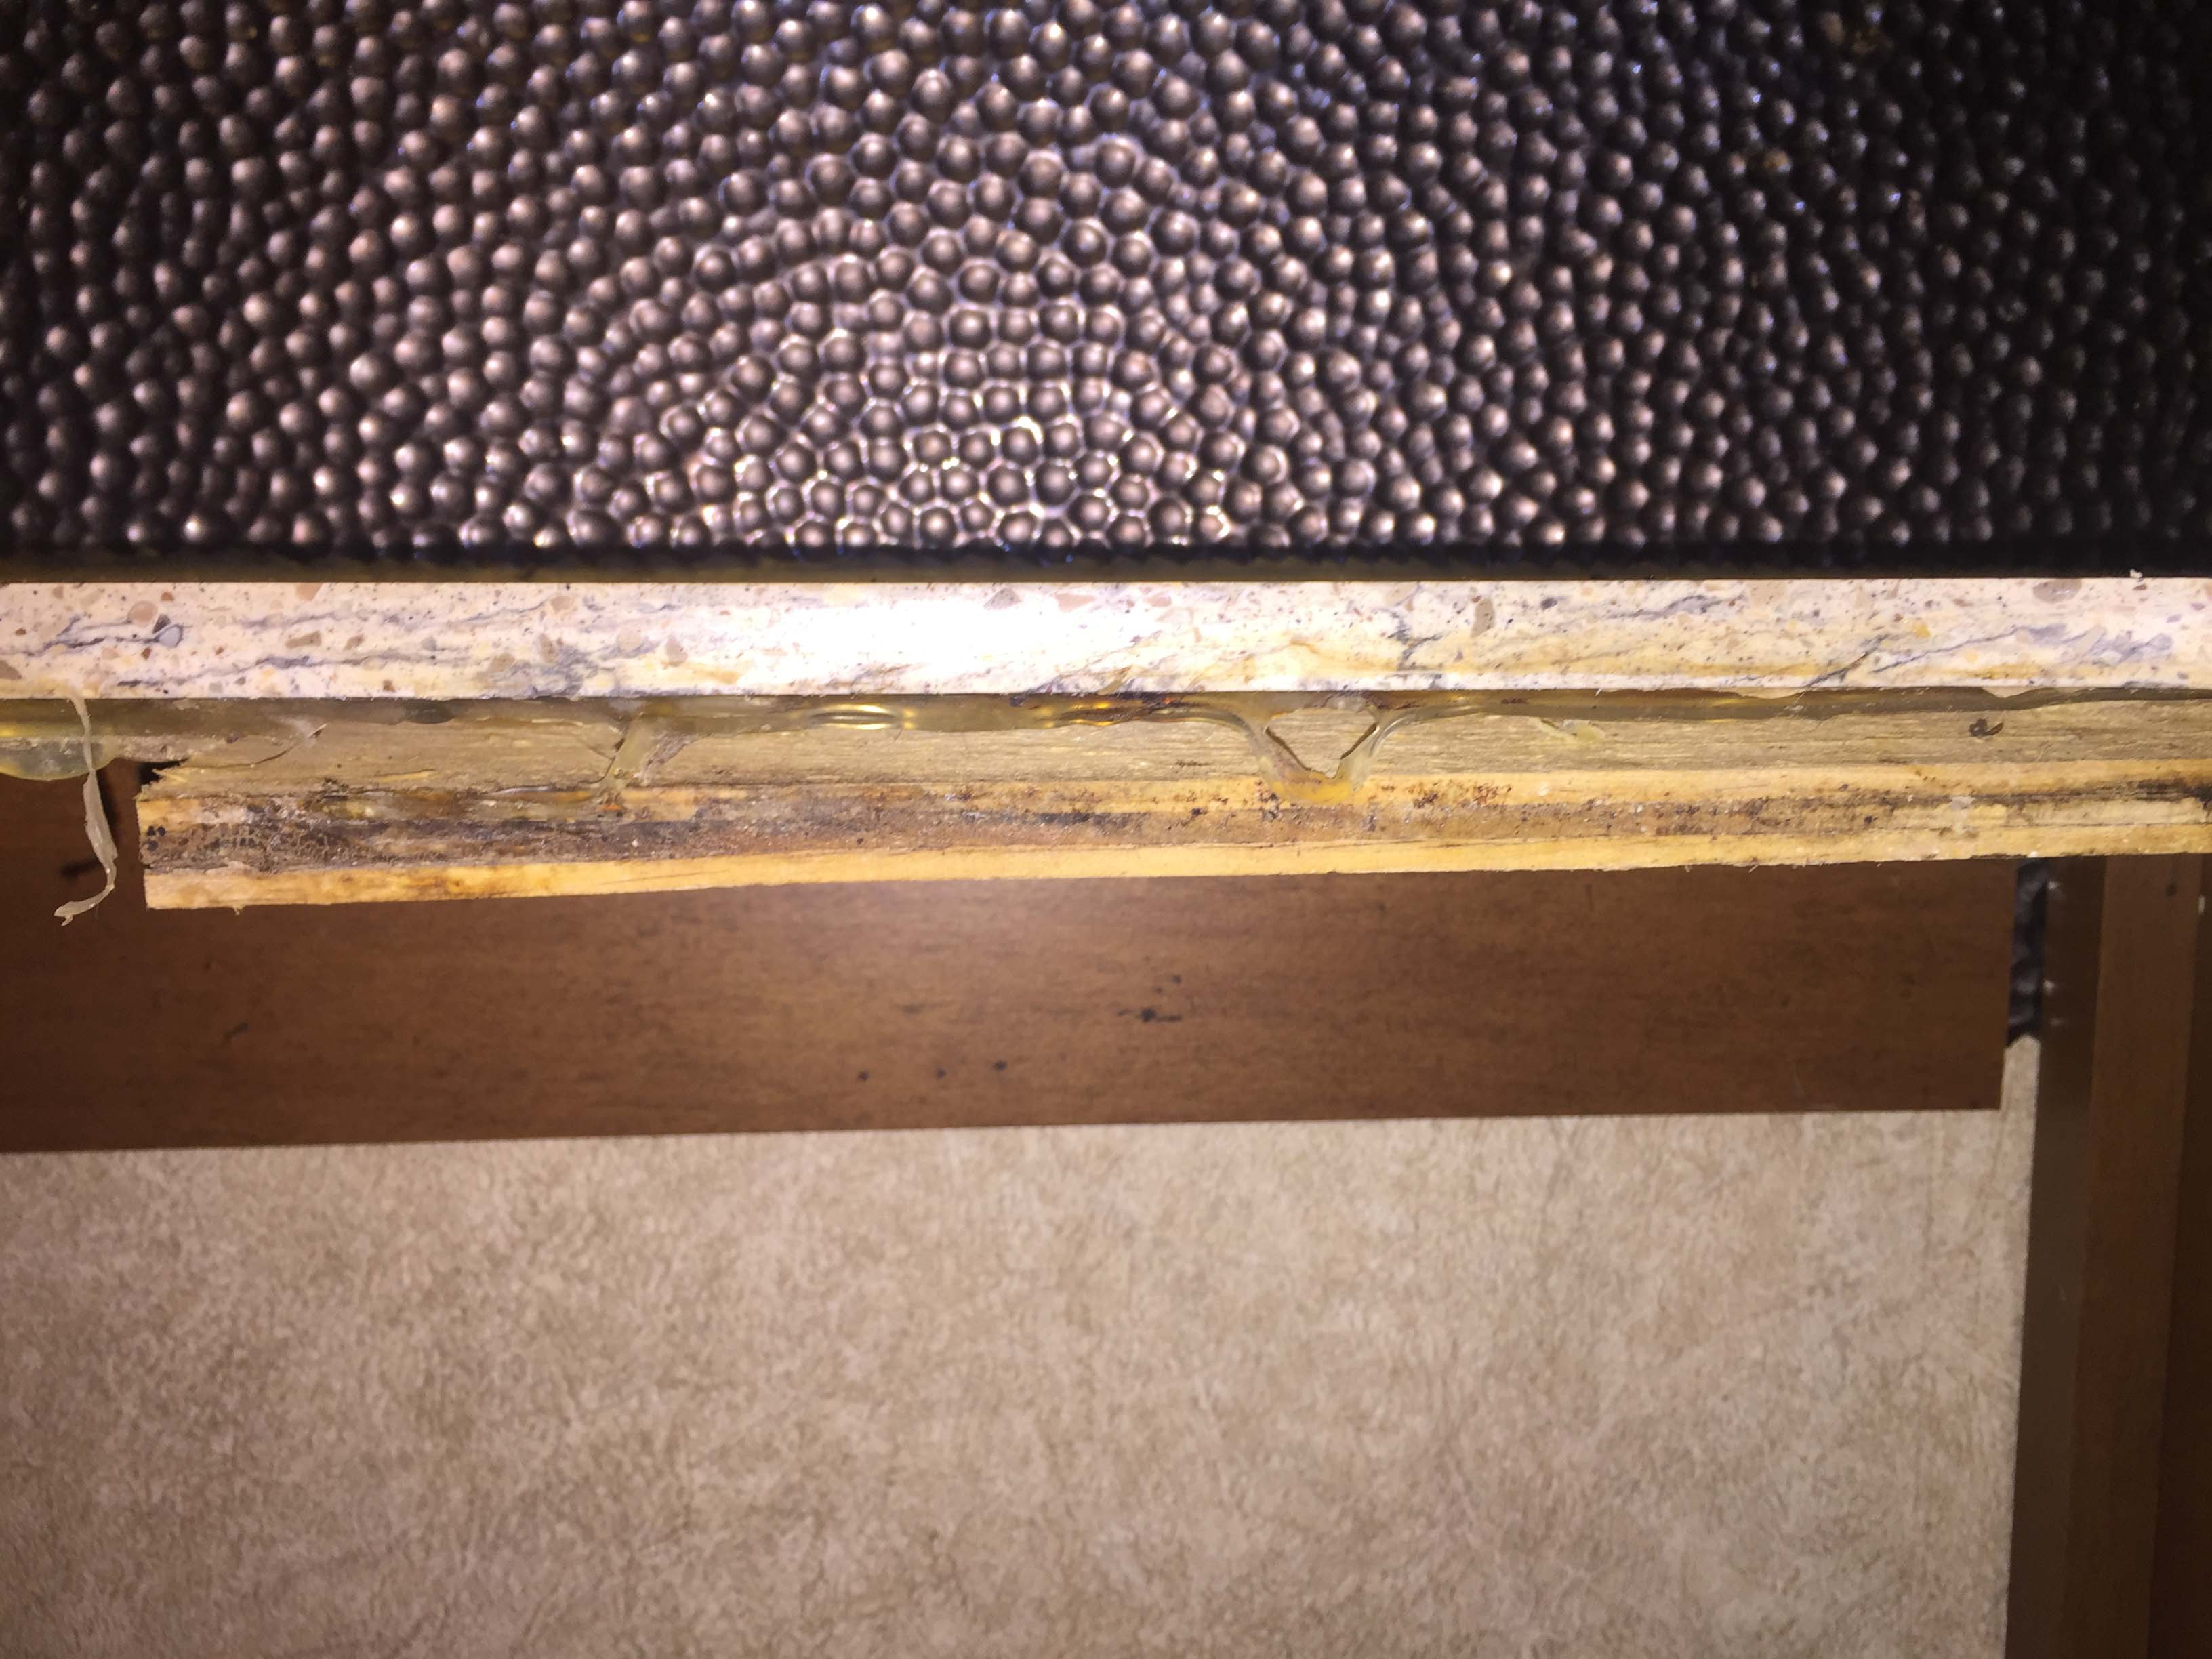
In the pictures below, you can see why this is happening. The sink is mounted by way of clips that hold the sink up from below, and those clips are screwed into a piece of plywood. In the first picture, you can see the edge of the plywood, along with a little adhesive near the center of the picture.
Here’s the underside. As you can see, one part of the clip pushes up against the edge of the sink, and the other part crosses over to the wood. The first problem is that there are nowhere near enough of these clips. There is just enough to barely do the job, just one per side, which is crazy.

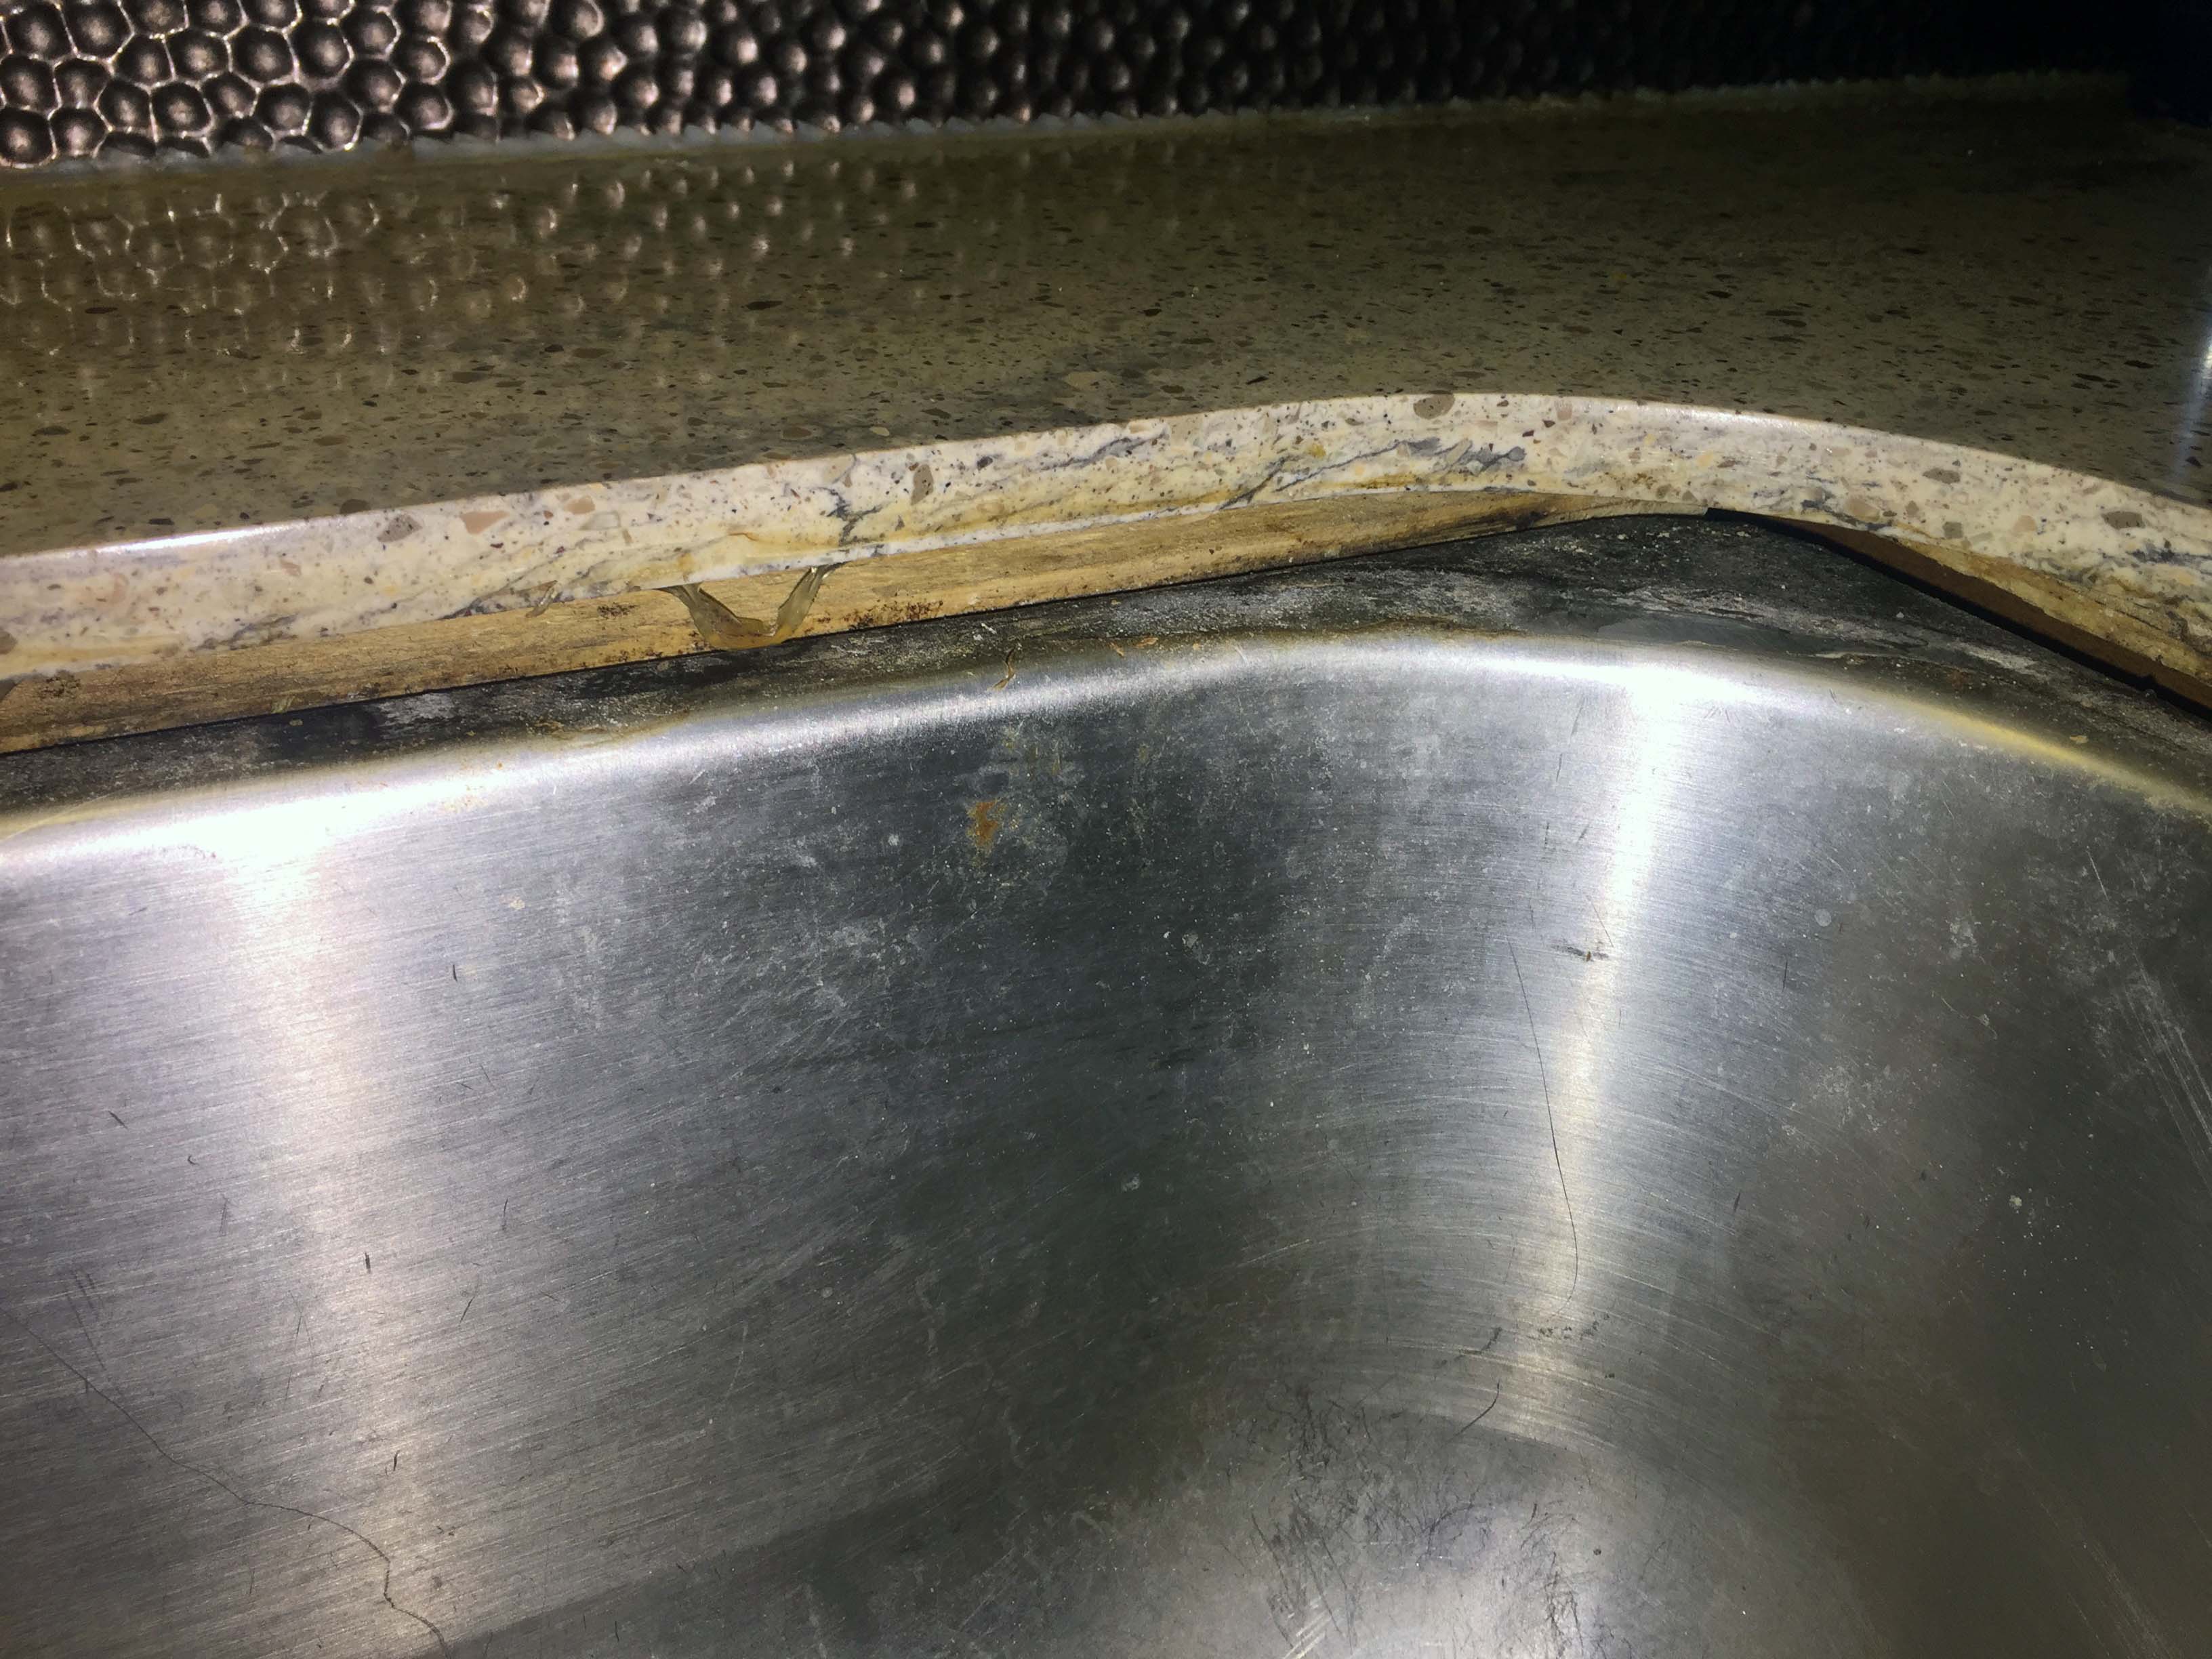
But the real problem is that along the back edge of the sink the plywood is not part of the cabinetry, or attached to the wall, it’s just glued to the bottom of the counter surface.

Here you can see how the side plywood (on the right) is integrated into the cabinetry, but the rear (along the bottom of the image) is not. There is a plywood strip that’s part of the cabinetry, but for whatever reason they didn’t make that large enough to actually reach the edge. Instead they just glued two strips to the counter. That’s just far too much weight pushing down on a single load point, and because the counter material is not porous, there’s nothing for the adhesive to grip. Over time, it just drooped a little and once it drooped enough to break the seal, water slipped in and made it worse.
Below you can see where because the “drooping” broke the seal between the sink lip and the counter, water seeped in and ruined the plywood.

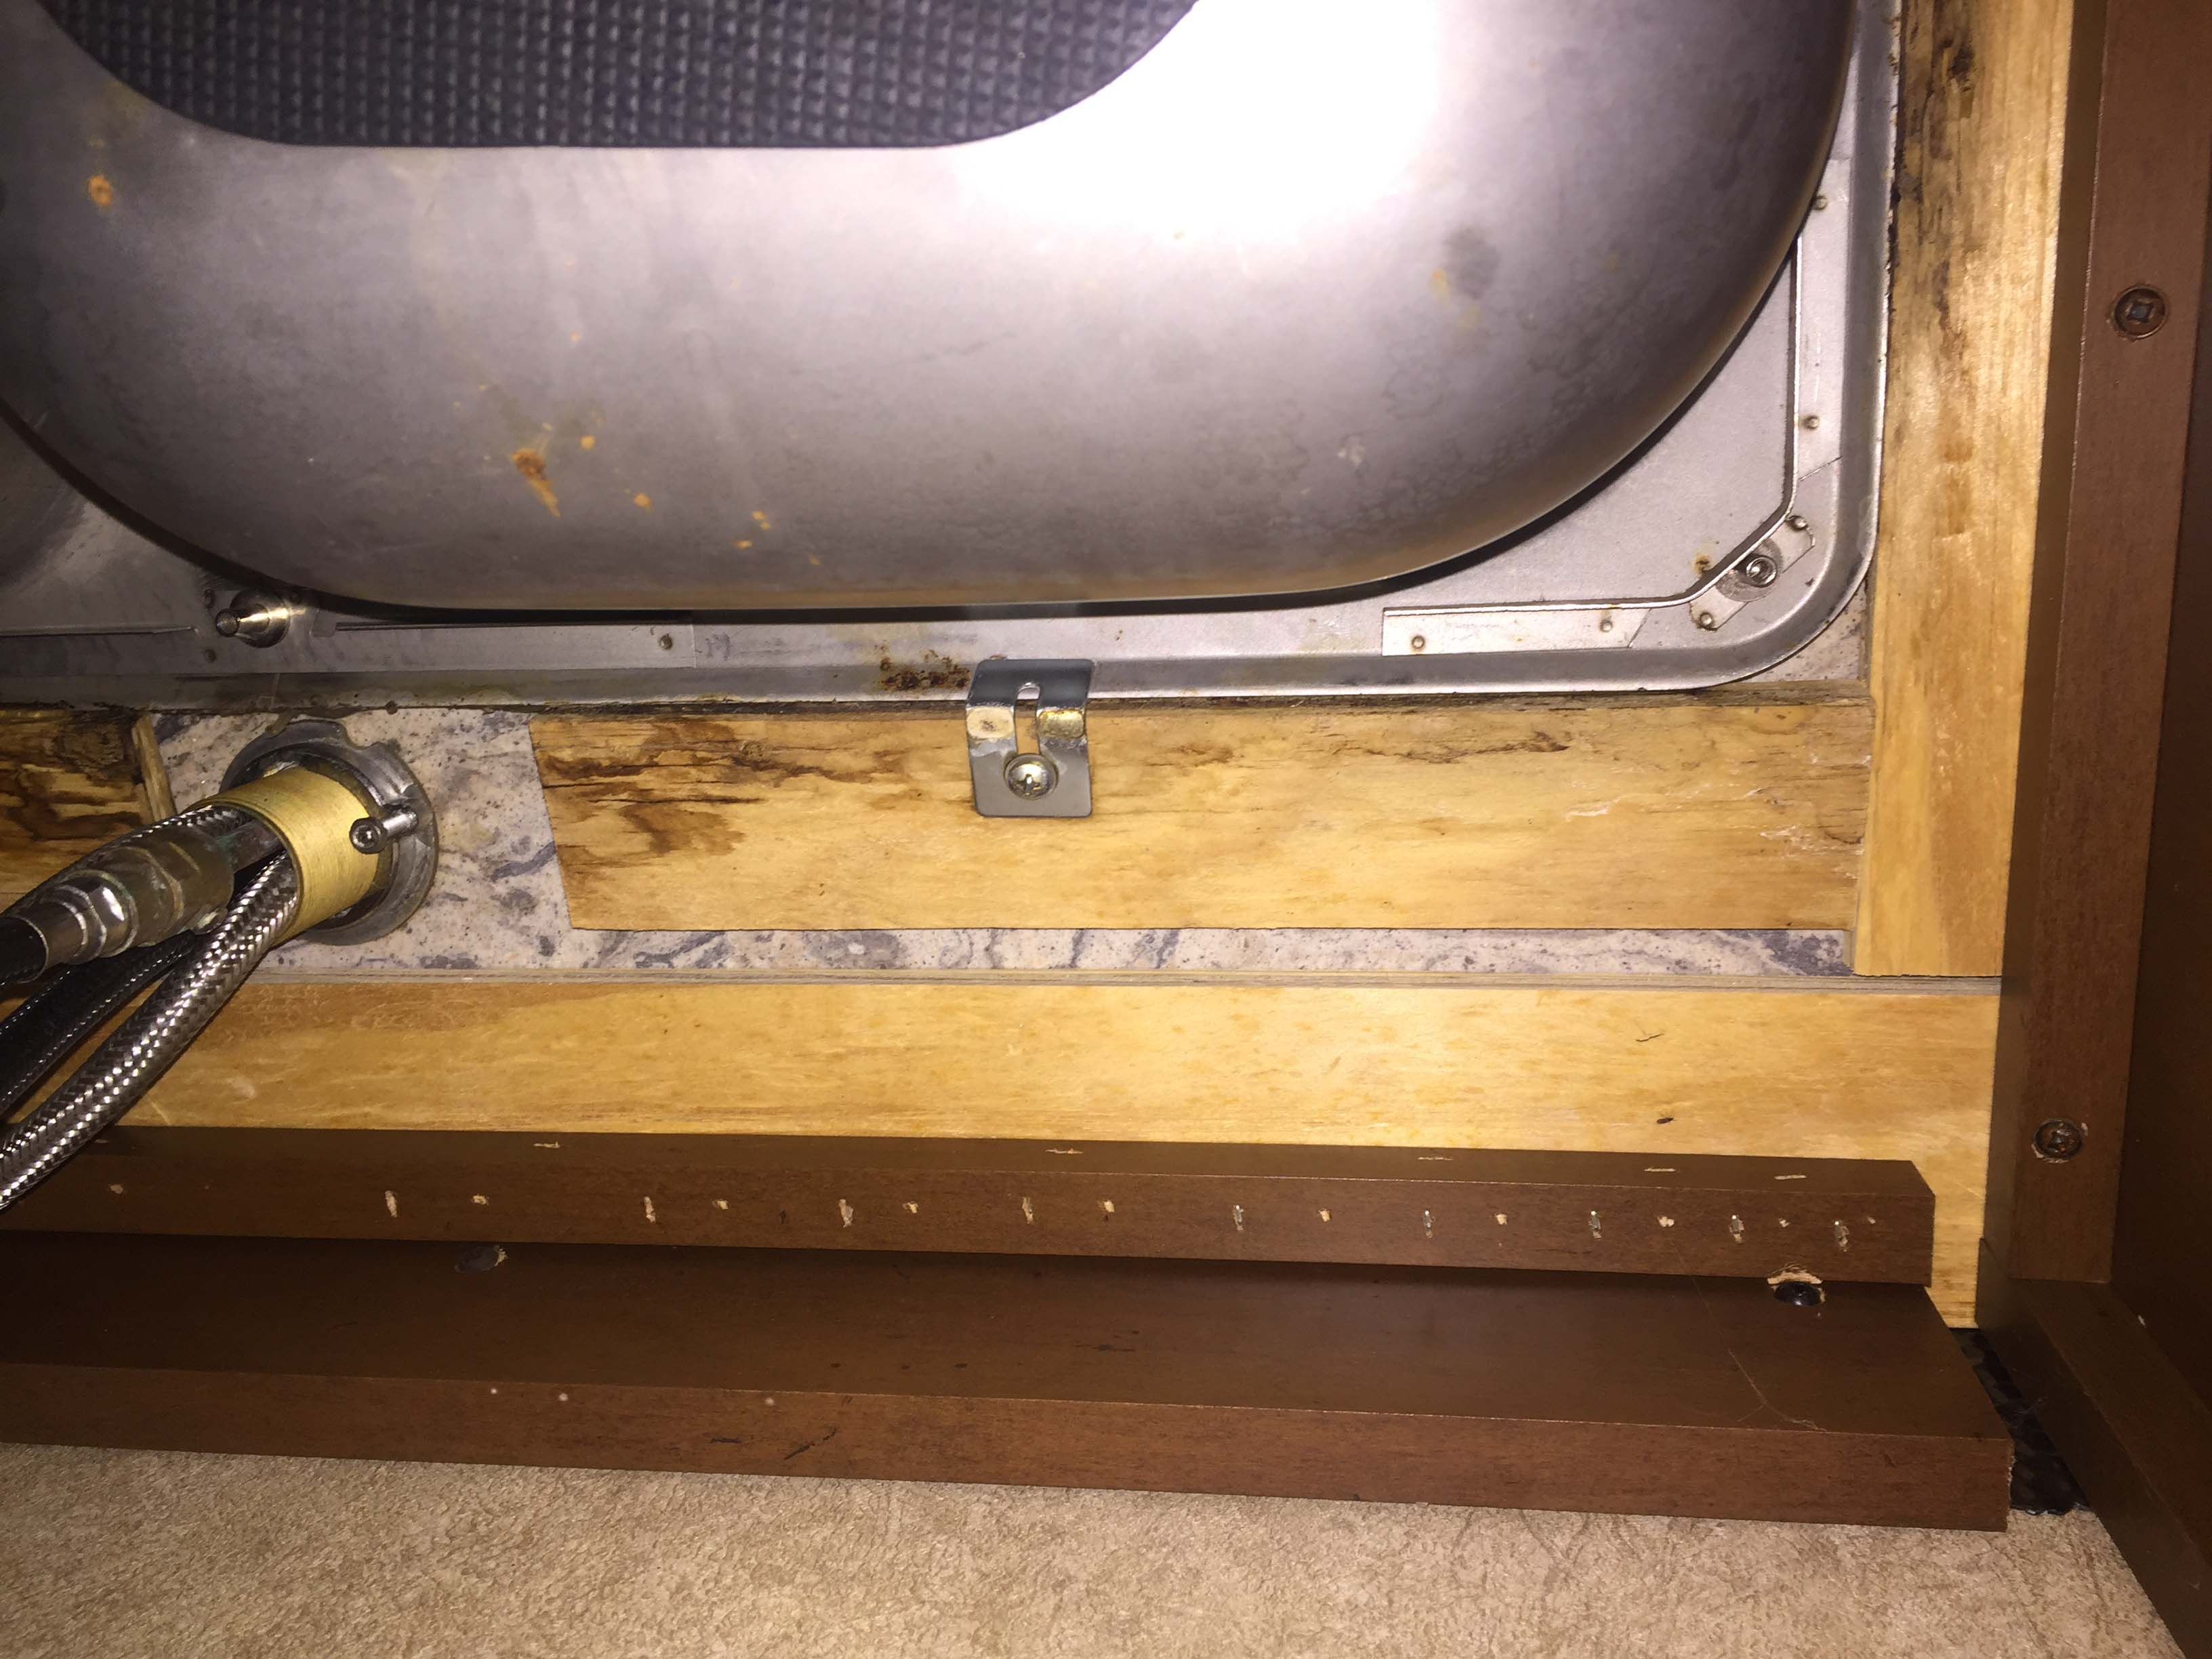
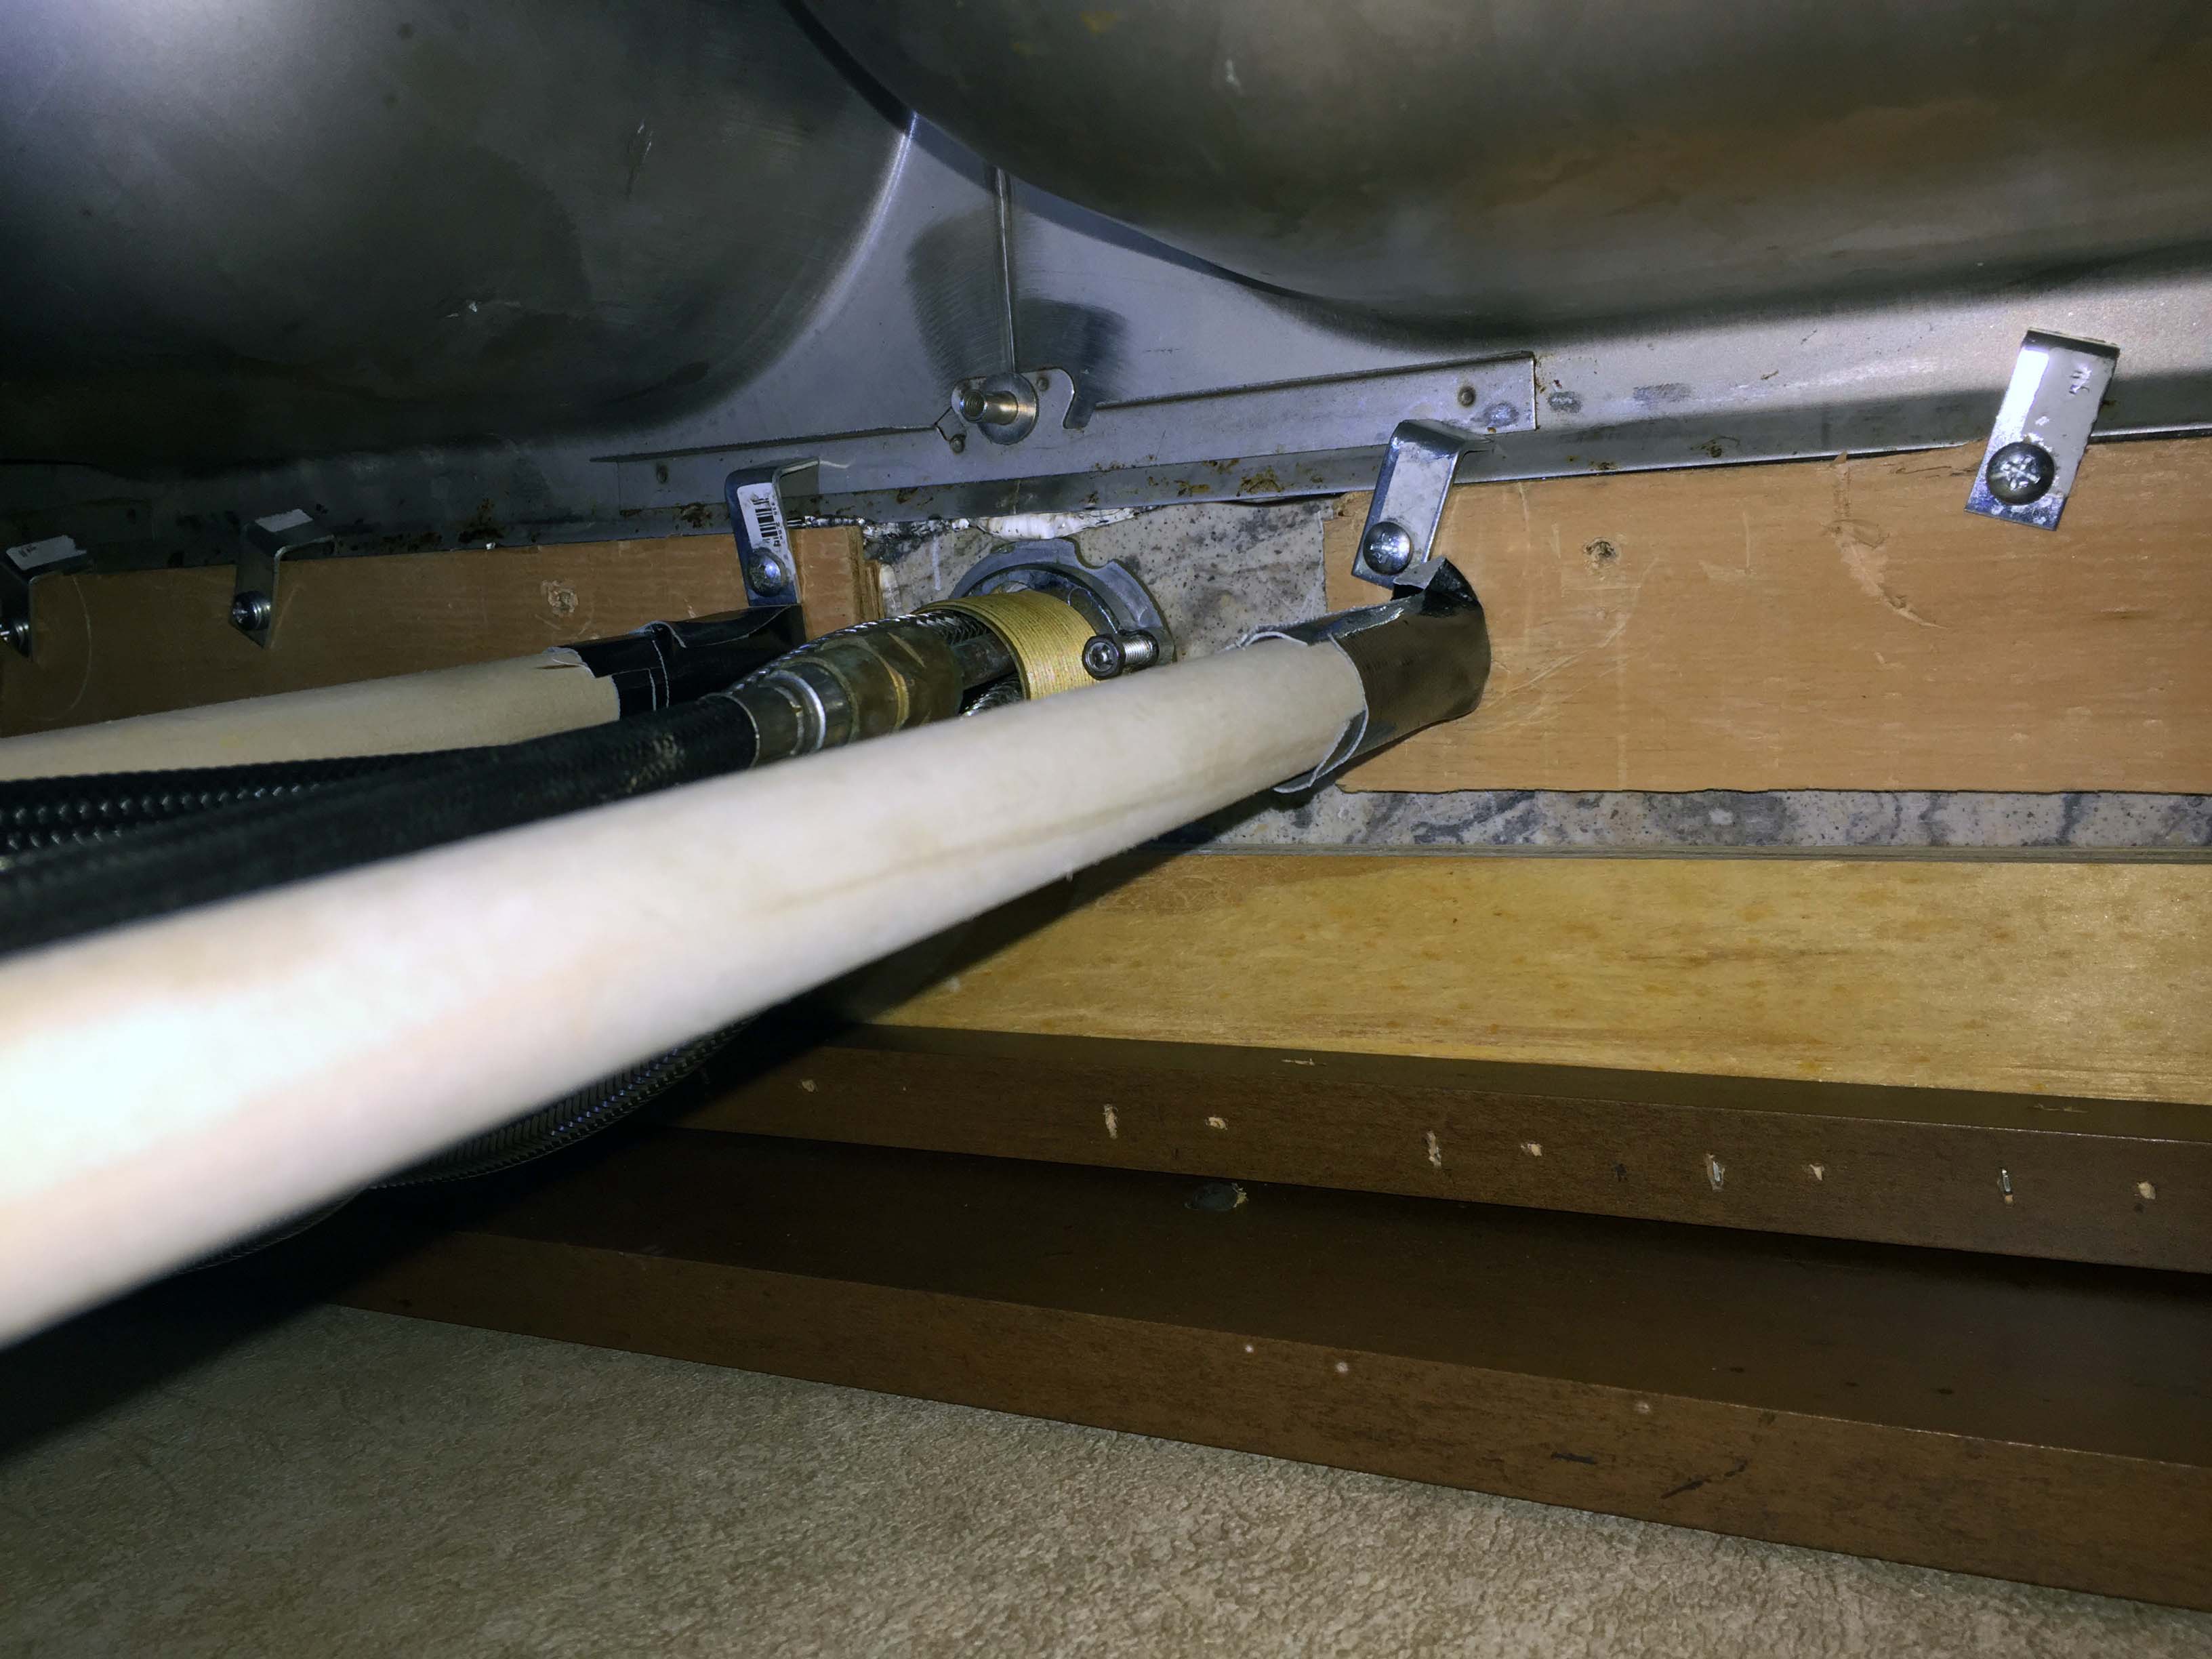
With everything removed from the cabinet shelves, and the trash can removed, this is what I’m left with. To get in there and work it is not ideal to go in here headfirst and facing up. With all of my weight on the cabinet work, it is really painful on the back. Also there’s nowhere to rest my head, so I was essentially holding my head up. Good workout.

In this picture you can see where water got in and caused a buildup of “gunk”.

Once the sink was removed, all of the silicone had to be removed from the sink lip, and the inside edge of the counter, and the underside of the edge.

Again you can see where the adhesive failed and the plywood strip dropped down.
and the water damage.

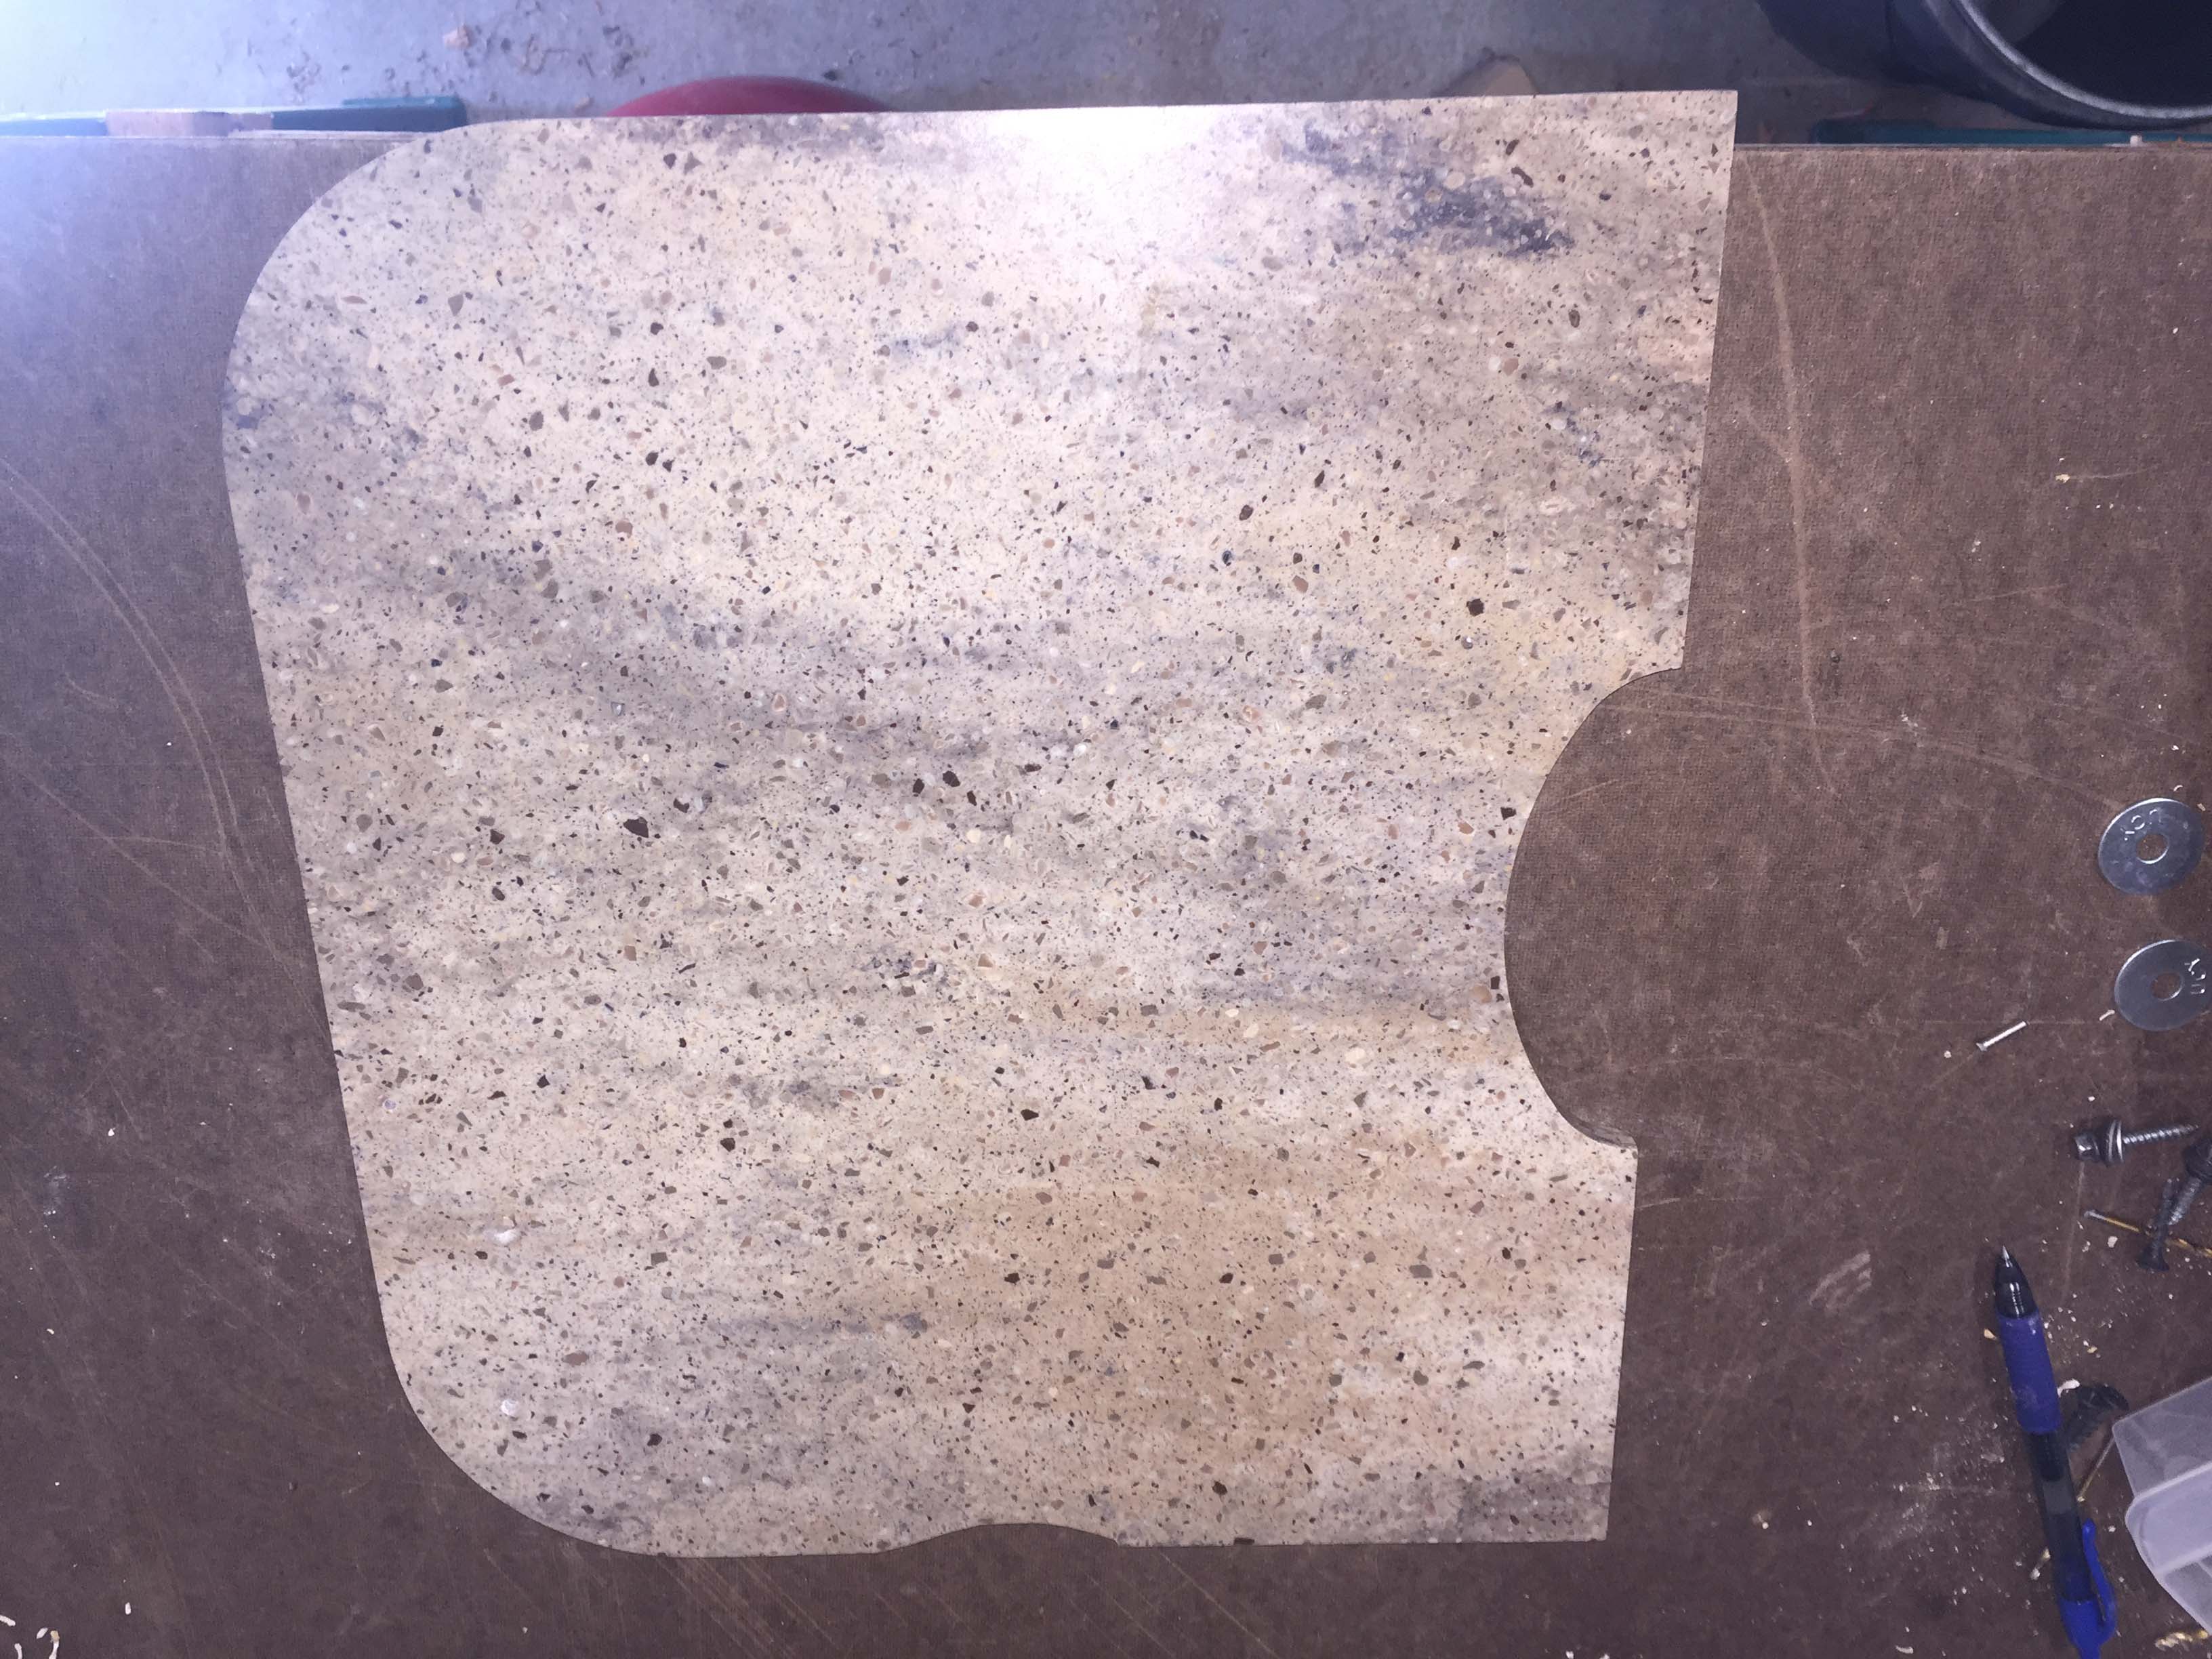
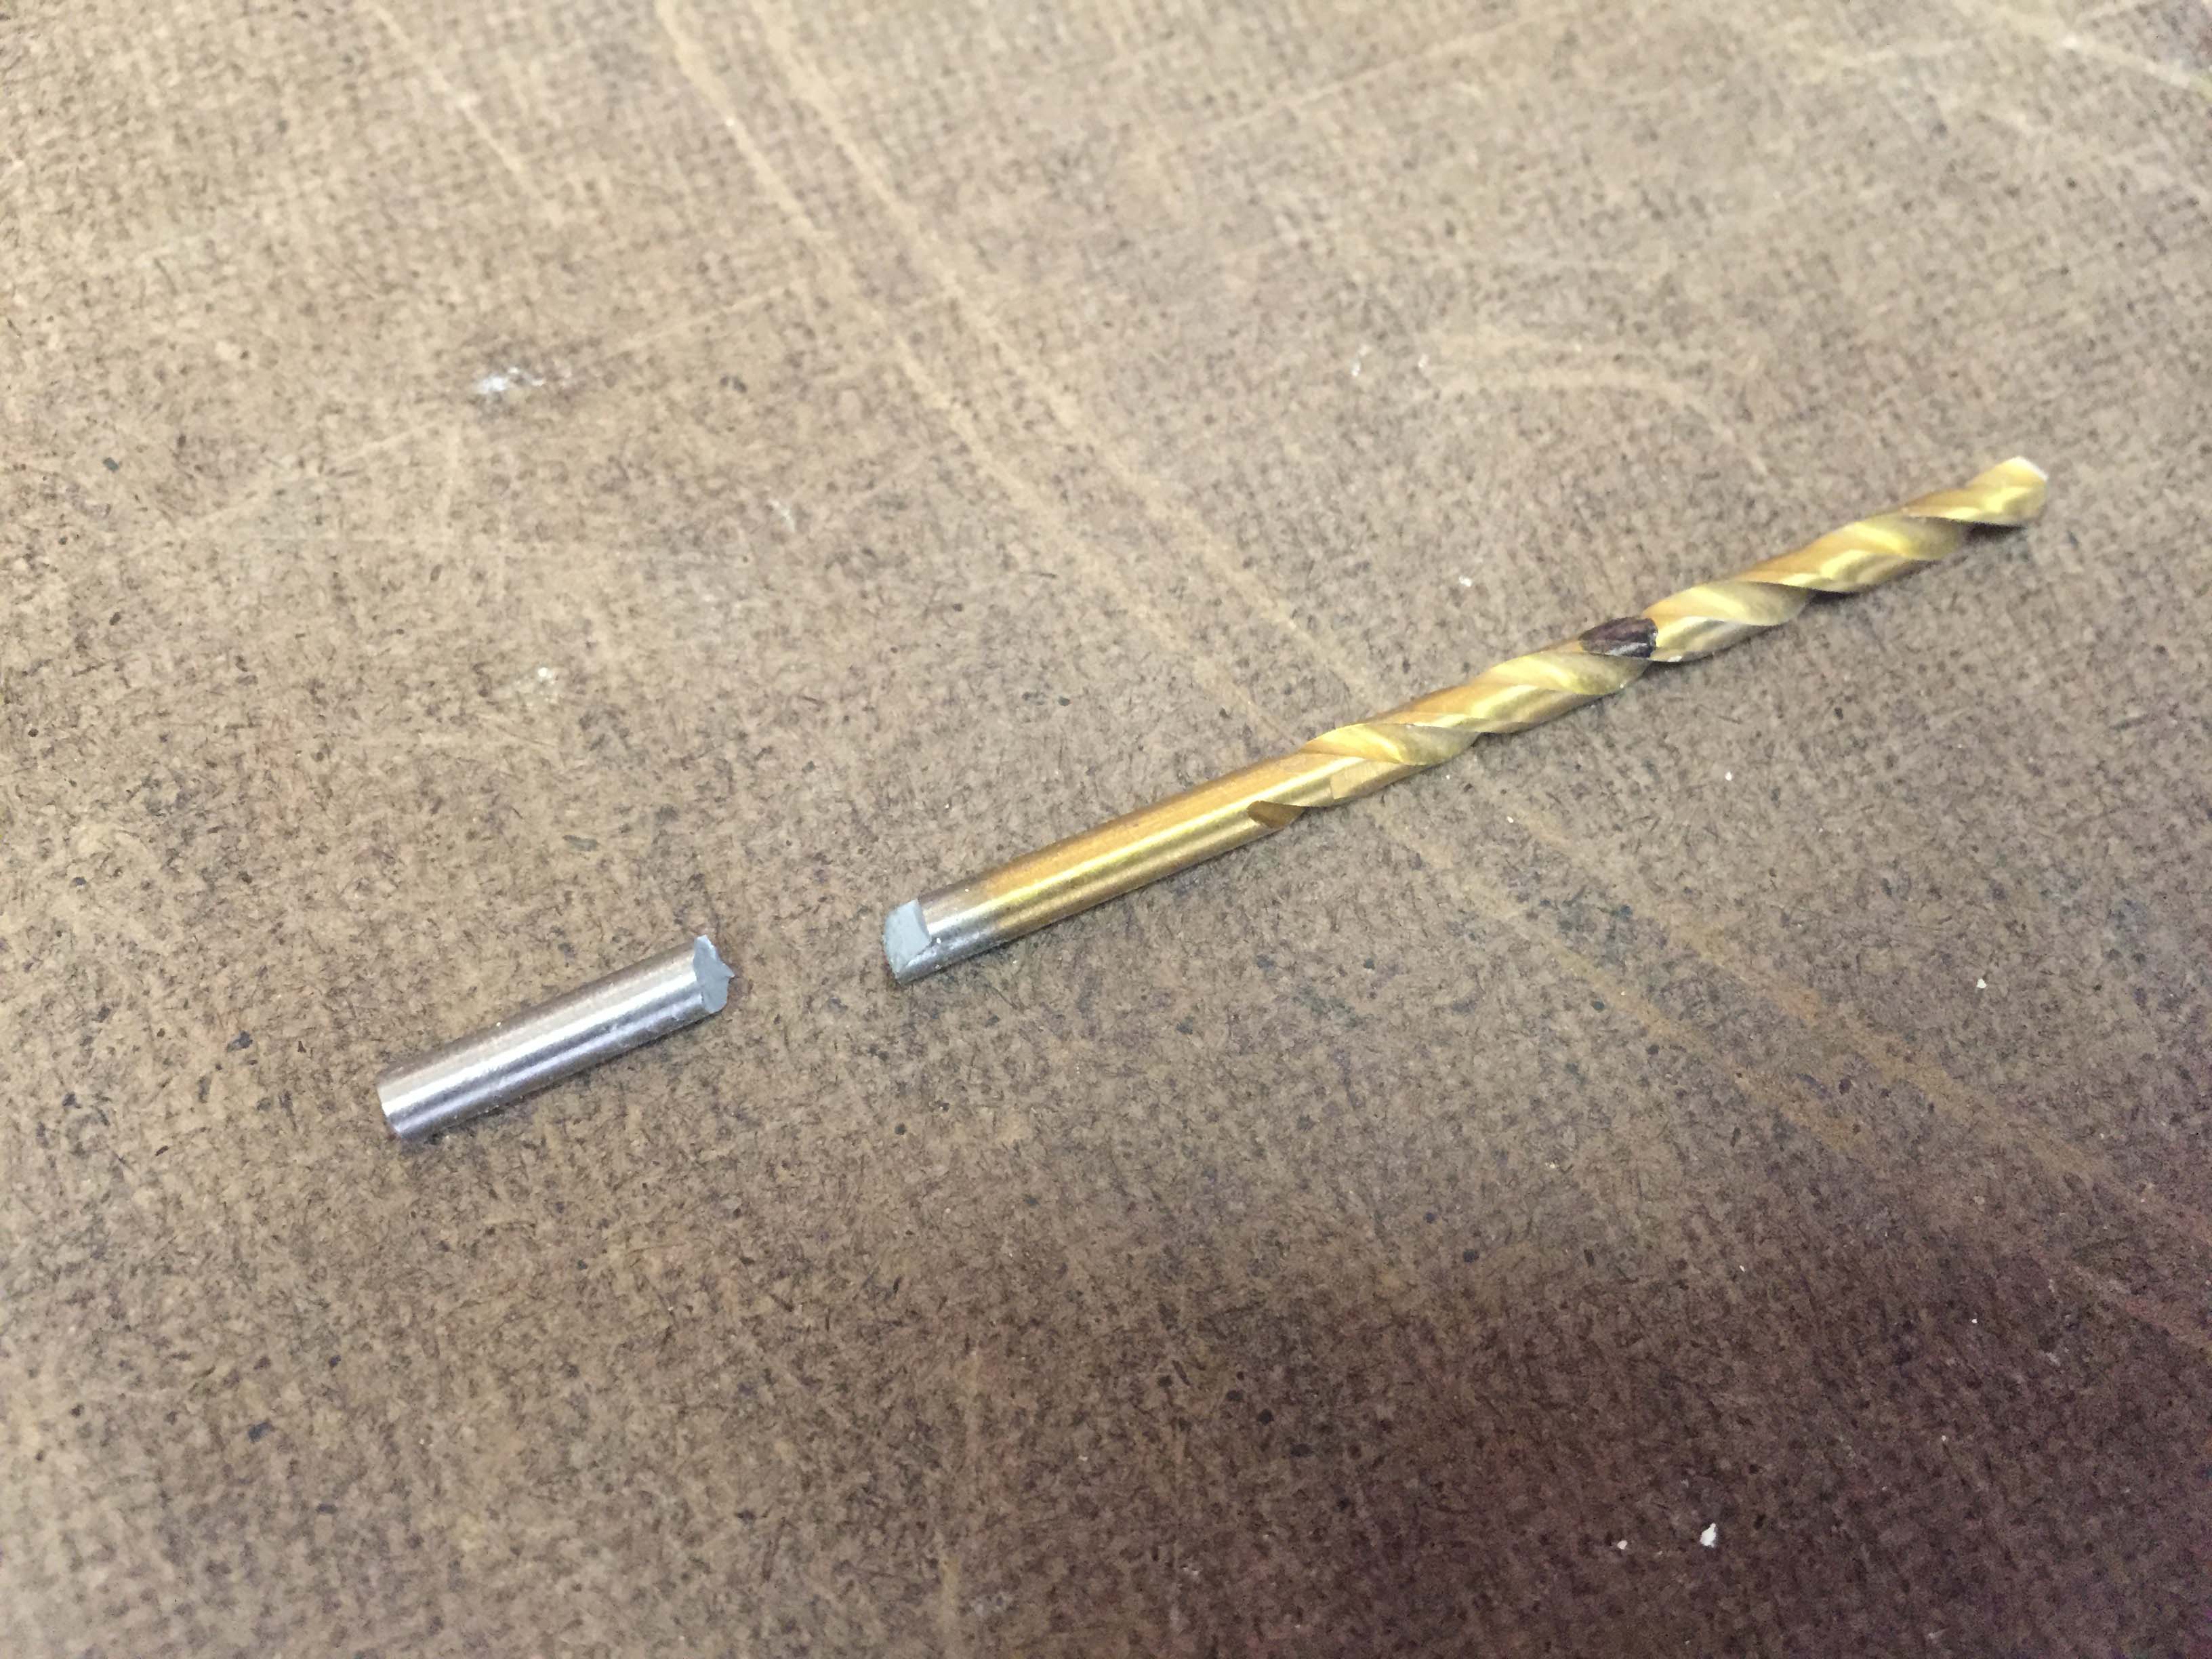
So we have two drop in sink covers, which we never use, so I decided to use one of those to experiment with and test my solution. The first time I did this repair I just used adhesive and clearly that didn’t work. I was looking for something that would be permanent. My first thought was that I could use screws to attach the plywood to the bottom of the counter. That was going to be tricky, because the counter is very thin, (1/2″) and I certainly didn’t want to do anything that would break the plane of the surface. I tried putting a self tapping screw directly into the counter material, and it cracked and broke almost immediately.

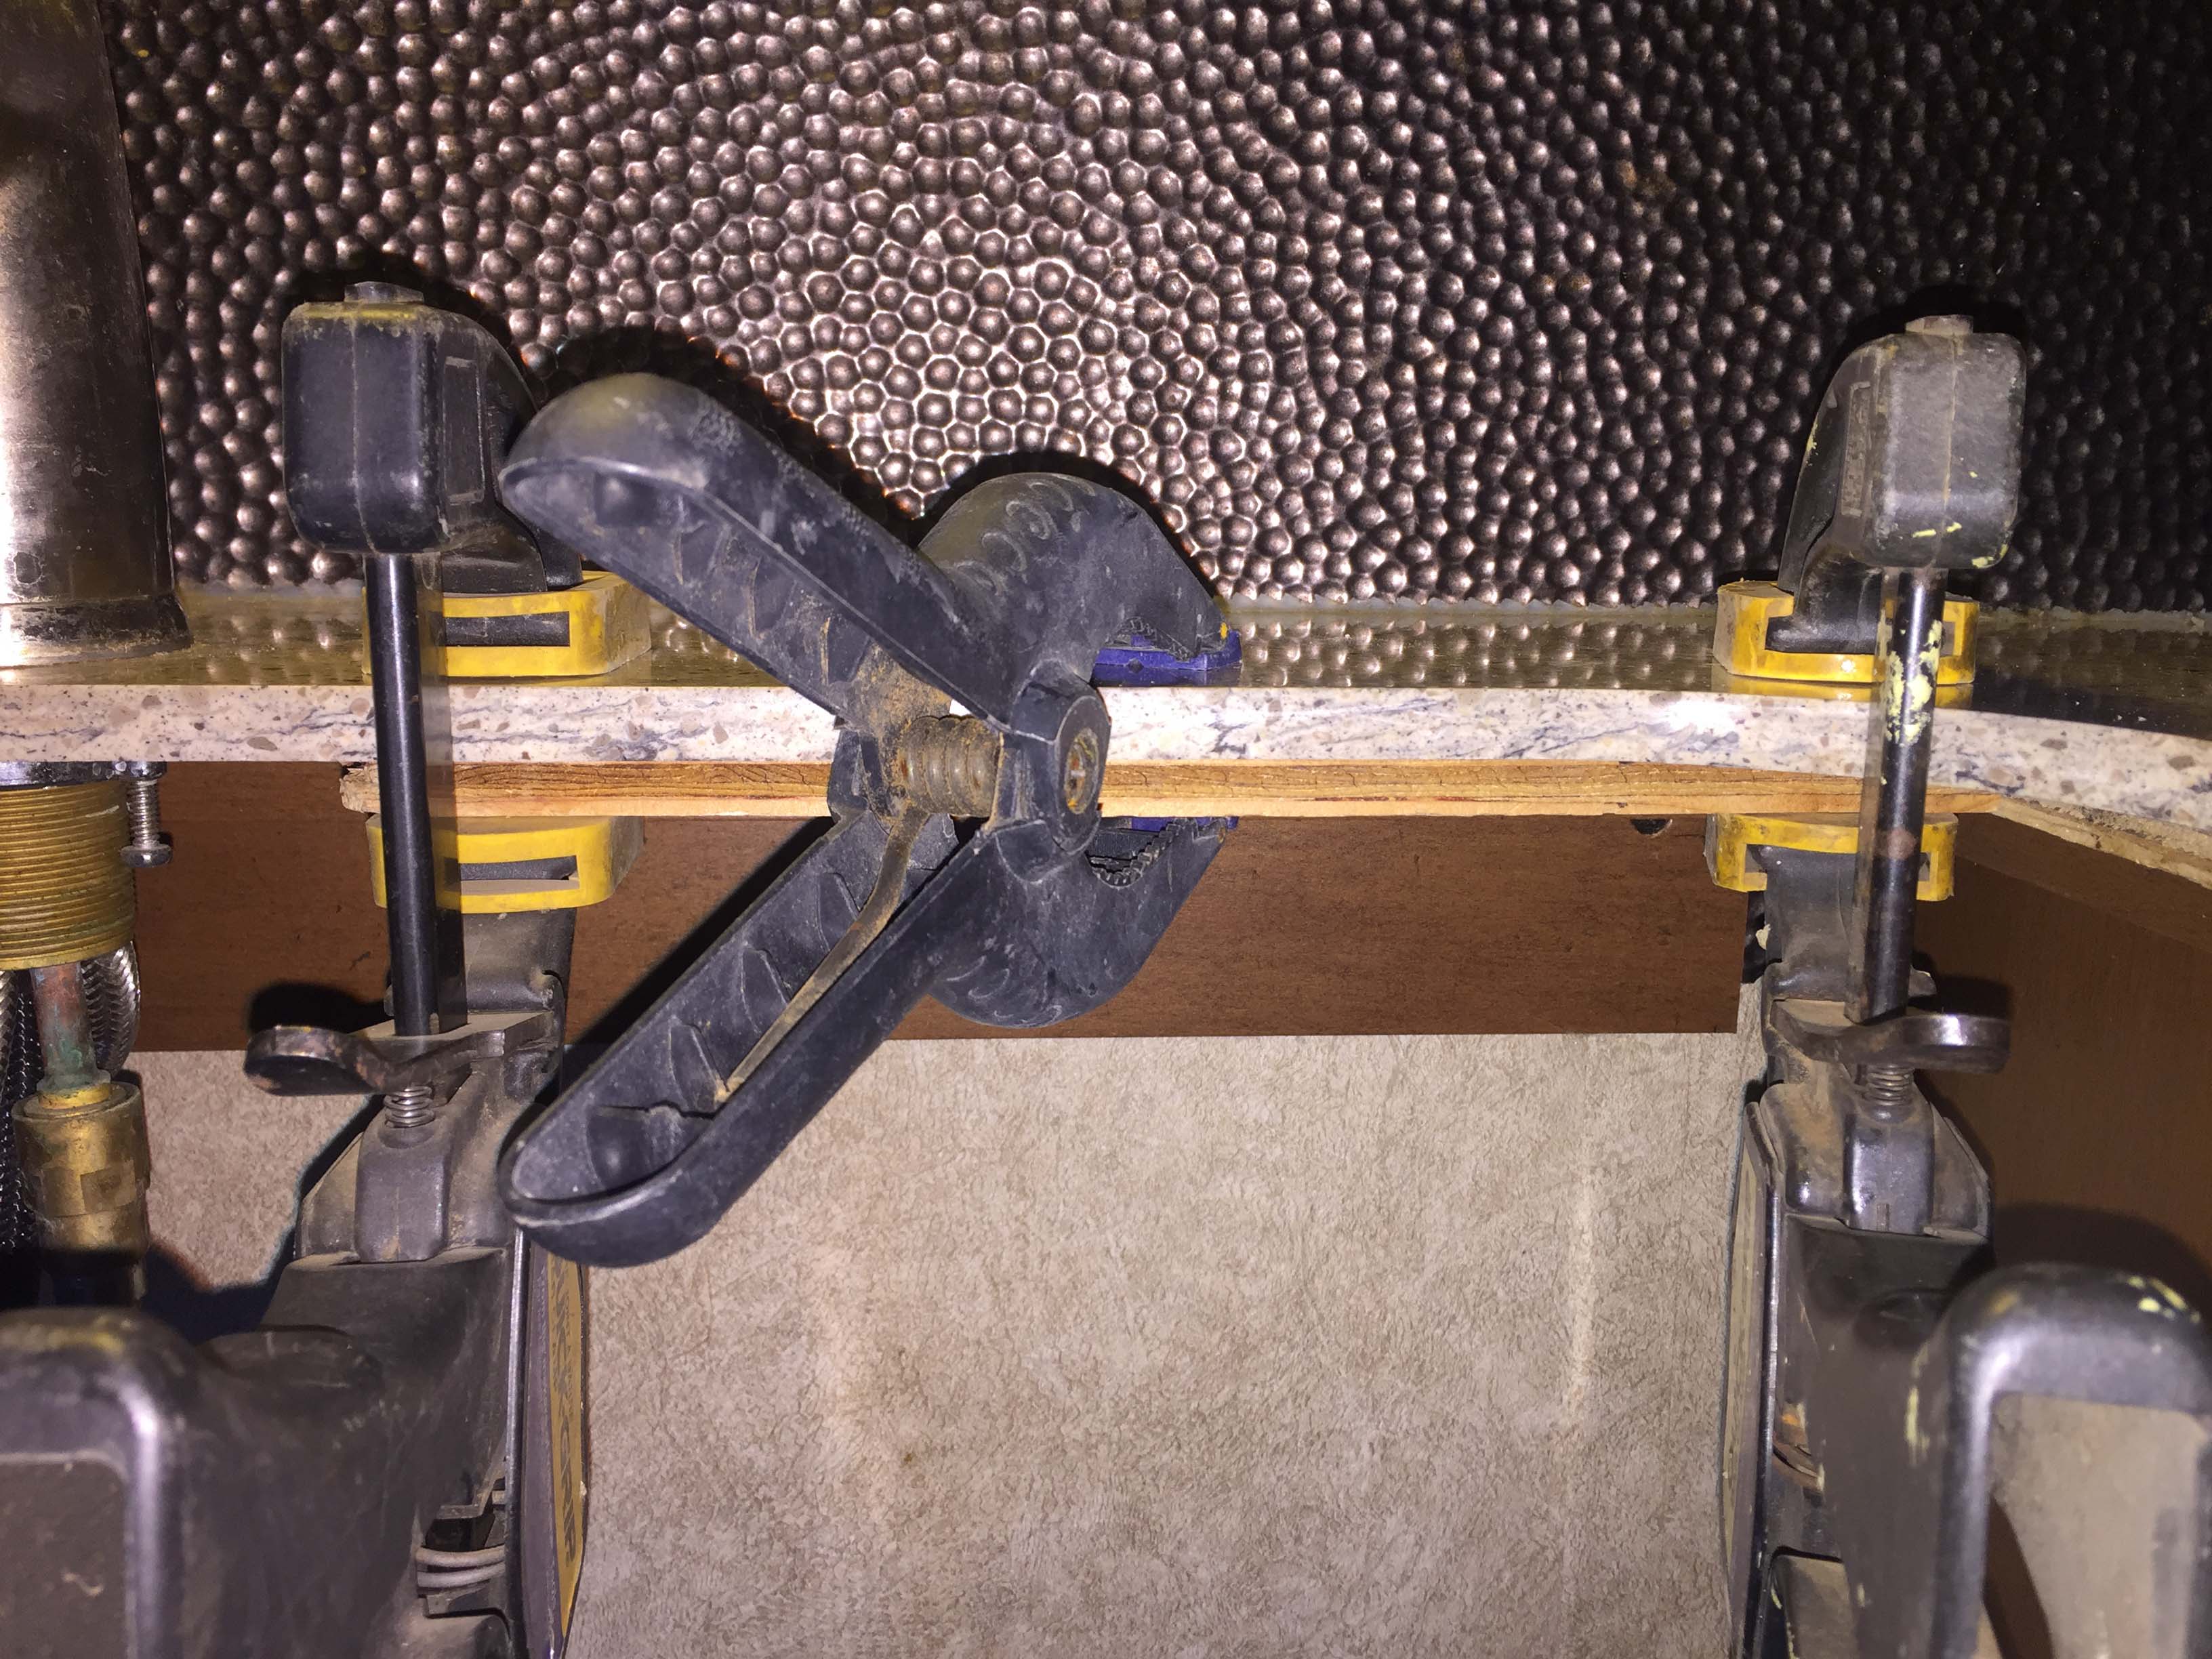
So clearly I would need to drill the largest pilot holes possible to the exact depth and then carefully put the screws in. So I made a drill bit that was exactly the length I needed, and clamped my test piece to a piece of plywood, drilled the holes and then put in the screws.


Sadly I don’t have a picture of it, but the next screw cracked the test piece and the experiment was over. So I had to come up with another plan. I decided to do the simplest thing I could, and started with using the highest grade adhesive I could. Once I applied it, I clamped the plywood to the counter and let it dry for over 24 hours.
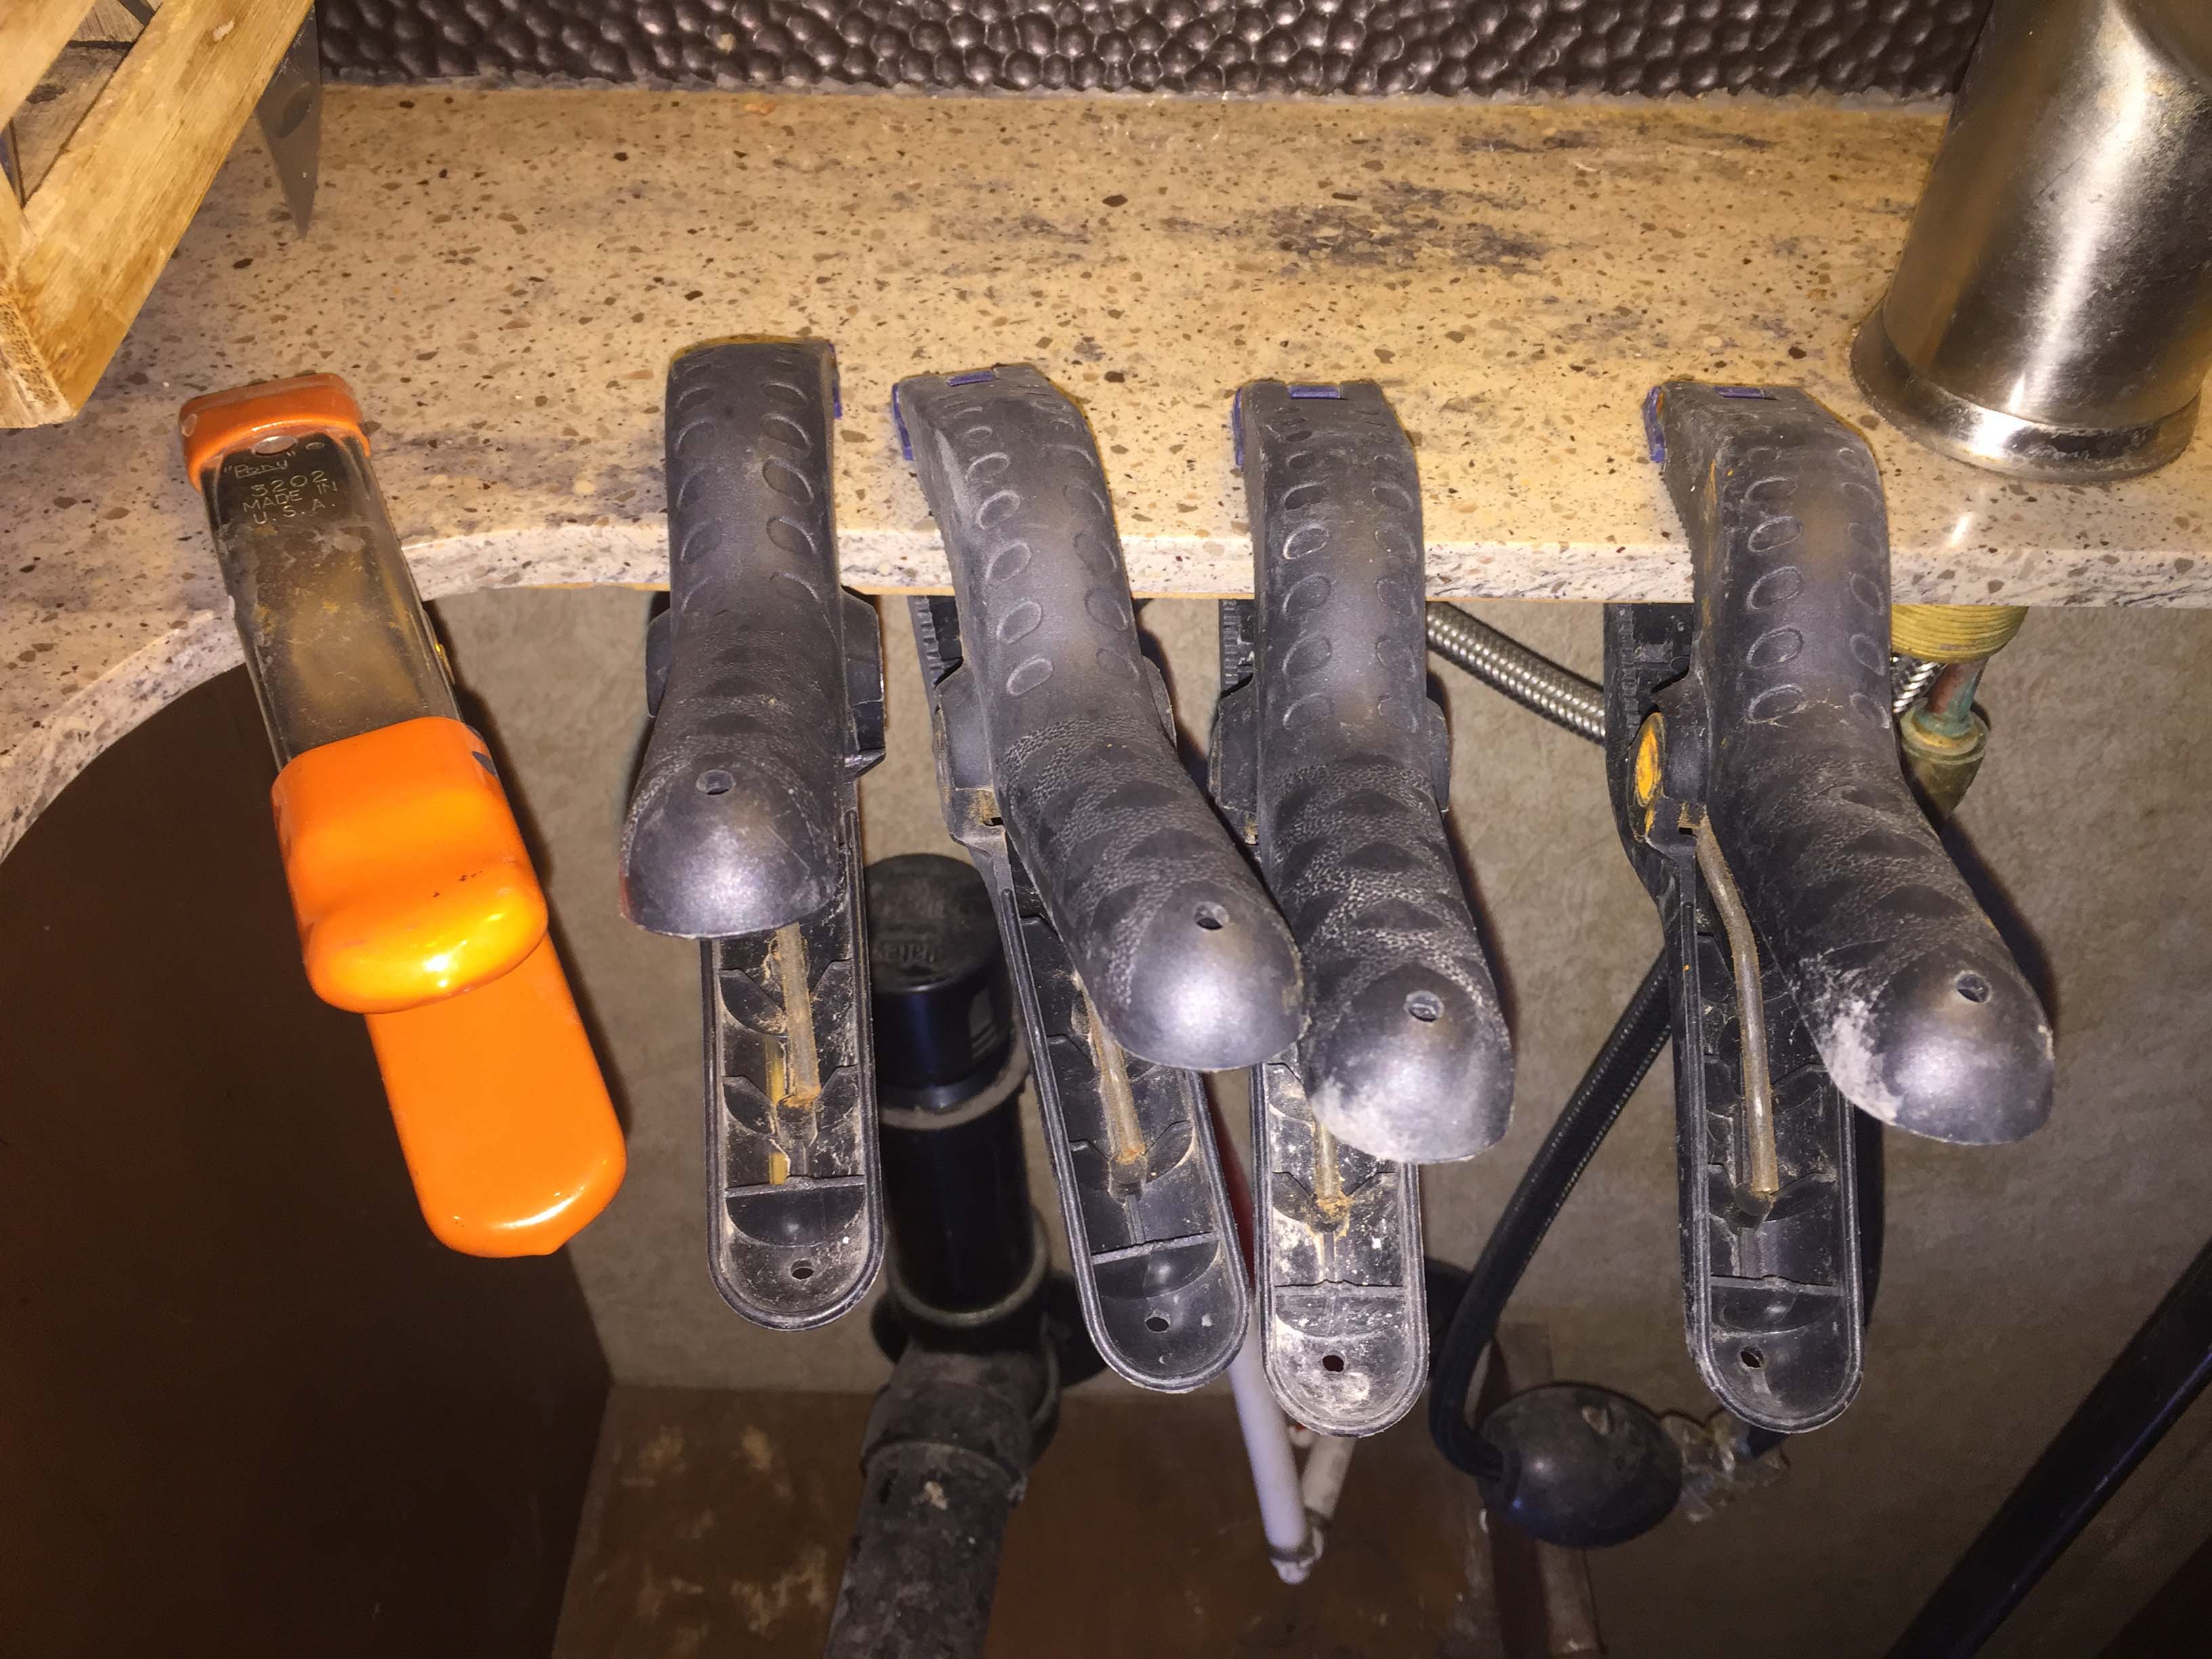


Part of my new solution was to use many more clips, to spread out the weight load as much as possible. Unfortunately, an extensive search for these clips yielded no results. I couldn’t find anything even remotely like these clips anywhere. So I decided to just make them. I purchased some small “L” brackets, and compared them to the existing clips. The existing clips have elongated holes to allow for adjustment, and are longer on one side than the other. A few minutes with a vise and a hacksaw and then a file allowed to me to create all I needed.

An unmodified L bracket alongside an original clip.
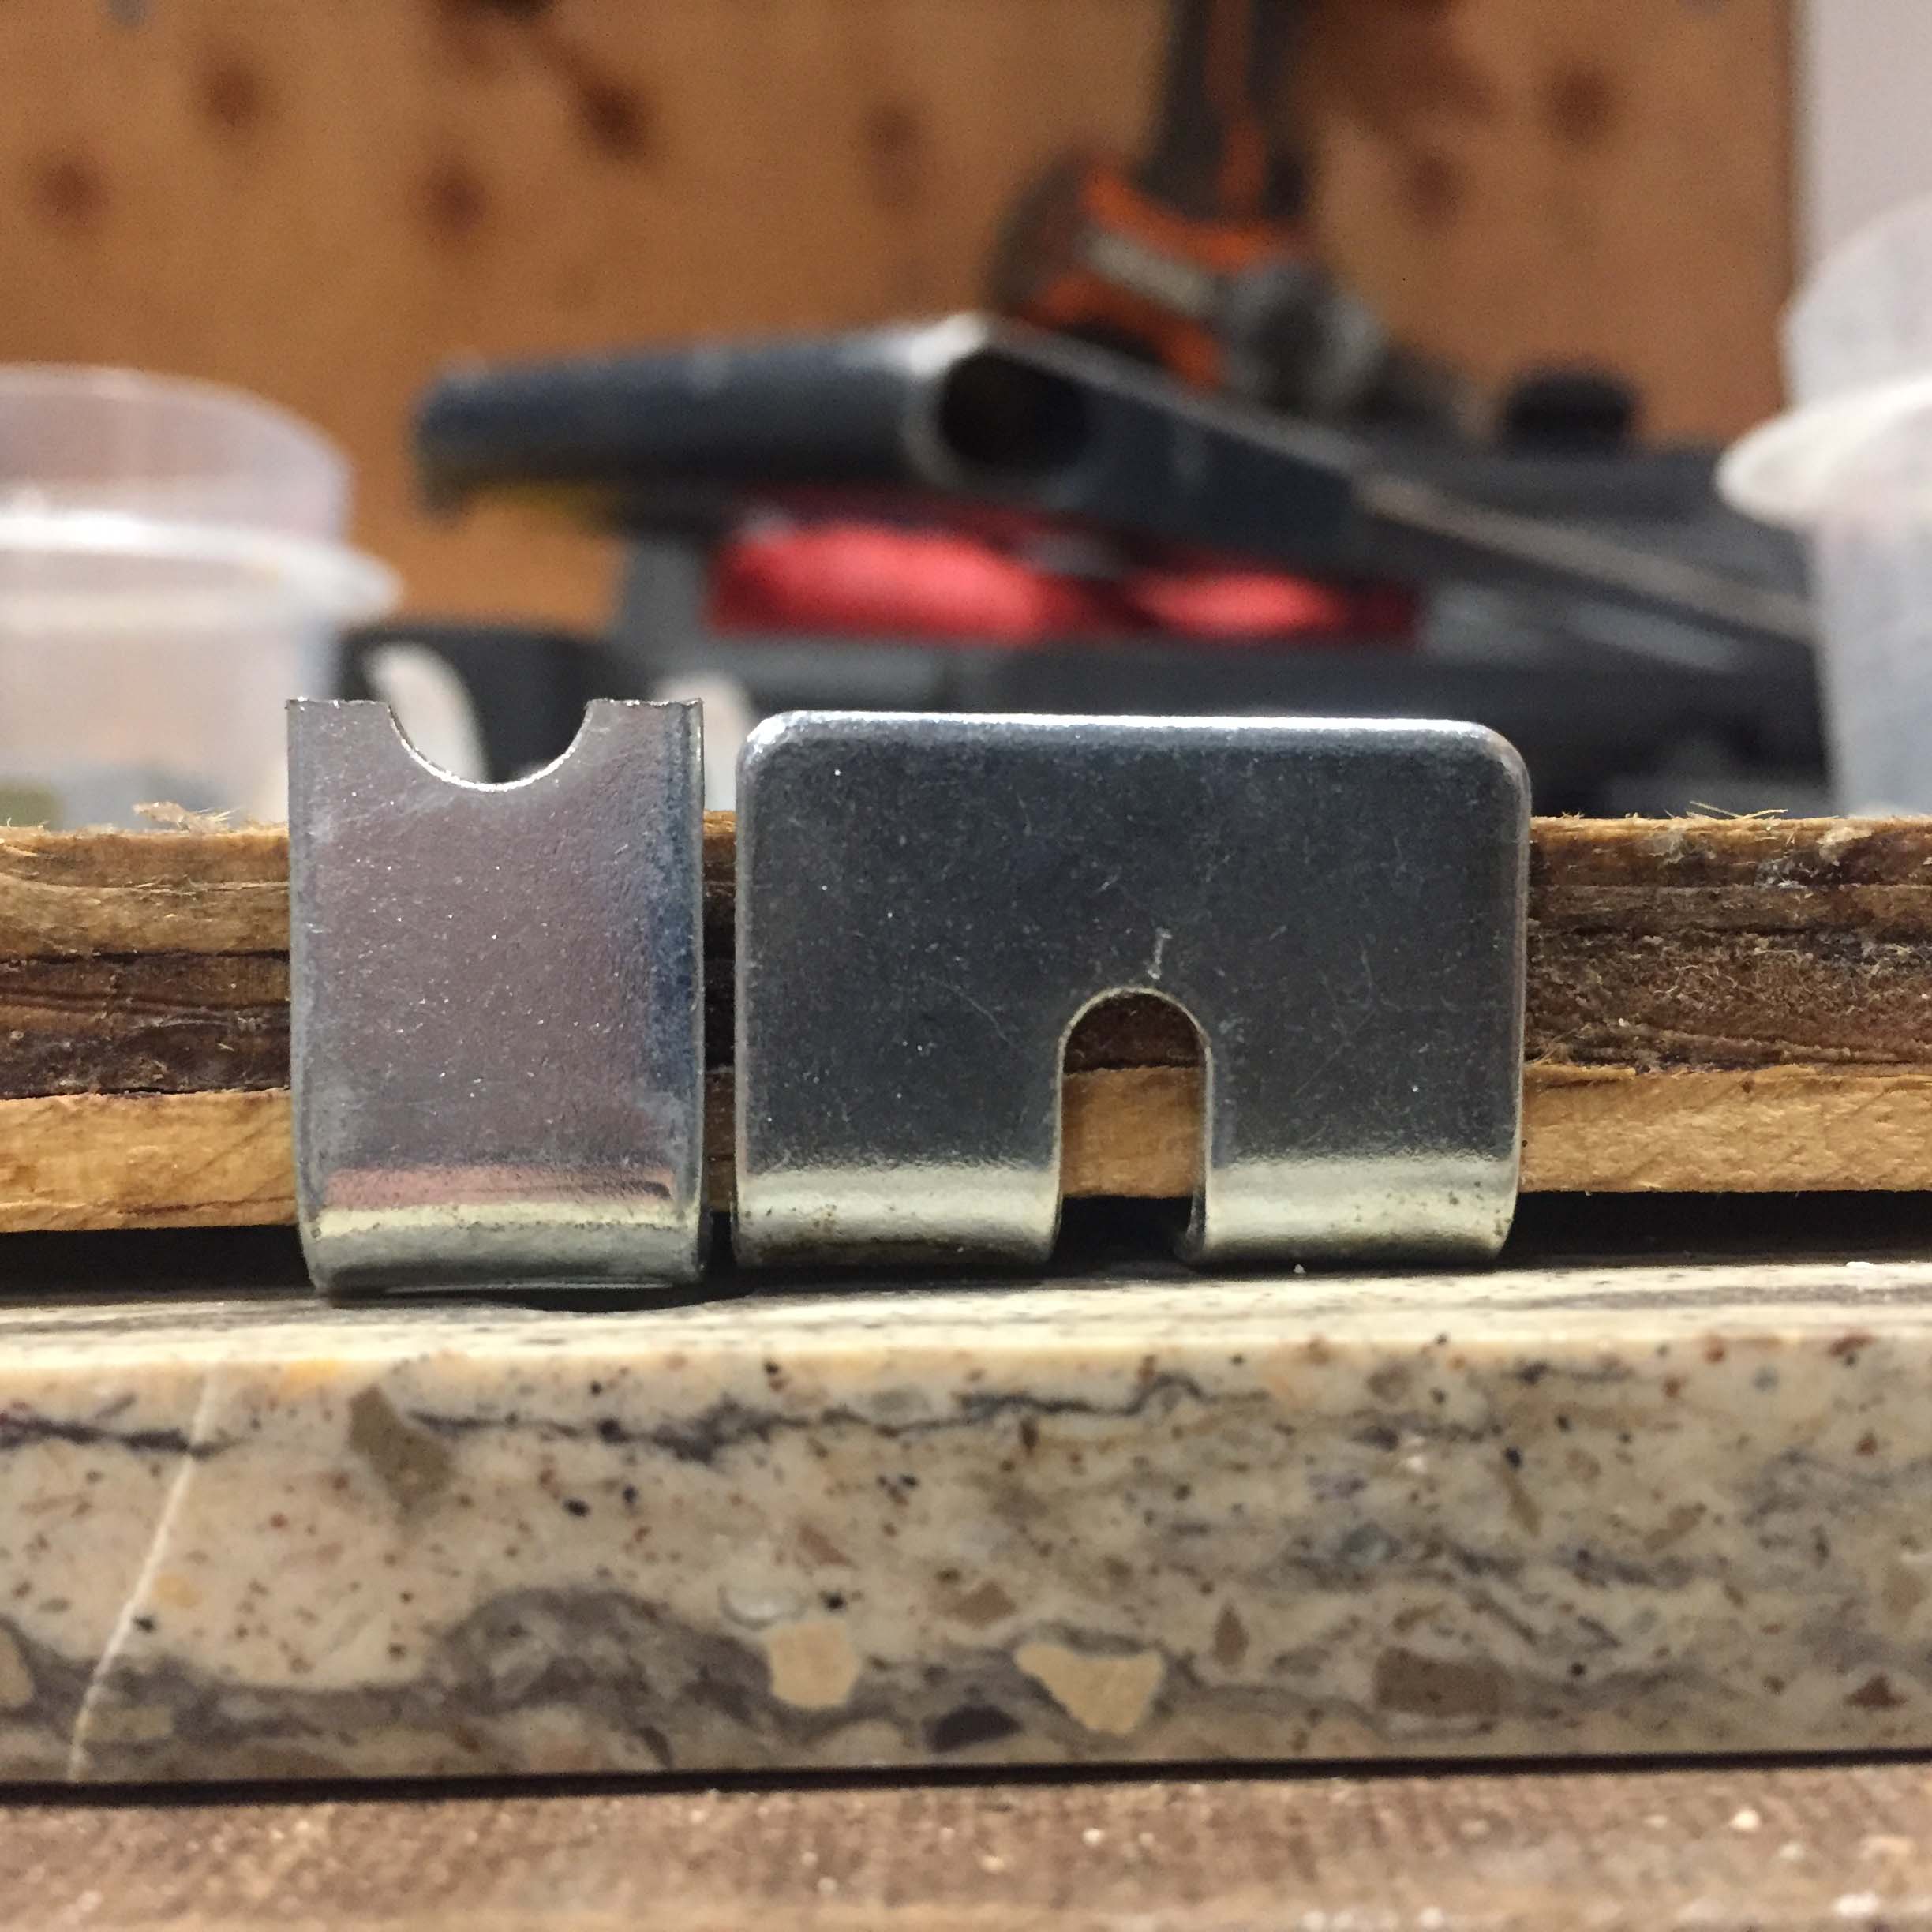
The modified bracket with an original clip.
Once I had all the clips made and the adhesive was dried, I cut some dowel rods to the length from the bottom of the plywood to the floor, added 1/4″ for tension, and wedged them in to support the plywood. Between the rods and the adhesive, I don’t think those plywood strips will ever droop again.
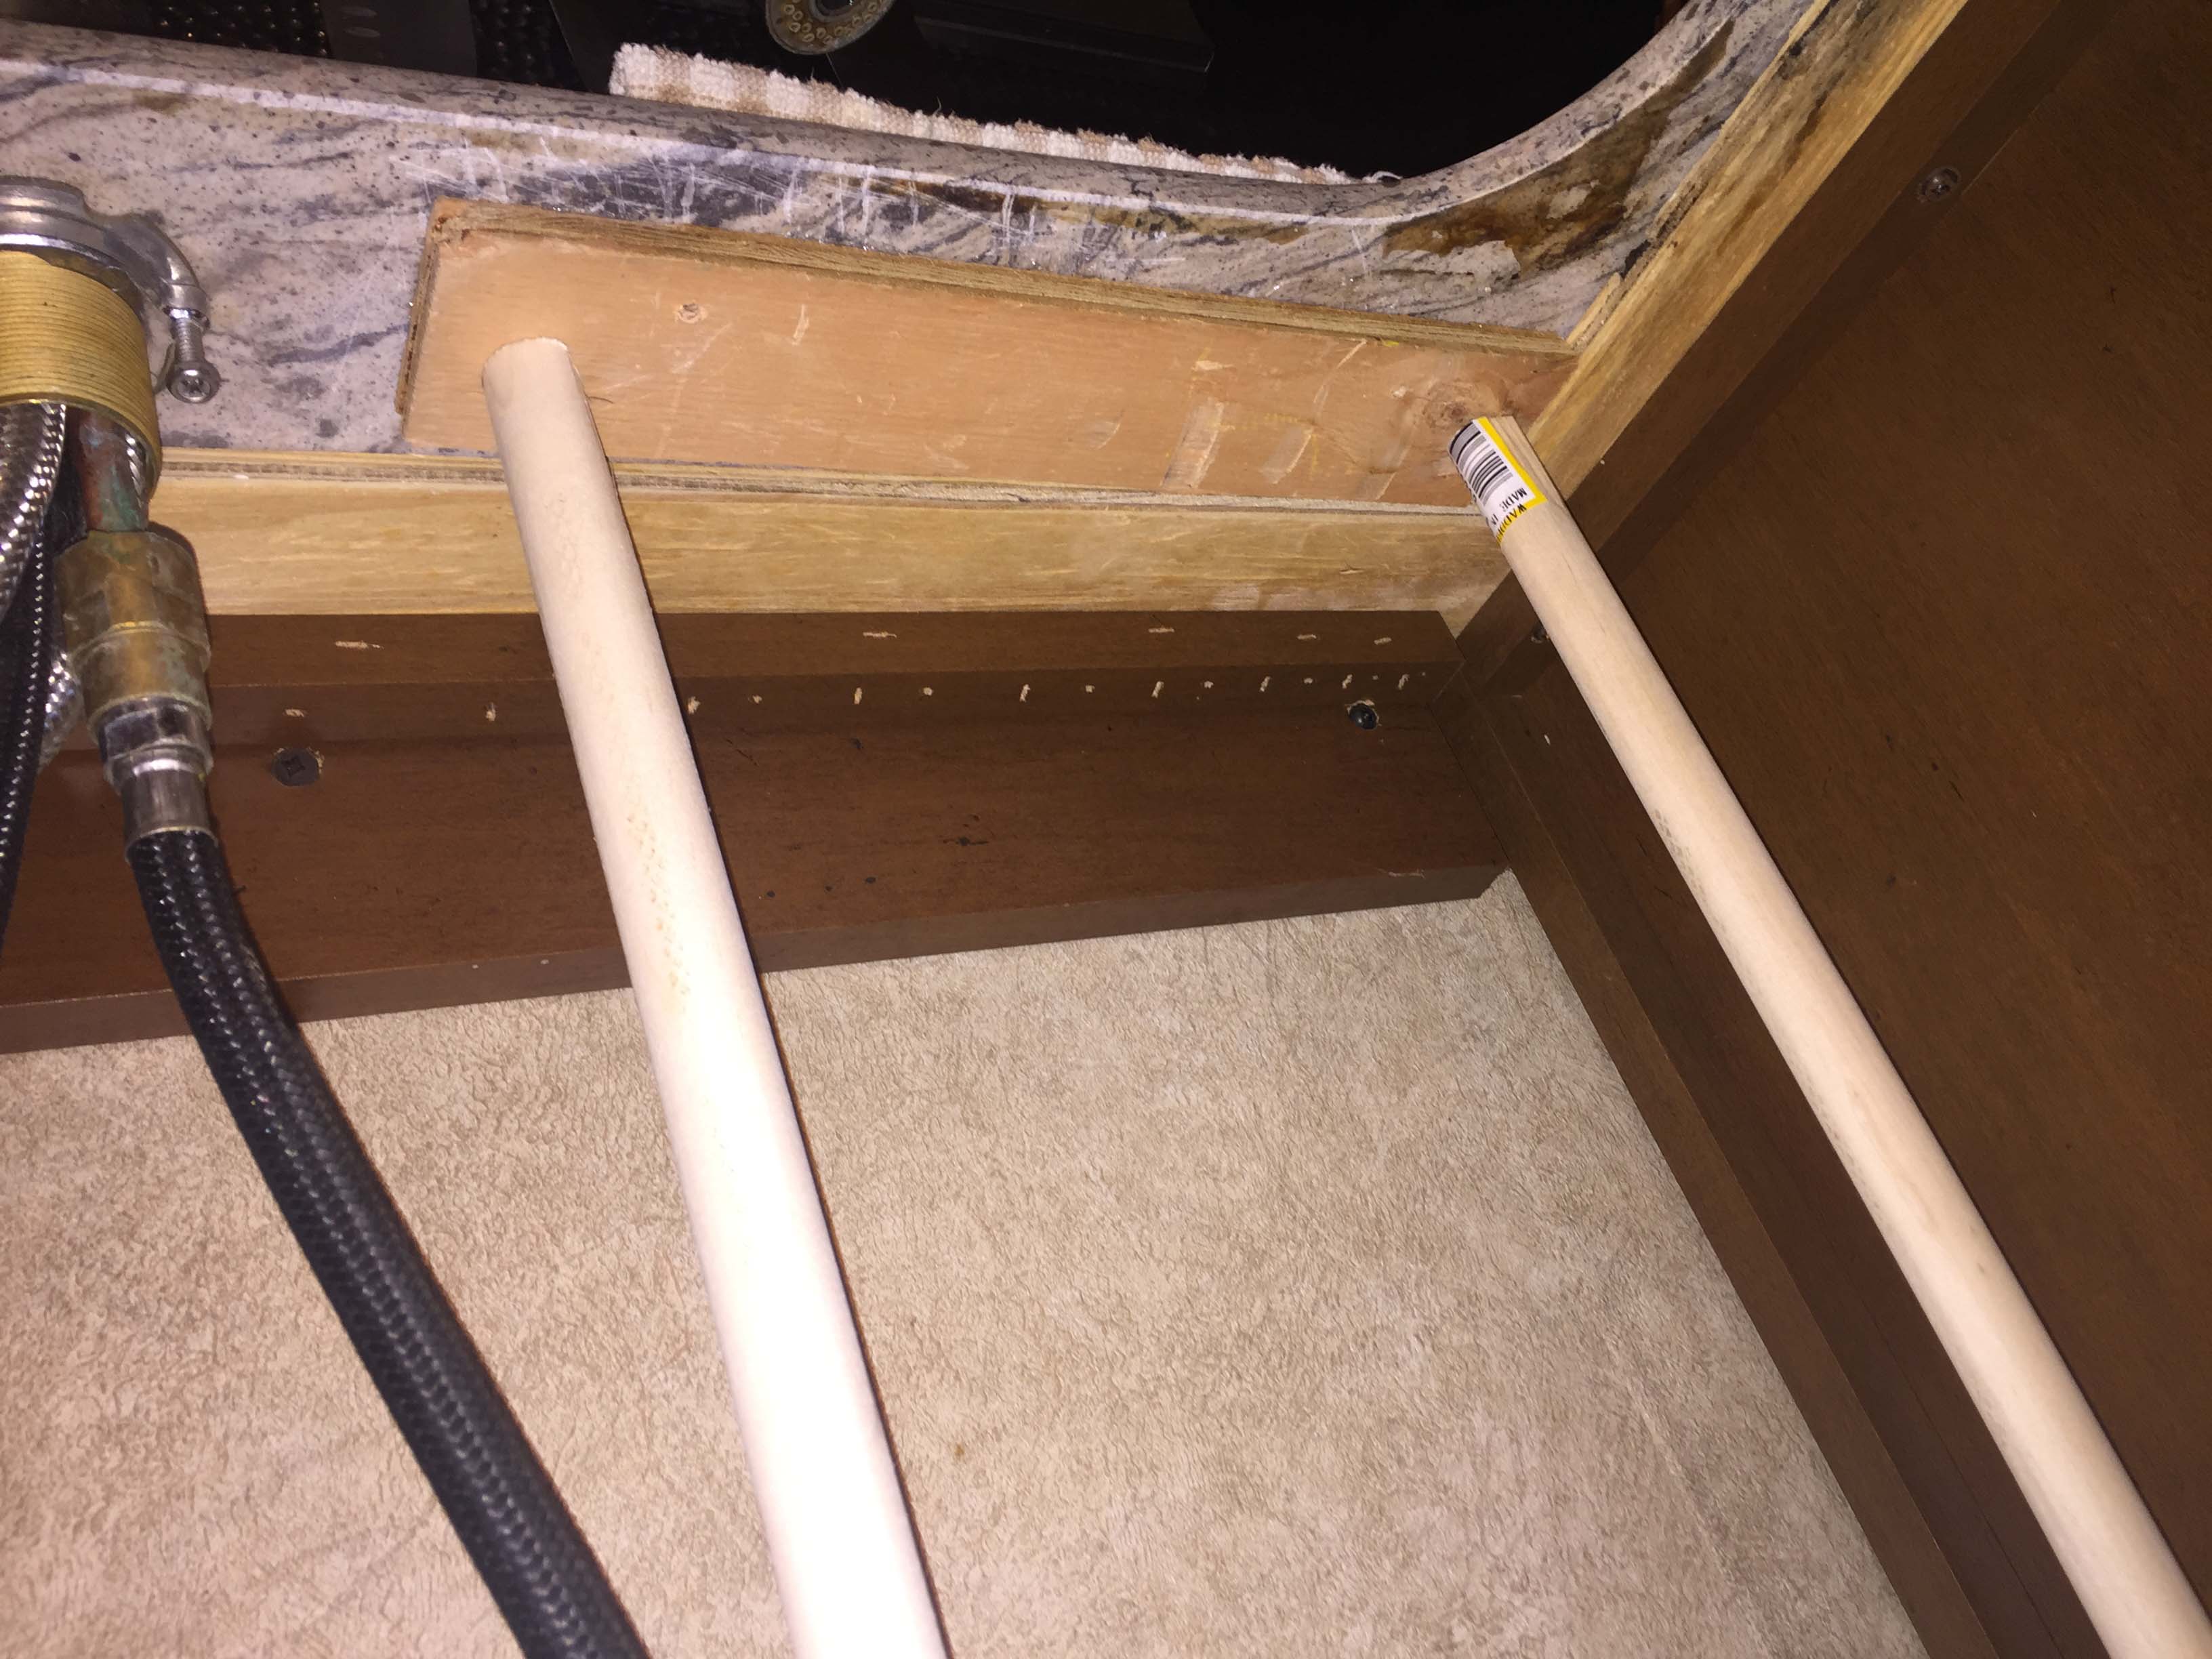
On the shelf side, I need to make a few holes to allow for the rods.

I cleaned the sink so it was almost like new.


A bead of silicone and quite a few more clips to reinstall the sink.


The whole project took two full days, and now the sink is better than new!
Supporting our Blog
We very much appreciate your support of our blog.
- As an Amazon Associate I earn from qualifying purchases. Search Amazon Here
- You can purchase the ebook telling the story of how we became full-time RVers.
- You can purchase our recipe book filled with 80 recipes we have cooked in our RV and taste tested by Lee himself. You can purchase the kindle or paperback version on Amazon or buy the Apple version on Itunes.

Nice job!
I like your idea~hope it lasts FOREVER 👍
Nice job! This is a common problem with under-counter-mount sinks everywhere, not just RVs.
Great job!
Added to our PDI for our new rig…. inspection of our under counter mounted sinks. Something to address maybe, before it becomes a problem later. love your methodology to solve the issue.
Did you give any thought to a drop in mount? Not quite as pretty as the under mount, but less chance of it separating.
Lee says we can’t do a drop in in the RV because there isn’t enough room between the back edge of the sink and the faucet. That space is less than half an inch. It’s also not a stock sink size so he couldn’t just find what he needed
Looks like alot of work, but nice job. Hopefully there will be no more trouble. 🙂