
I am not a particularly crafty person, but when I realized I would miss the baby shower for my first grandchild, I knew I wanted to do something special. I started with a basic DIY (Do It Yourself) Baby Boy search on Pinterest and was soon flooded with ideas. Most of them I would never have been able to pull off, but I kept coming back to some pictures of decorated onesies. This was a popular activity at some baby showers and seemed simple enough that I could do it myself. Plus since I was traveling I knew I could visit several Goodwill stores and see if I could pick up some onesie bargains. I absolutely did, finding several onesies under $2 and I also bough some brand new ones at Target that were reasonably priced.
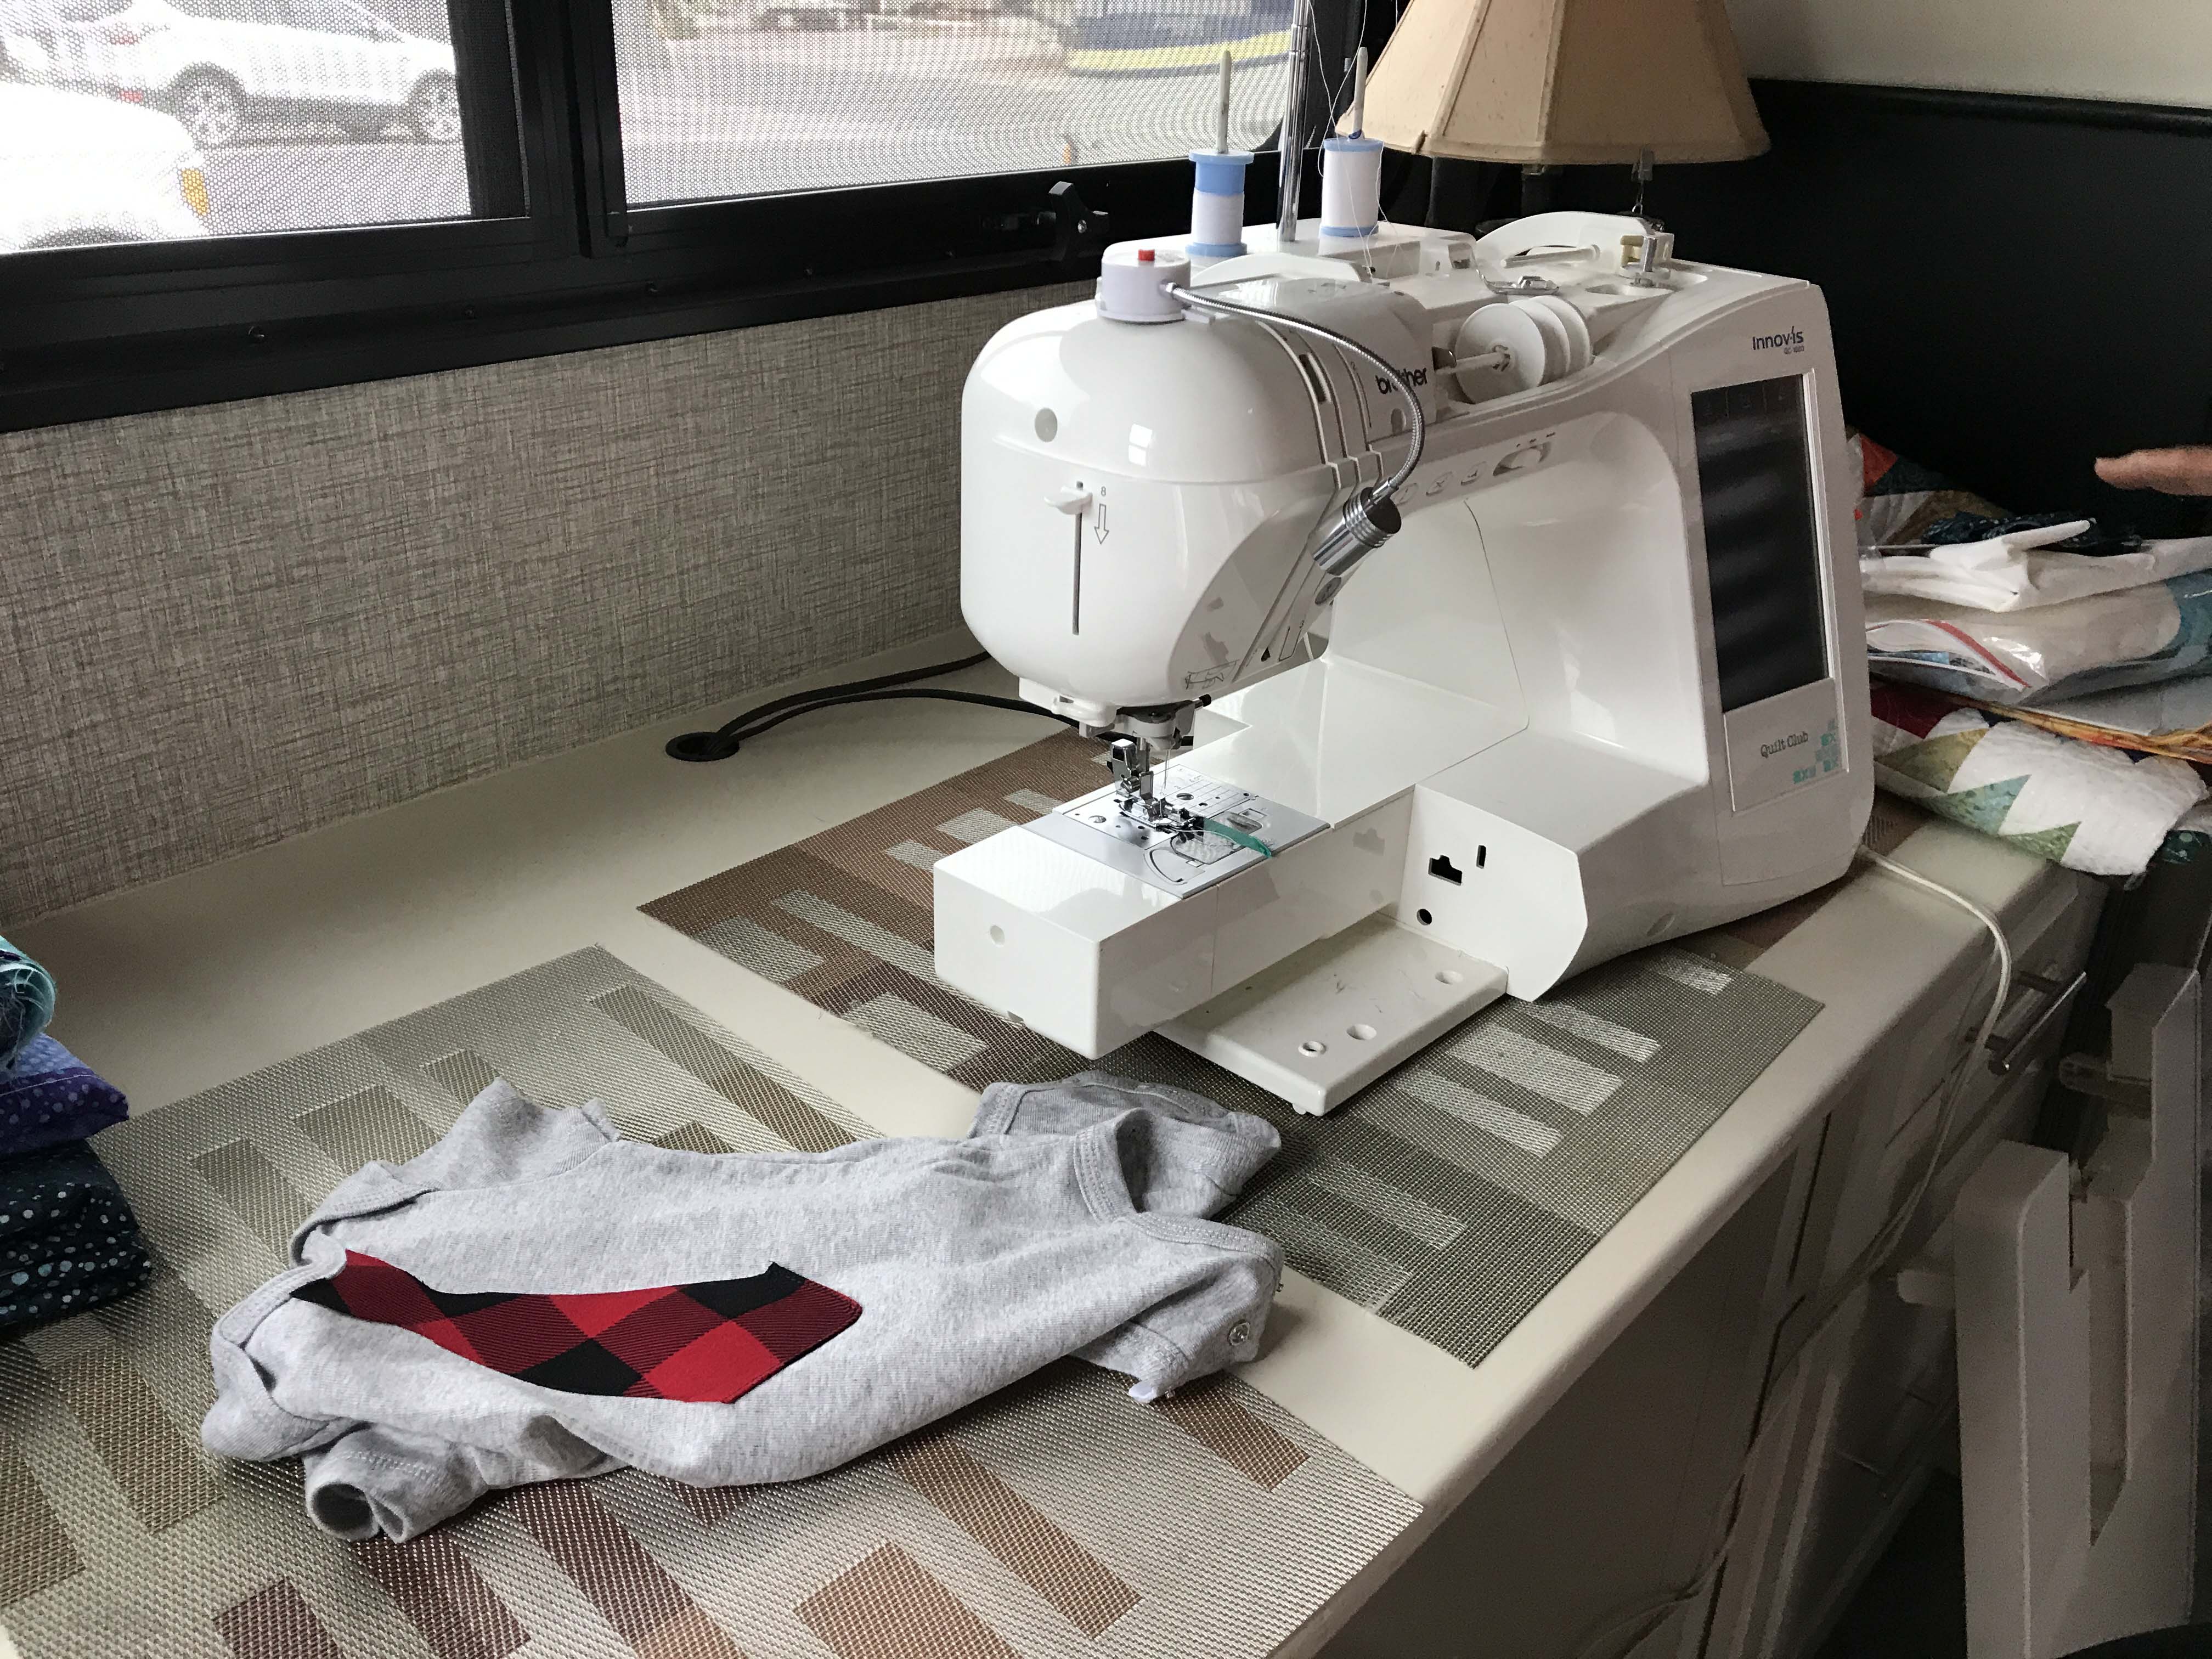
Armed with the onesies, I next needed to buy some supplies and visited Hobby Lobby, Jo-Ann’s Fabric, and Michael’s. I ended up getting supplies from every store and used 40% – 50% coupons that I found online at every one. All in I think I spent less than $75, which was pretty reasonable considering how many onesies I made. Once the supplies were gathered I decided to wait until I saw a friend of mine. Sue is an experienced quilter and has a high-end sewing machine. I also knew she would be supportive as I stumbled my way through the activity and could jump in if I had any major issues. I had decided to try multiple techniques all in one go, to see which were the easiest and which kept the cloth feeling soft.
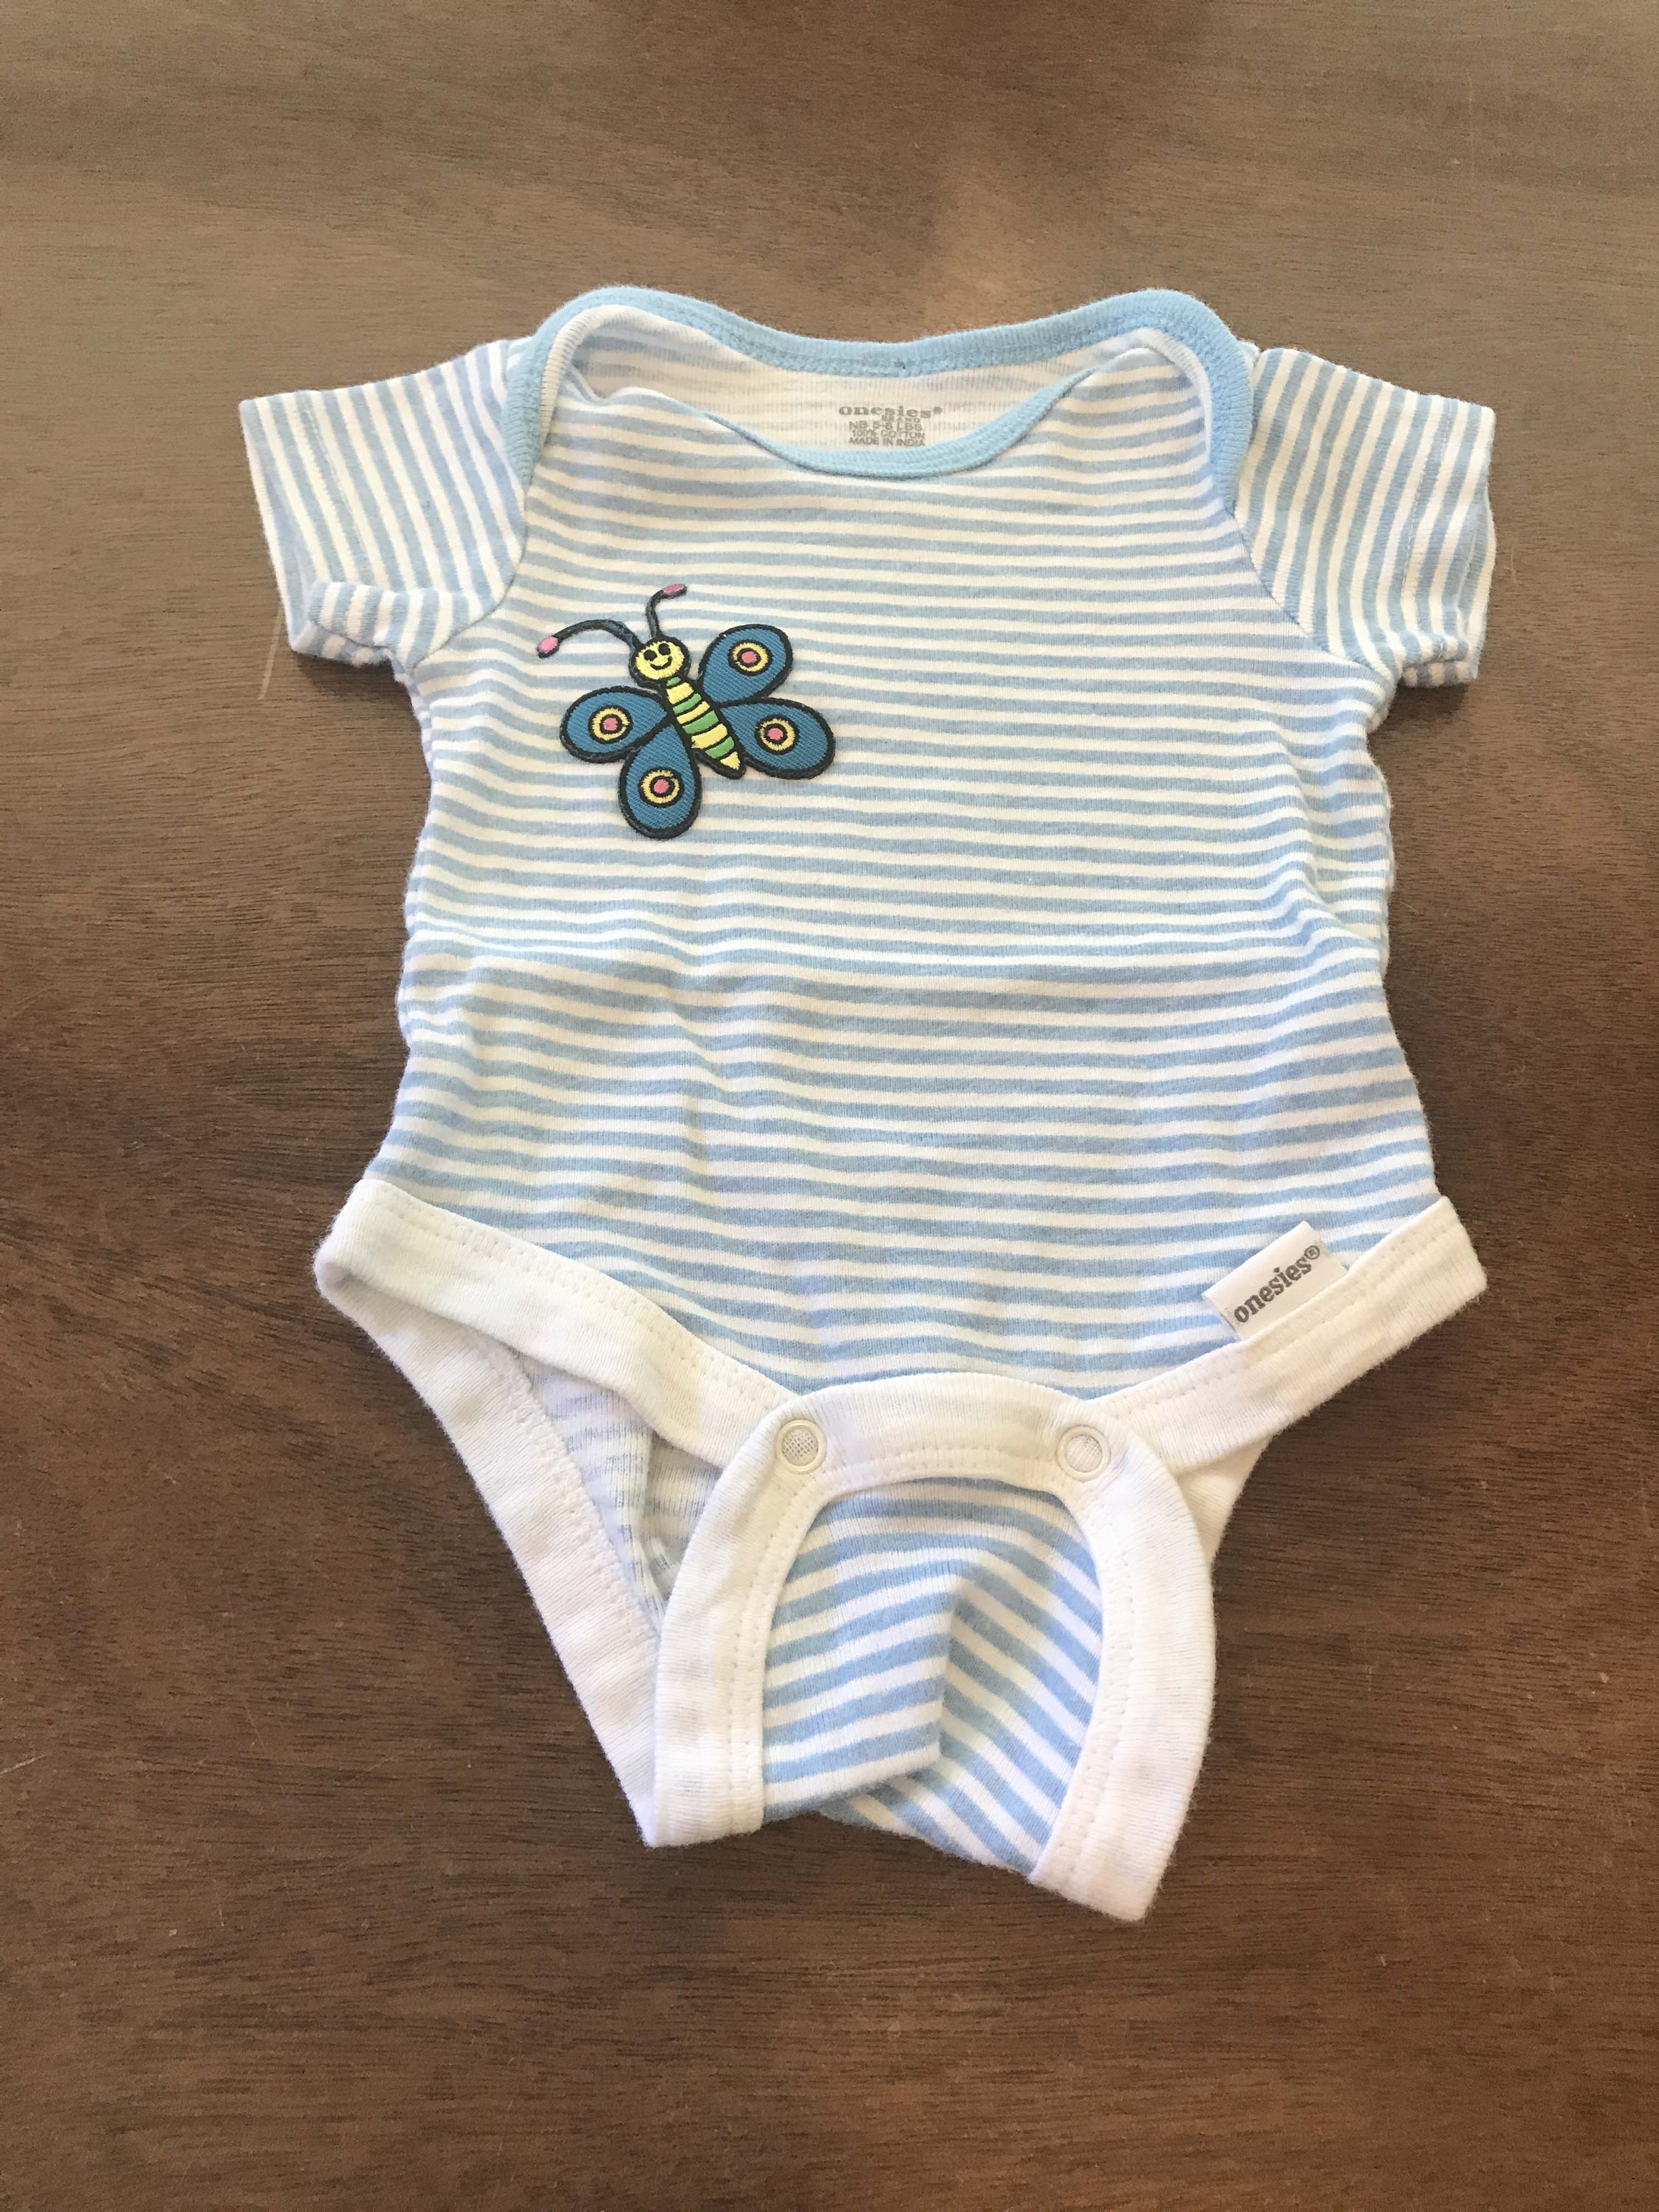
Since Sue had lots of equipment, I brought my supplies to her place and we laid the onesies out and paired them with the designs I wanted to do. Then we started with the simplest techniques, the first of which was iron on patches. I had looked for on sale or clearance patches in every store and ended up finding some really cute ones, all under $3.

Thrift store special that we added a little bug patch on the pocket of.

Another bug iron on . This time on a brand new onesie.
Thrift Store Find.

this thrift store find had an elephant on the front already.

So I added a sunshine patch on the butt.

Another butt iron on.
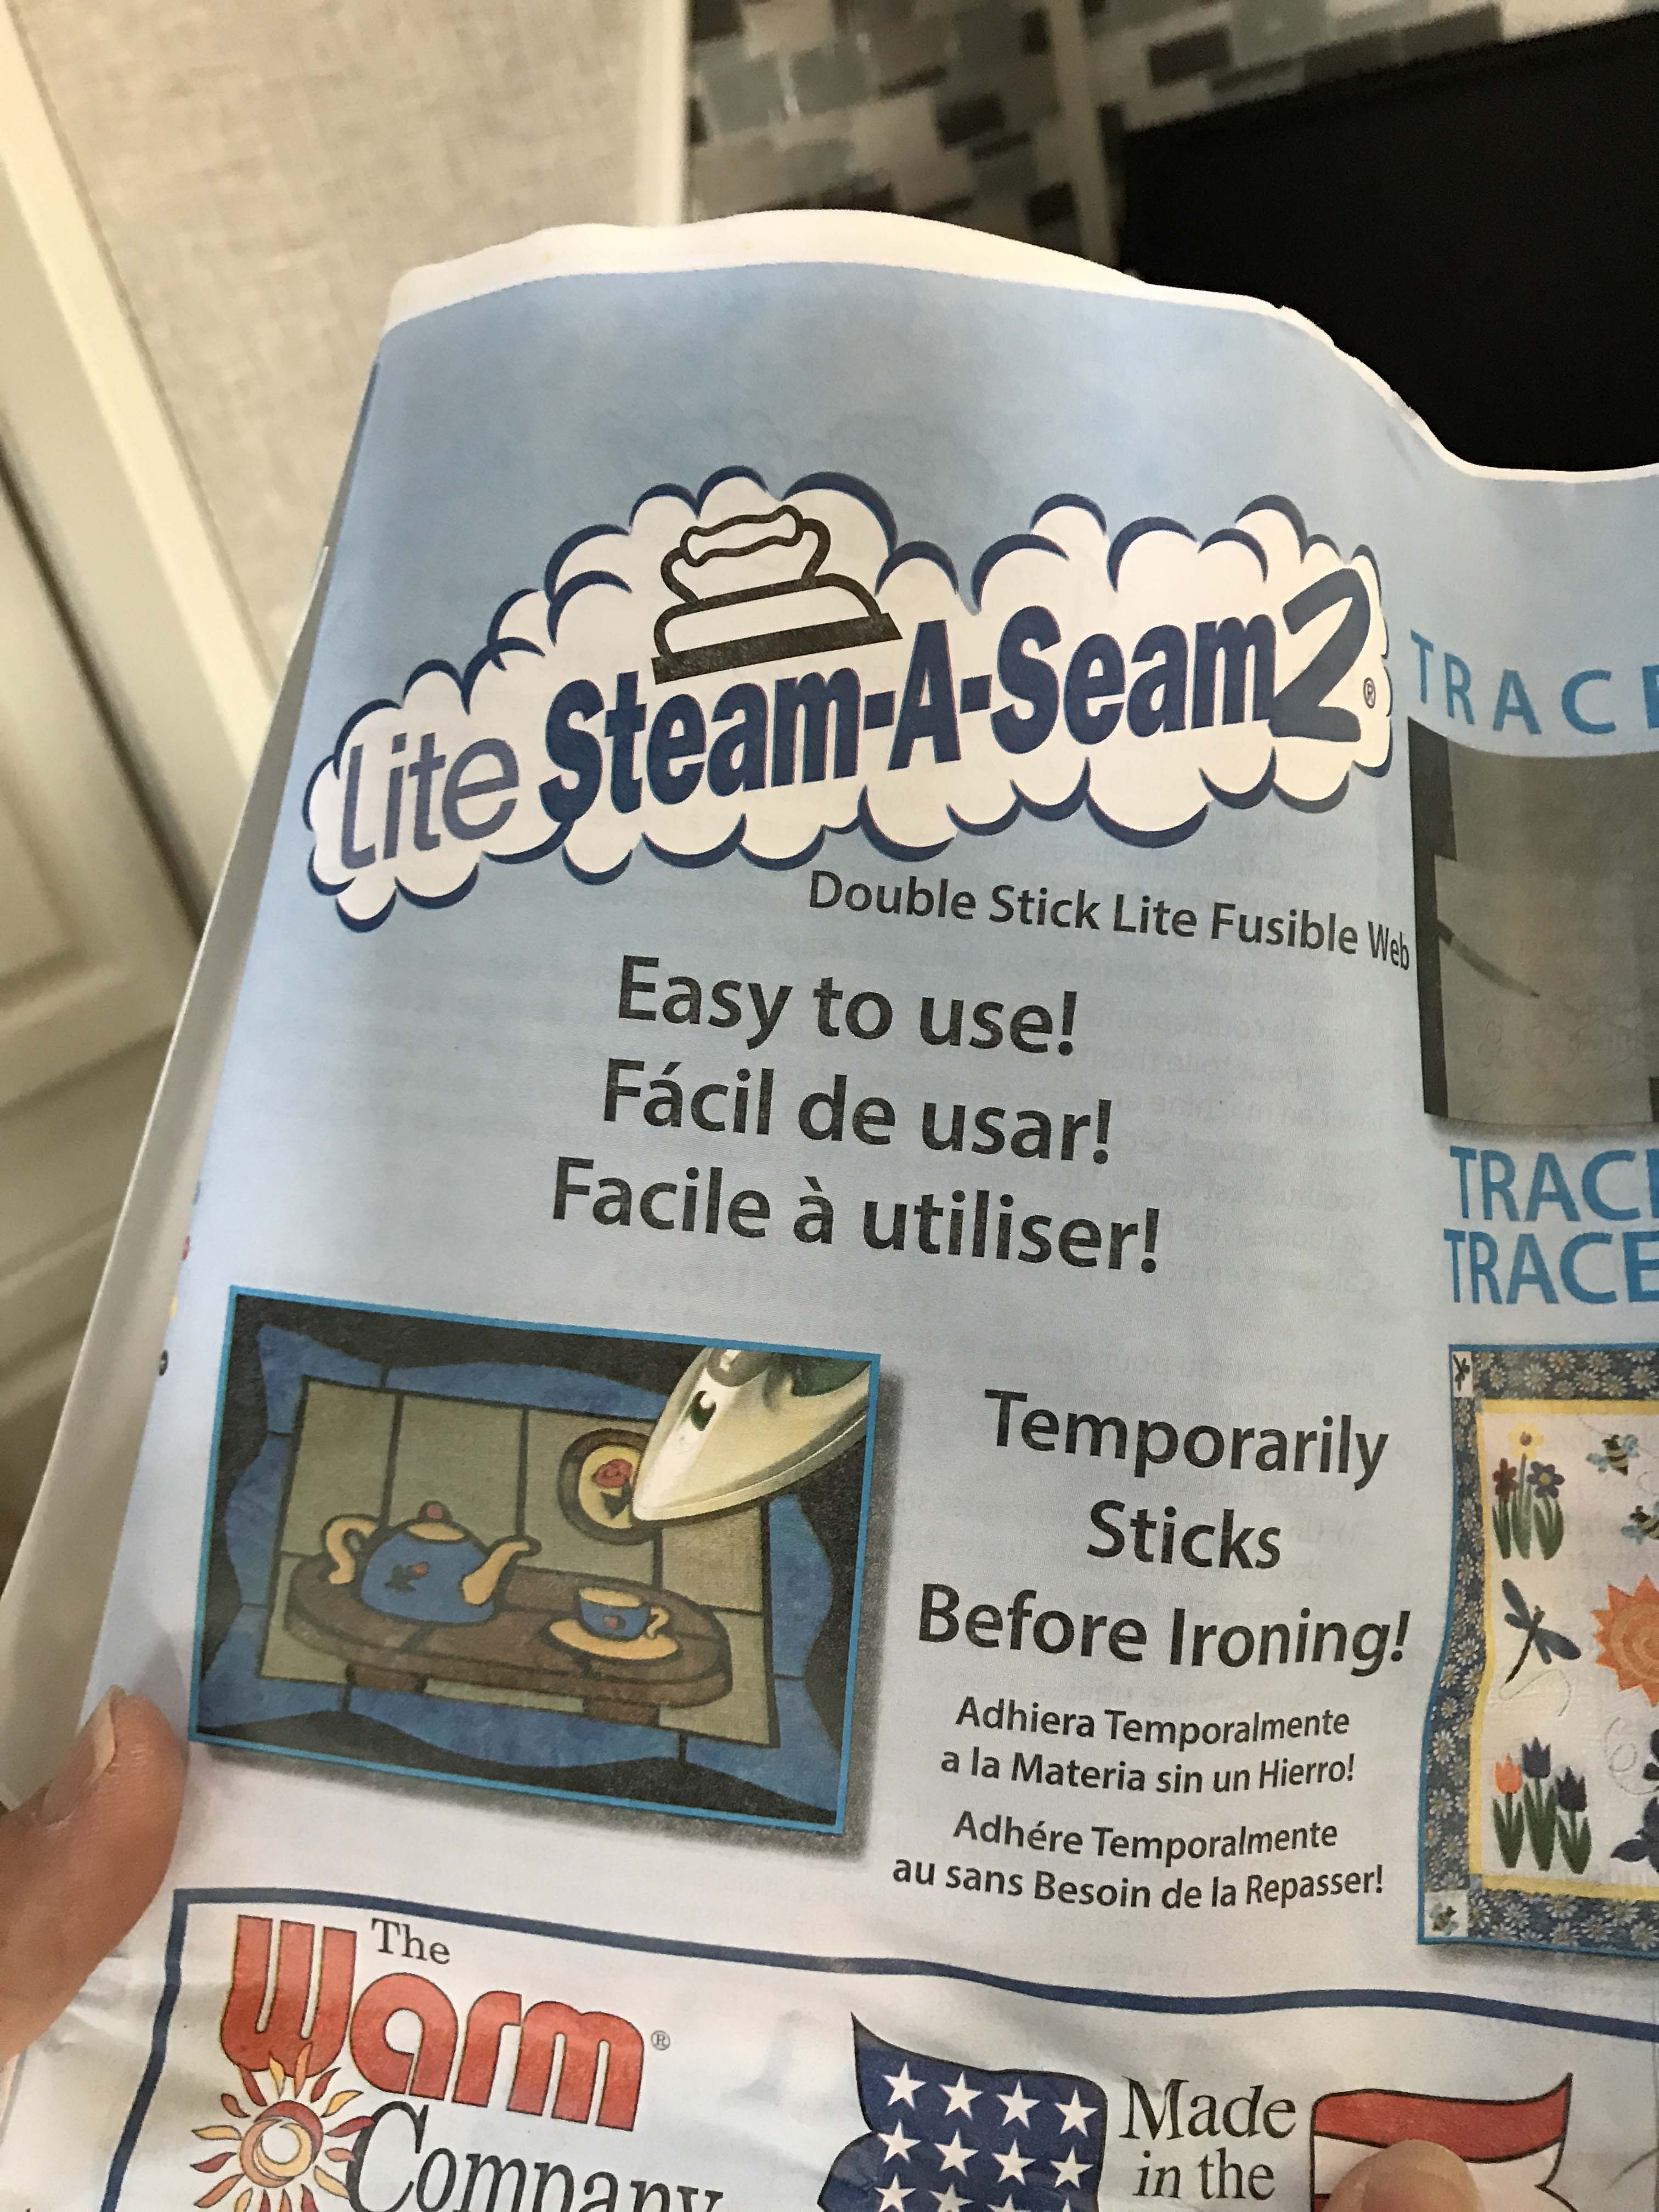
The iron ons were great and probably my favorite thing, but unfortunately I accidentally bought two patches that were sew on. Sue suggested that instead of sewing them we use Lite Steam -A- Steam2 dual stick paper. The only tough thing about this paper is you need to cut out the paper to match your patch and the tent in particular was difficult. Luckily Sue had a rotary knife along with a great cutting board with ruler.

The tent was particularly tough because of the top.

Terrific cutting board with ruler
Sue did a great job and showed me how it worked, but my big takeaway was to make sure I bought iron patches. It was way more work than the other patches had been and I would only do that for something really special.

Tent on a brand new long sleeve onesie.

The guitar needed the same sticky put on it. This I really liked because it will be level with his hands.

Sue and I took turns ironing. I had serious iron envy because when you stopped moving it little legs automatically pushed the iron up so you couldn’t accidentally burn anything.
Next we decide to try transfers. I had purchased both Fusible Cotton Fabric Sheets and Inkjet Transfer Magic paper because I wanted to try both and see how they impacted the clothes. I went online and searched for free patterns and after some digging I found several. Unfortunately I didn’t understand that the cotton fabric sheets are ironed right side up on the shirt and wasted a sheet by printing them in reverse. The Transfer paper has to be a reverse image, but this was very easy to do by selecting the Mirror Image box under advanced printer settings.


The other downside of the fabric image was I had to do a big square or be forced to cut out the shape. It worked in this case with a new onesie, but I can see that being limited.

The bumble bee was done on the magic paper and Sue was able to cut it out.

The only downside was the pink cheeks turned light blue but I think it turned out really cute.
The biggest difference between the two was how stiff they felt. The iron on paper you could barely feel the difference but the iron on fabric was pretty stiff. This may change with additional washings, but overall I think I prefer the paper better.
Next I wanted to try to use Hodge Podge, which is a fabric glue. I had read that I could take material and cut out parts of it and glue them onto onesies. I had never done this before, but found some fabric at Hobby Lobby I liked. I learned I could get as much or as little as I wanted so my piece of fabric only cost $2.50. Then I cut out the parts I wanted and glued them on a used onesie. The Hodge Podge worked very well, but it was messy. Not sure how these will hold up after washing, but it is very solid now.
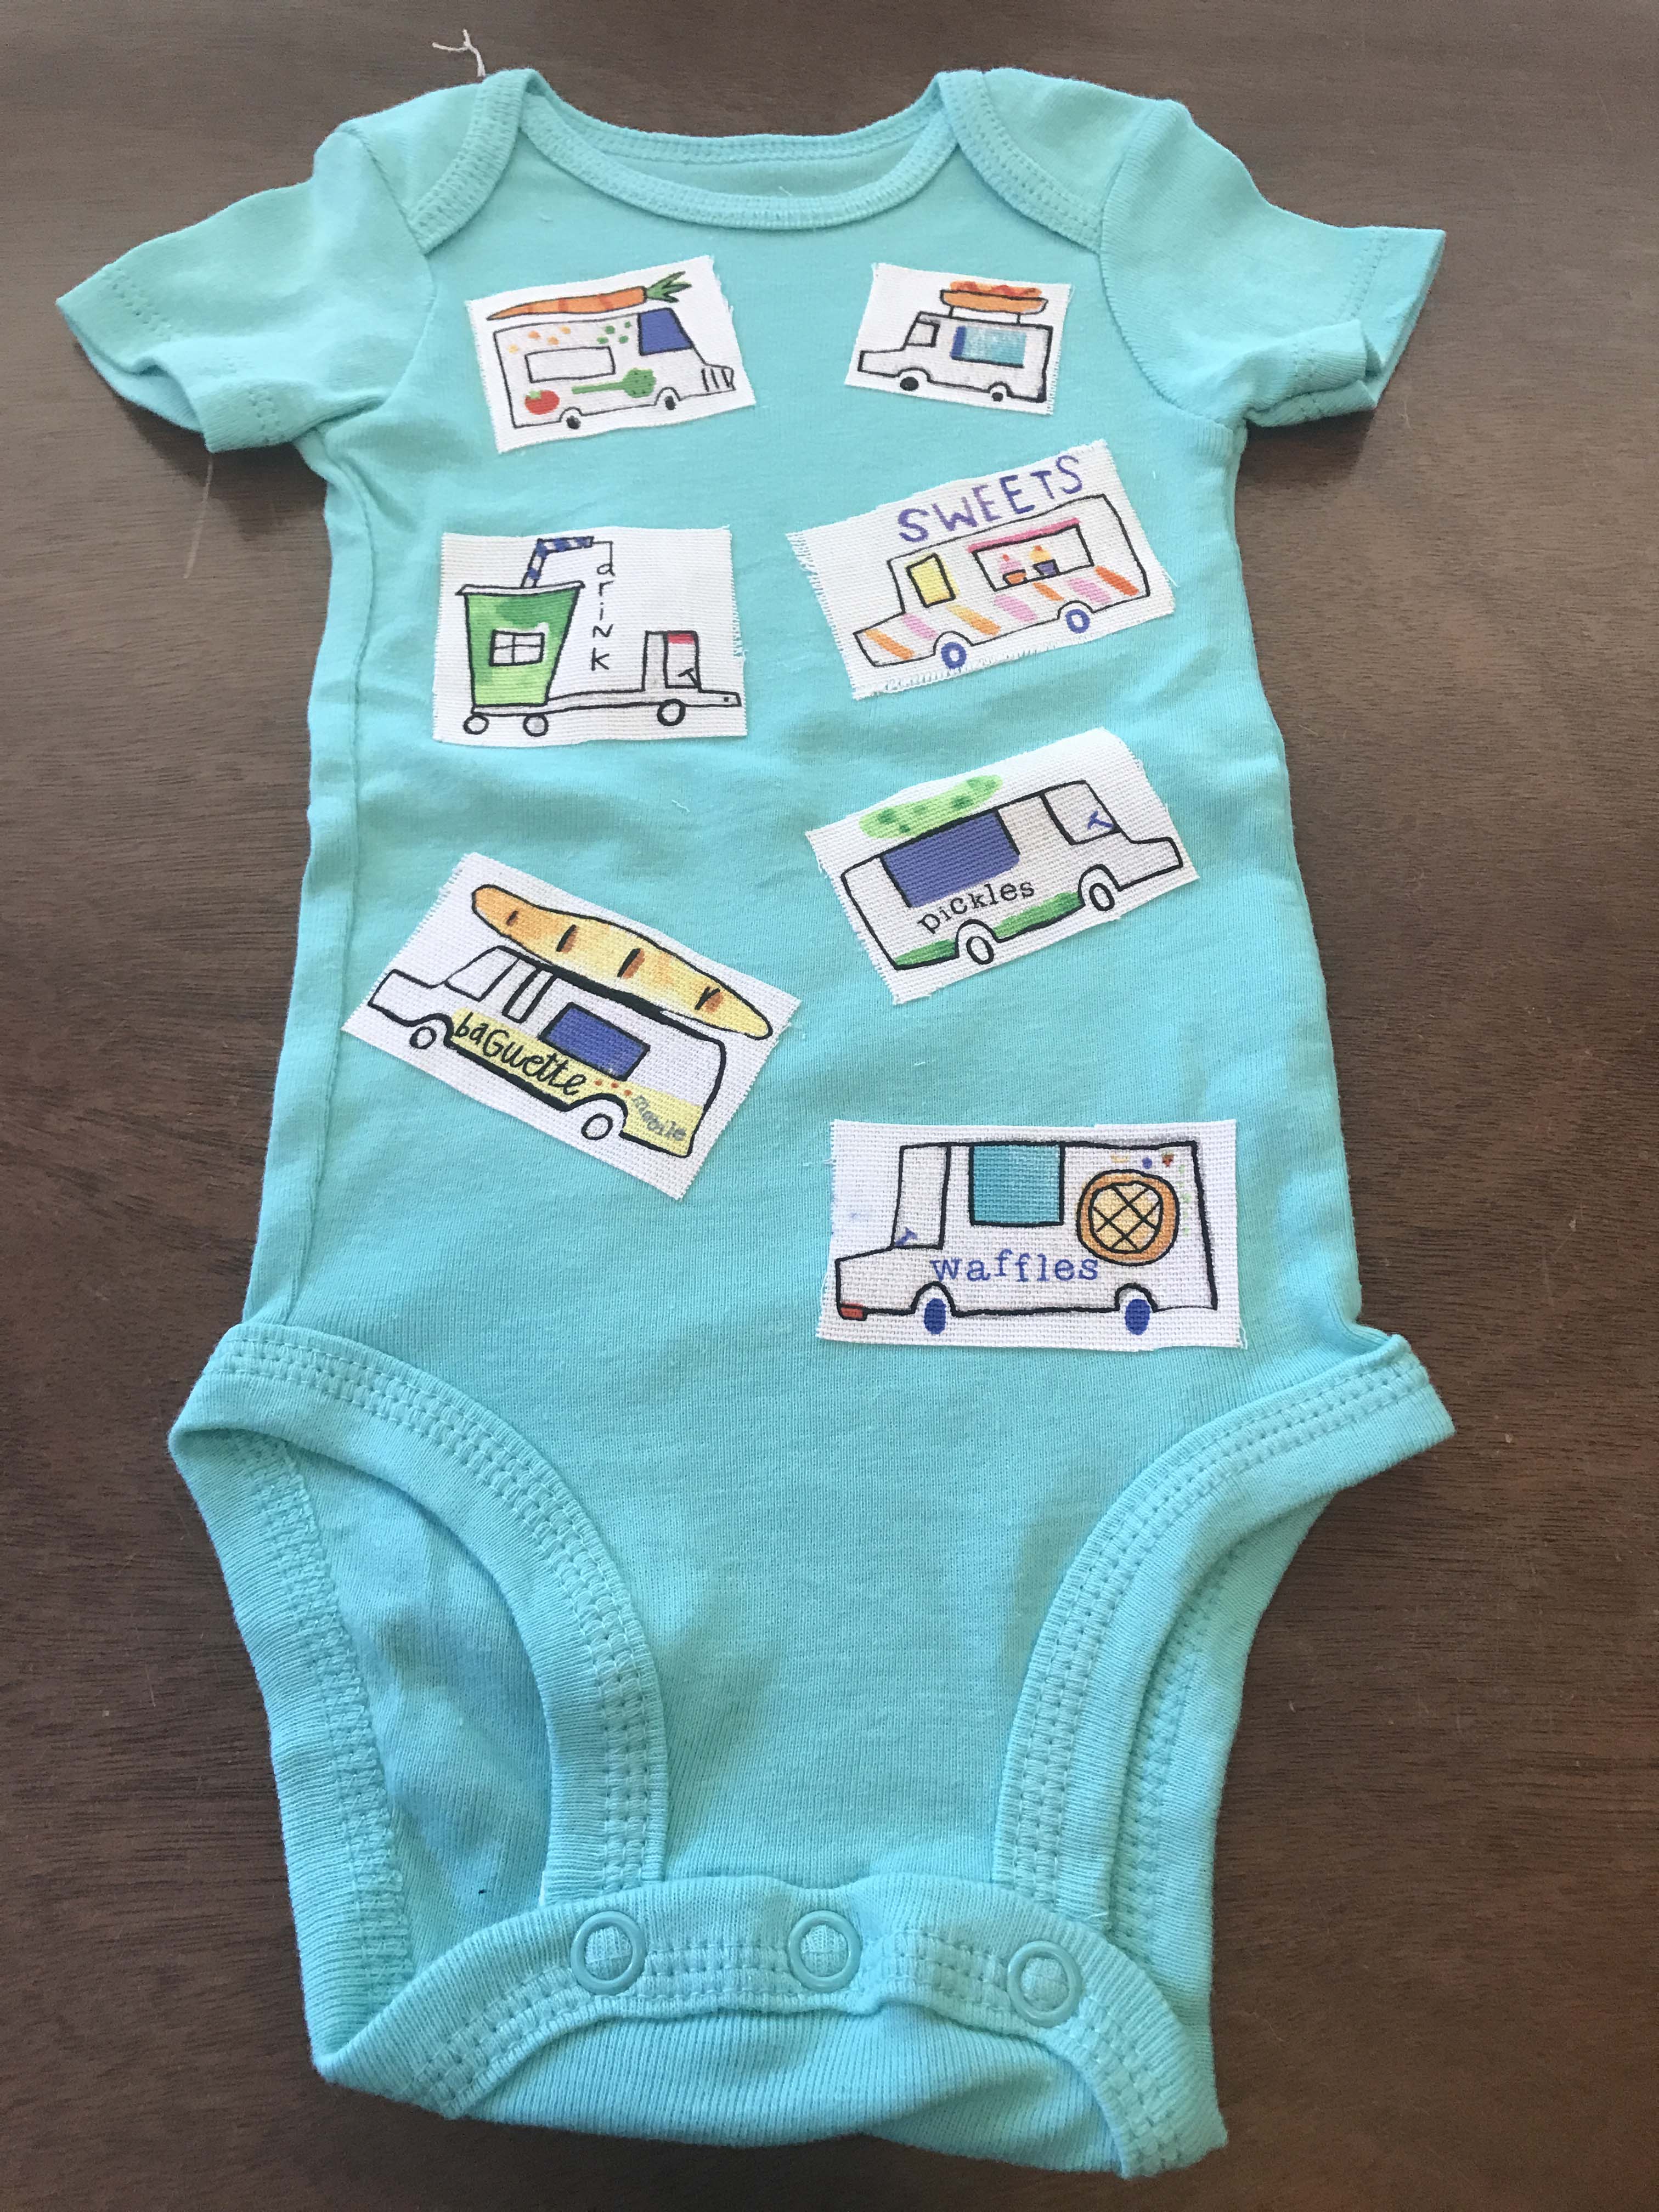
The front turned out about how I wanted, which was nice.

And I added this one on the butt as a joke!!
After finishing the patches we decided to tackle two more difficult designs that required sewing. I saw these really cute pictures of onesies, but I didn’t think I could do it alone First I went online and found templates, and then printed them and cut them out. Sue cut the fabric to match the template and we used steam a seam to hold it down.

Template of a vest and tie. find this and other great templates for free at this link.
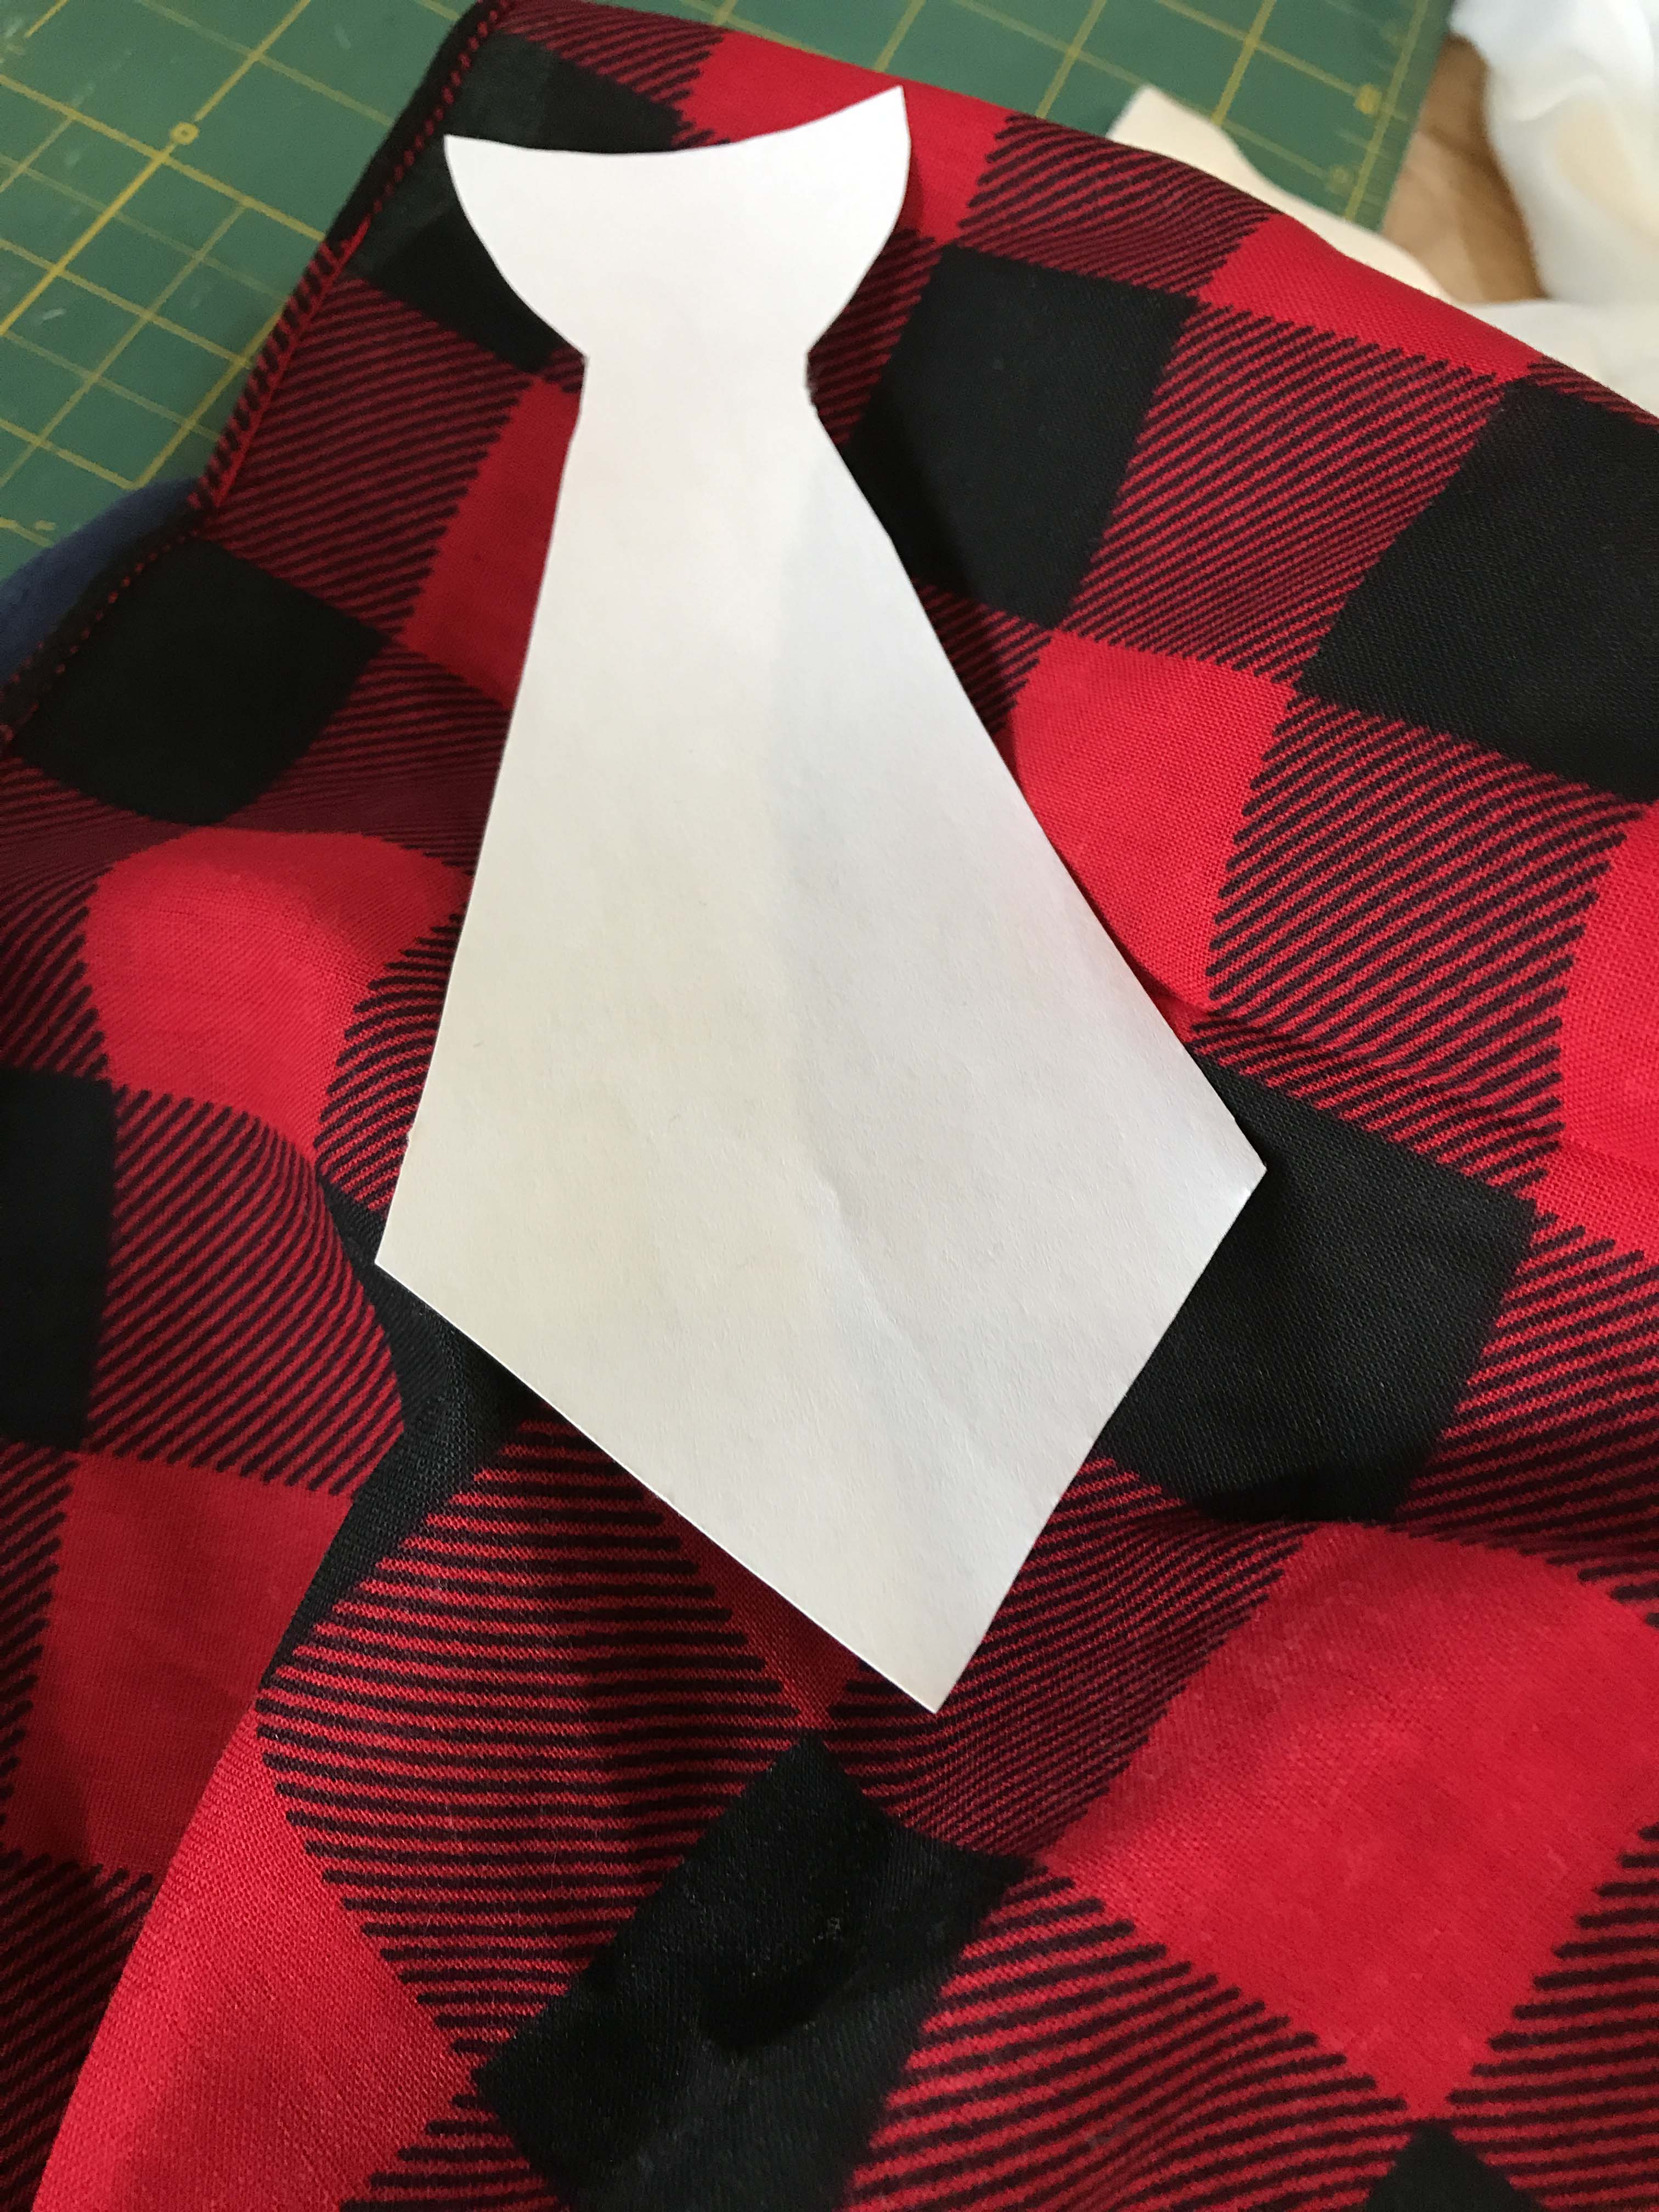
The template and the fabric I picked out. It was a 99 cent square.

Sue drew an outline with a fabric pen.


Then cut it out.

Next we tested some stitches. She had a ton of choices and its all computerized now. Amazing.
And she sewed it one.

Thrilled with the final result.
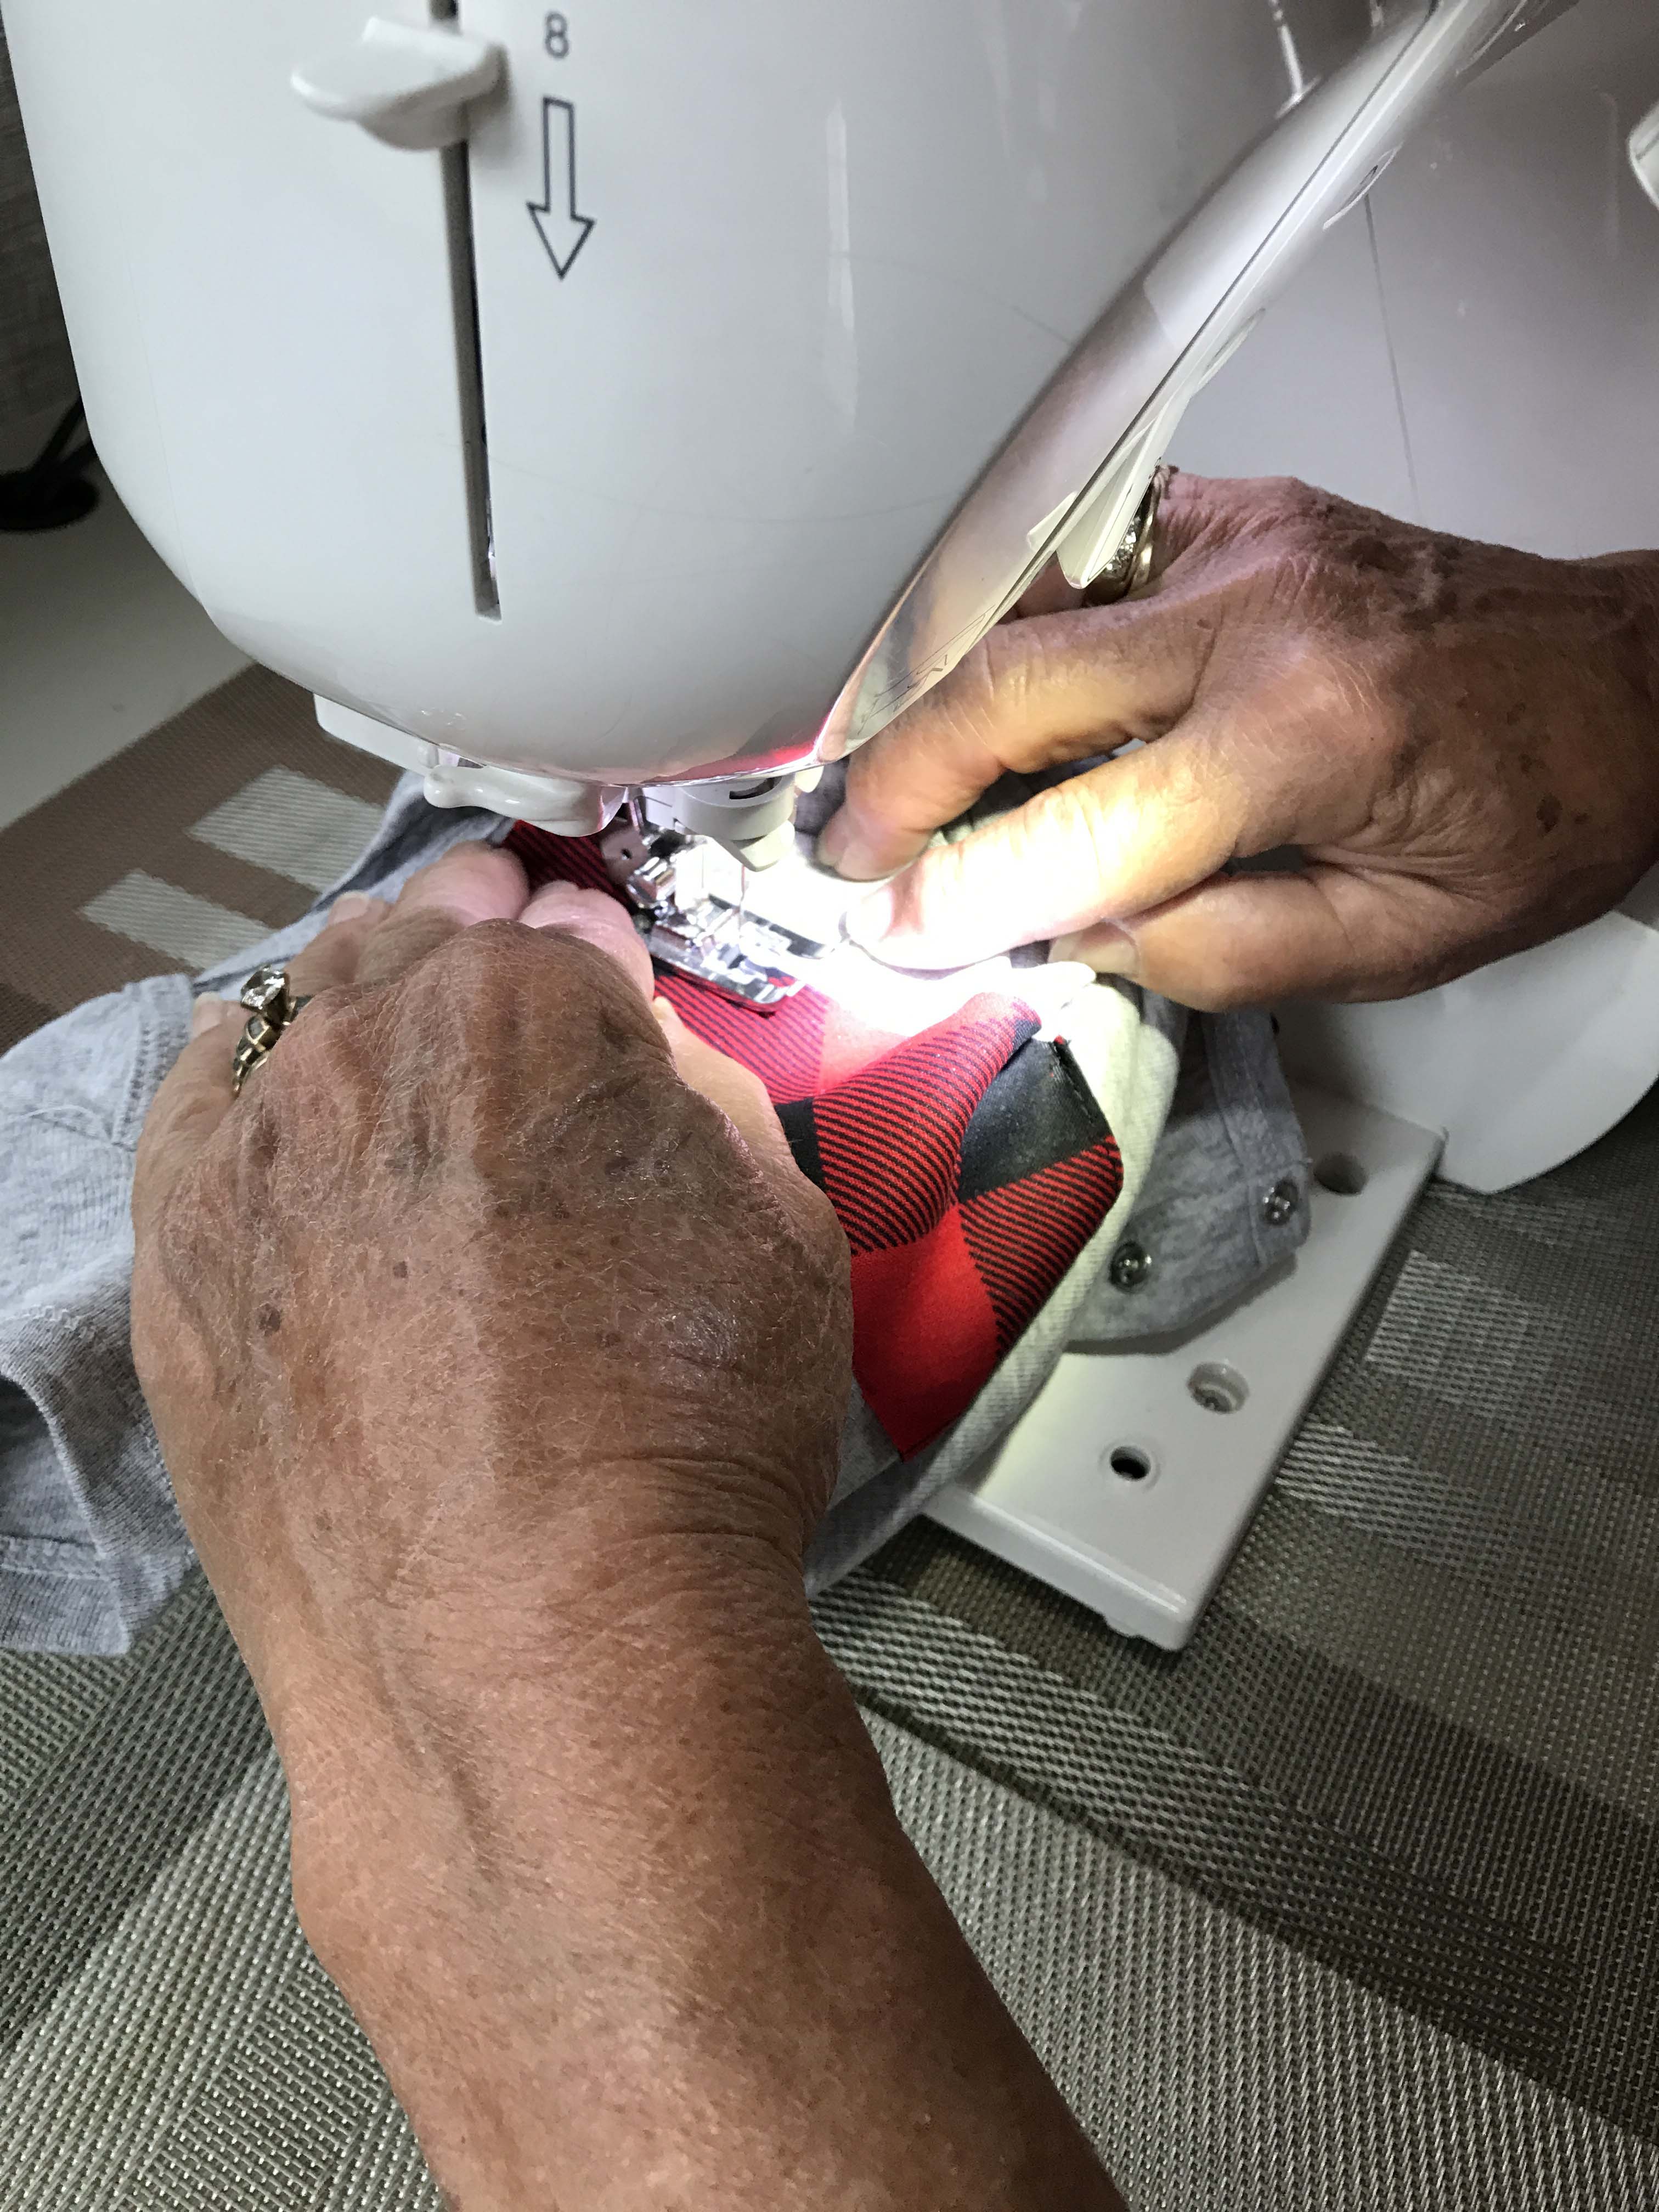
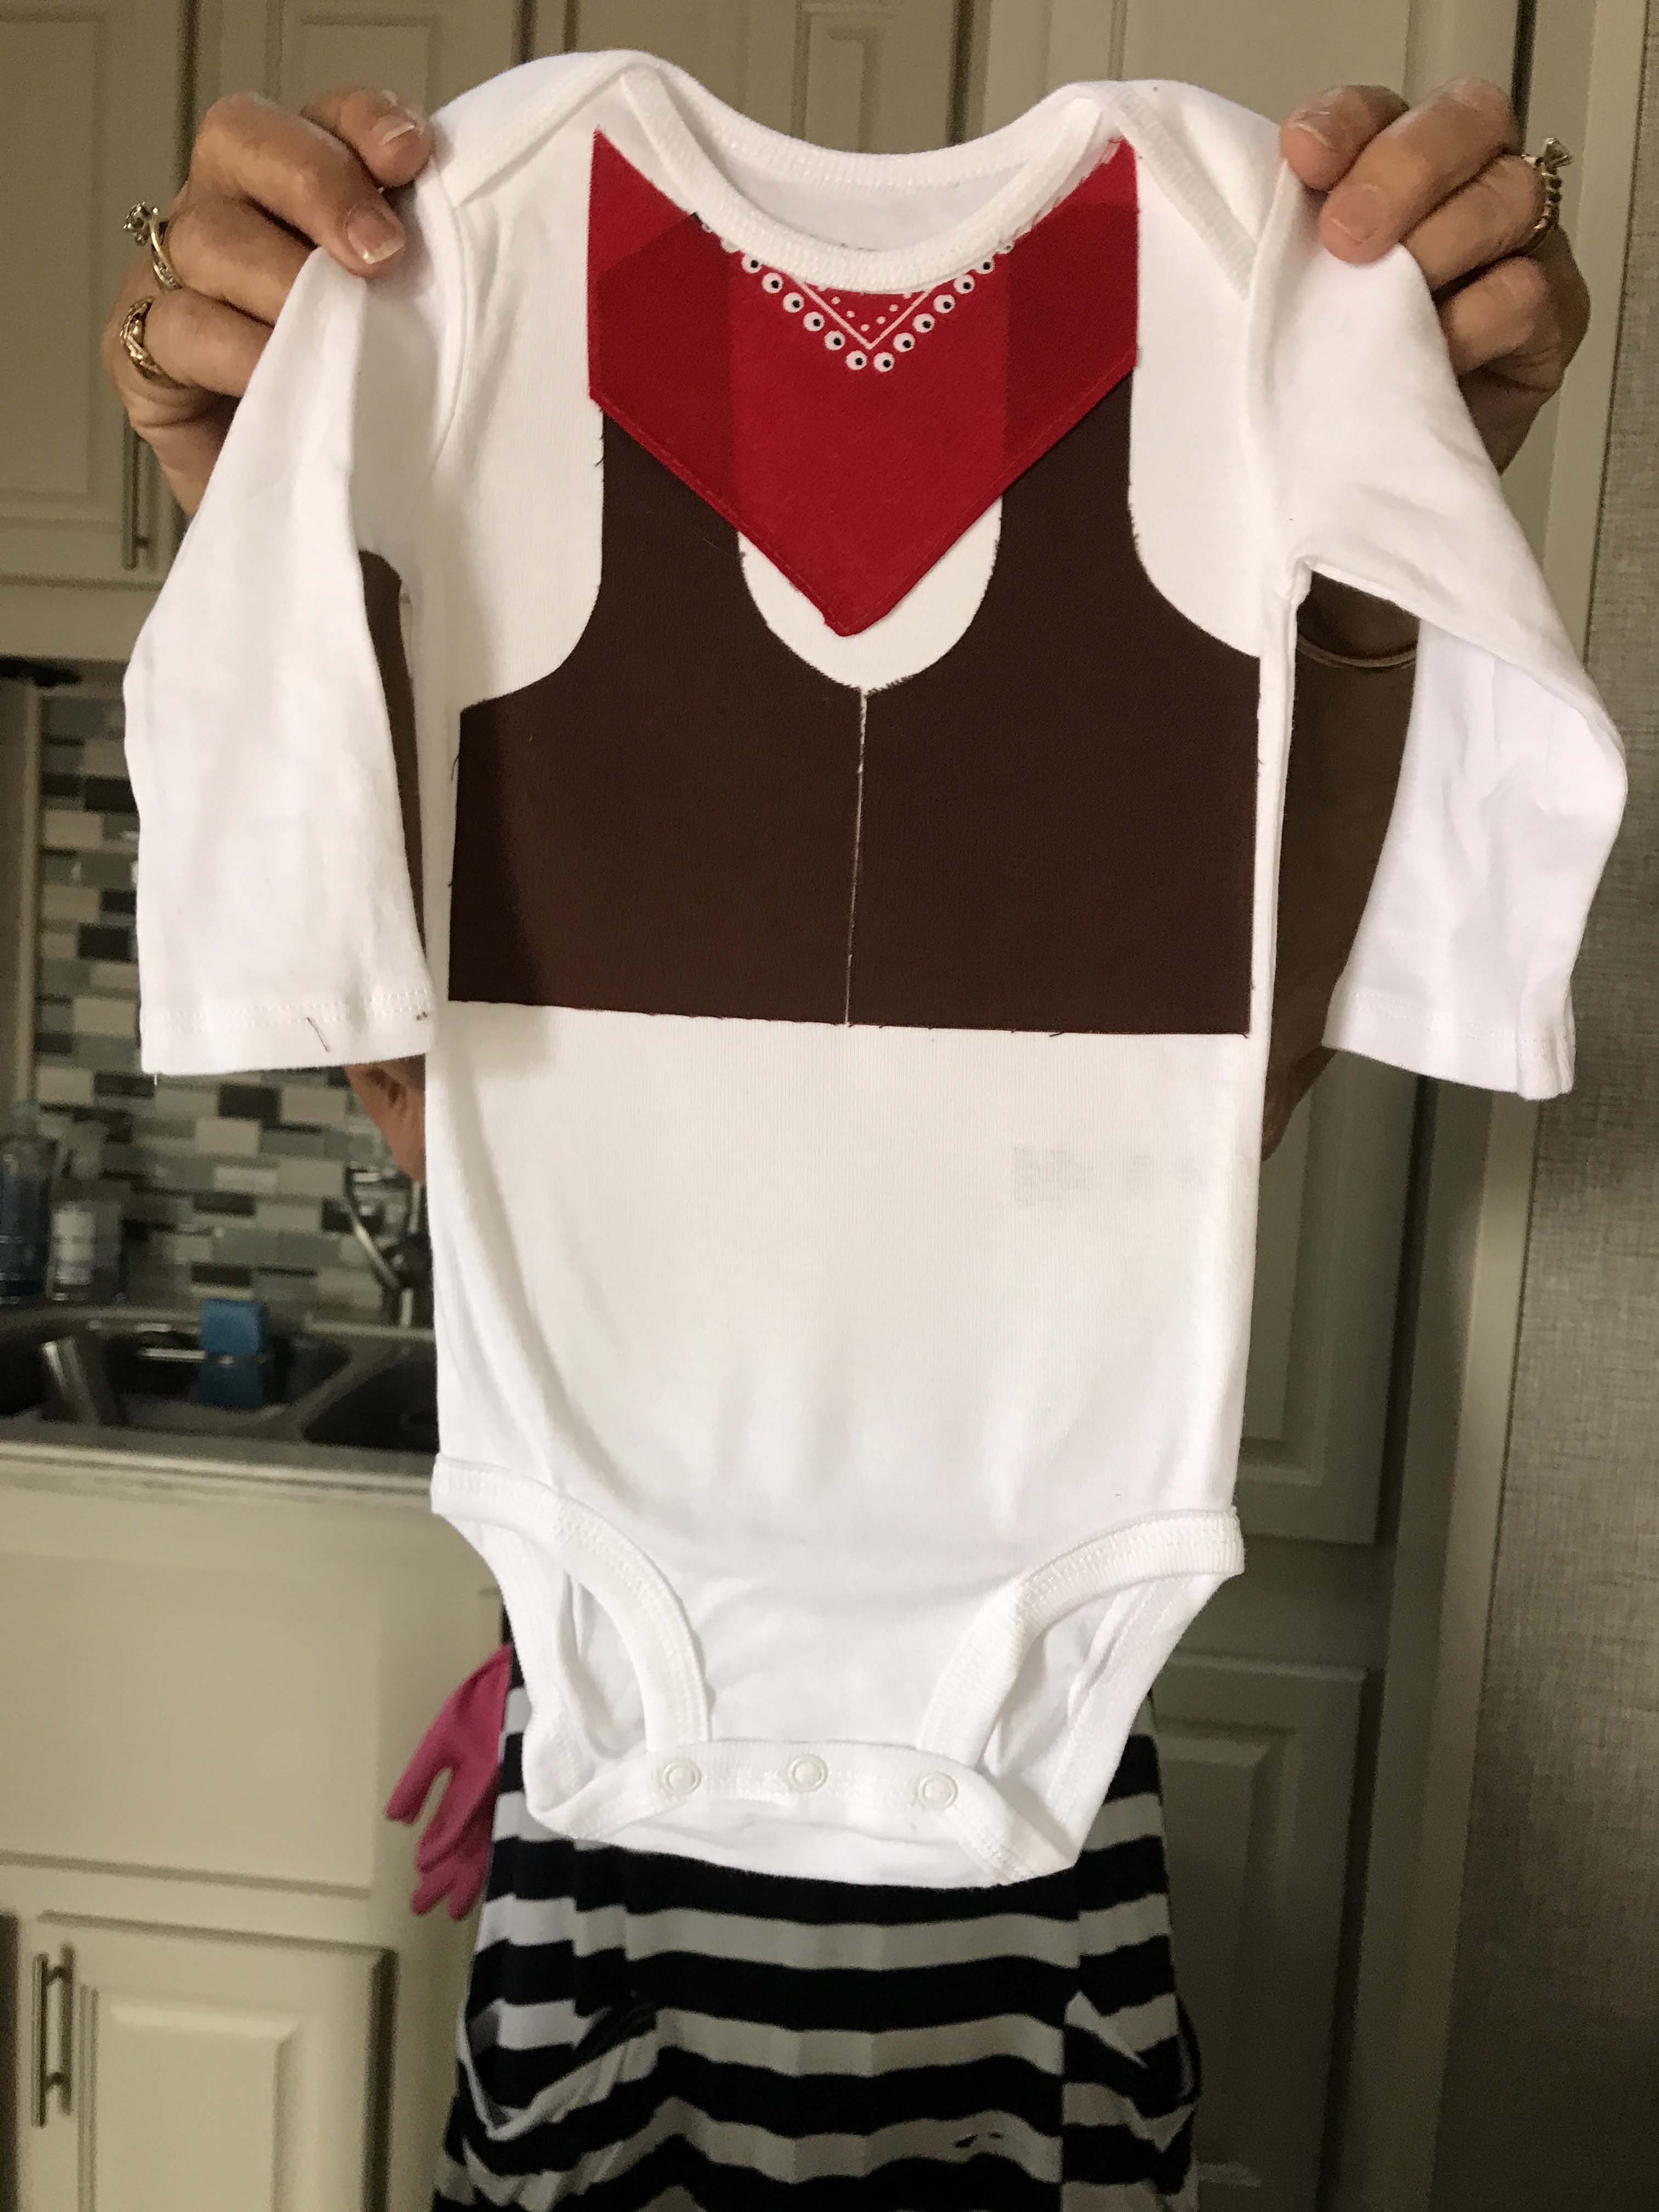
I absolutely loved this one, but think it was a little outside of my ability. Of course I could have hand sewed it, but it never would have looked this nice. Finally we decided to do the vest and I wanted to add a bandanna so it looked like a cowboy outfit. I used brown swatches and a cheap bandanna and it turned out really great. Sue thought this would be too hard to sew, and we just used the Steam paper. It seemed to be just fine, and the only really tough part was figuring out exactly how the bandanna should go. So happy with the final result.
It was a really fun day and not only did I make inexpensive presents for my daughter I learned some things and have lots of materials to make more. Sue thank you very much for holding my hand through the experience and sharing the time with me. It was really special.
Supporting our Blog
We very much appreciate your support of our blog. You can help by doing any or all the following:
- Make purchases via our Amazon website links. There is no additional cost to you, and a portion of the proceeds help support our blog. Search Amazon.com here
.
- Purchase the ebook telling the story of how we became full-time RVers.
- Purchase our recipe book filled with 80 recipes we have cooked in our RV and taste tested by Lee himself. You can purchase the kindle or paperback version on Amazon or buy the Apple version on Itunes.

Wow! Great job! The onesies are so cute! Love them all!
Thanks thought of you while we were making them. They had some great girl designs which of course I couldn’t use.
So much fun! What a special gift made with much love❤️❤️❤️
They are adorable and we can see the love that was put into each one:o))
Thanks Nancy! It was ton of fun and productive 😄
The onesies are adorable. I highly enjoy reading your blog and have been following for about a year. I appreciate how you share your experiences with emotions you go through at the same time. We are going full time when I retire this summer and plan to blog about it also. Just got our website started. Perhaps we will meet on the road someday.
Congratulations Deb!! Good for you guys. Would love to meet.
Great job with the onesies. They make such a quick and easy baby outfit, don’t they. I sew “skirts” on onesies to make instant dresses for our grandaughter.
That’s a really cute idea. I’d love to see a couple pictures for my friend Kelly if you wouldn’t mind emailing them to camperchronicles@gmail.com.
Pingback: Lee Meets Oliver – Camper Chronicles