
The last couple of weeks have been really, really, really quiet here and we have had plenty of time to relax and recoup. (Seriously, I have gotten in the habit of turning off my walkie talkie and turning it back on again because sometimes an entire day can go by with nothing happening. At all. Which is just creepy and weird. – Lee) Because Lee likes to stay busy he has spent most of his time finishing up the new workshop so I wanted to take a moment and talk a bit about that. When we first arrived we saw the beginnings of a brand new workshop and over the early part of the season it took shape. Designing the inside was a bit of a challenge, but something Lee was super excited about, and since no one else really wanted to do it he made it his season long project. He talked to all the stakeholders, did 3D CAD drawings, got approval for the design, and ordered custom shelving. Then he assembled the shelves, arranged everything, and really turned it into a beautiful place to work. Everyone was super impressed, myself included, and he wouldn’t let me take pictures until yesterday when it was done. So here is what he did, and I am super proud of him. (Aww shucks, ma’am. Tweren’t nothin. I just figure out where things want to be, and then put them there. Since we at this location last summer, I had no idea just how bad the old workshop/shed was. When we got here, I saw it for the first time. It’s an old building, about 10’x20′, and has been in use as the tool shed for a very long time. As a seasonal place, everything is closed down each winter, and although some people return year over year, there’s also a lot of turnover. So there’s a bizarre mixture of influences on how things were stored and placed inside. There’s also a LOT of stuff in there. The shop is used to store supplies for the lodge, and for the hosts of the individual campgrounds, and tools and parts and other supplies. And lots of stuff that only gets used once in a great while. Like most places like this, there was a lot in there that was leftover from many years ago, and some things that could easily be thrown away. When I first saw the inside my first thought was “This place needs to be cleaned and organized. But since I didn’t know what was useful and what was junk, I decided to wait. Plus, they were building a new shop right behind it, no point in doing the work twice. – Lee)

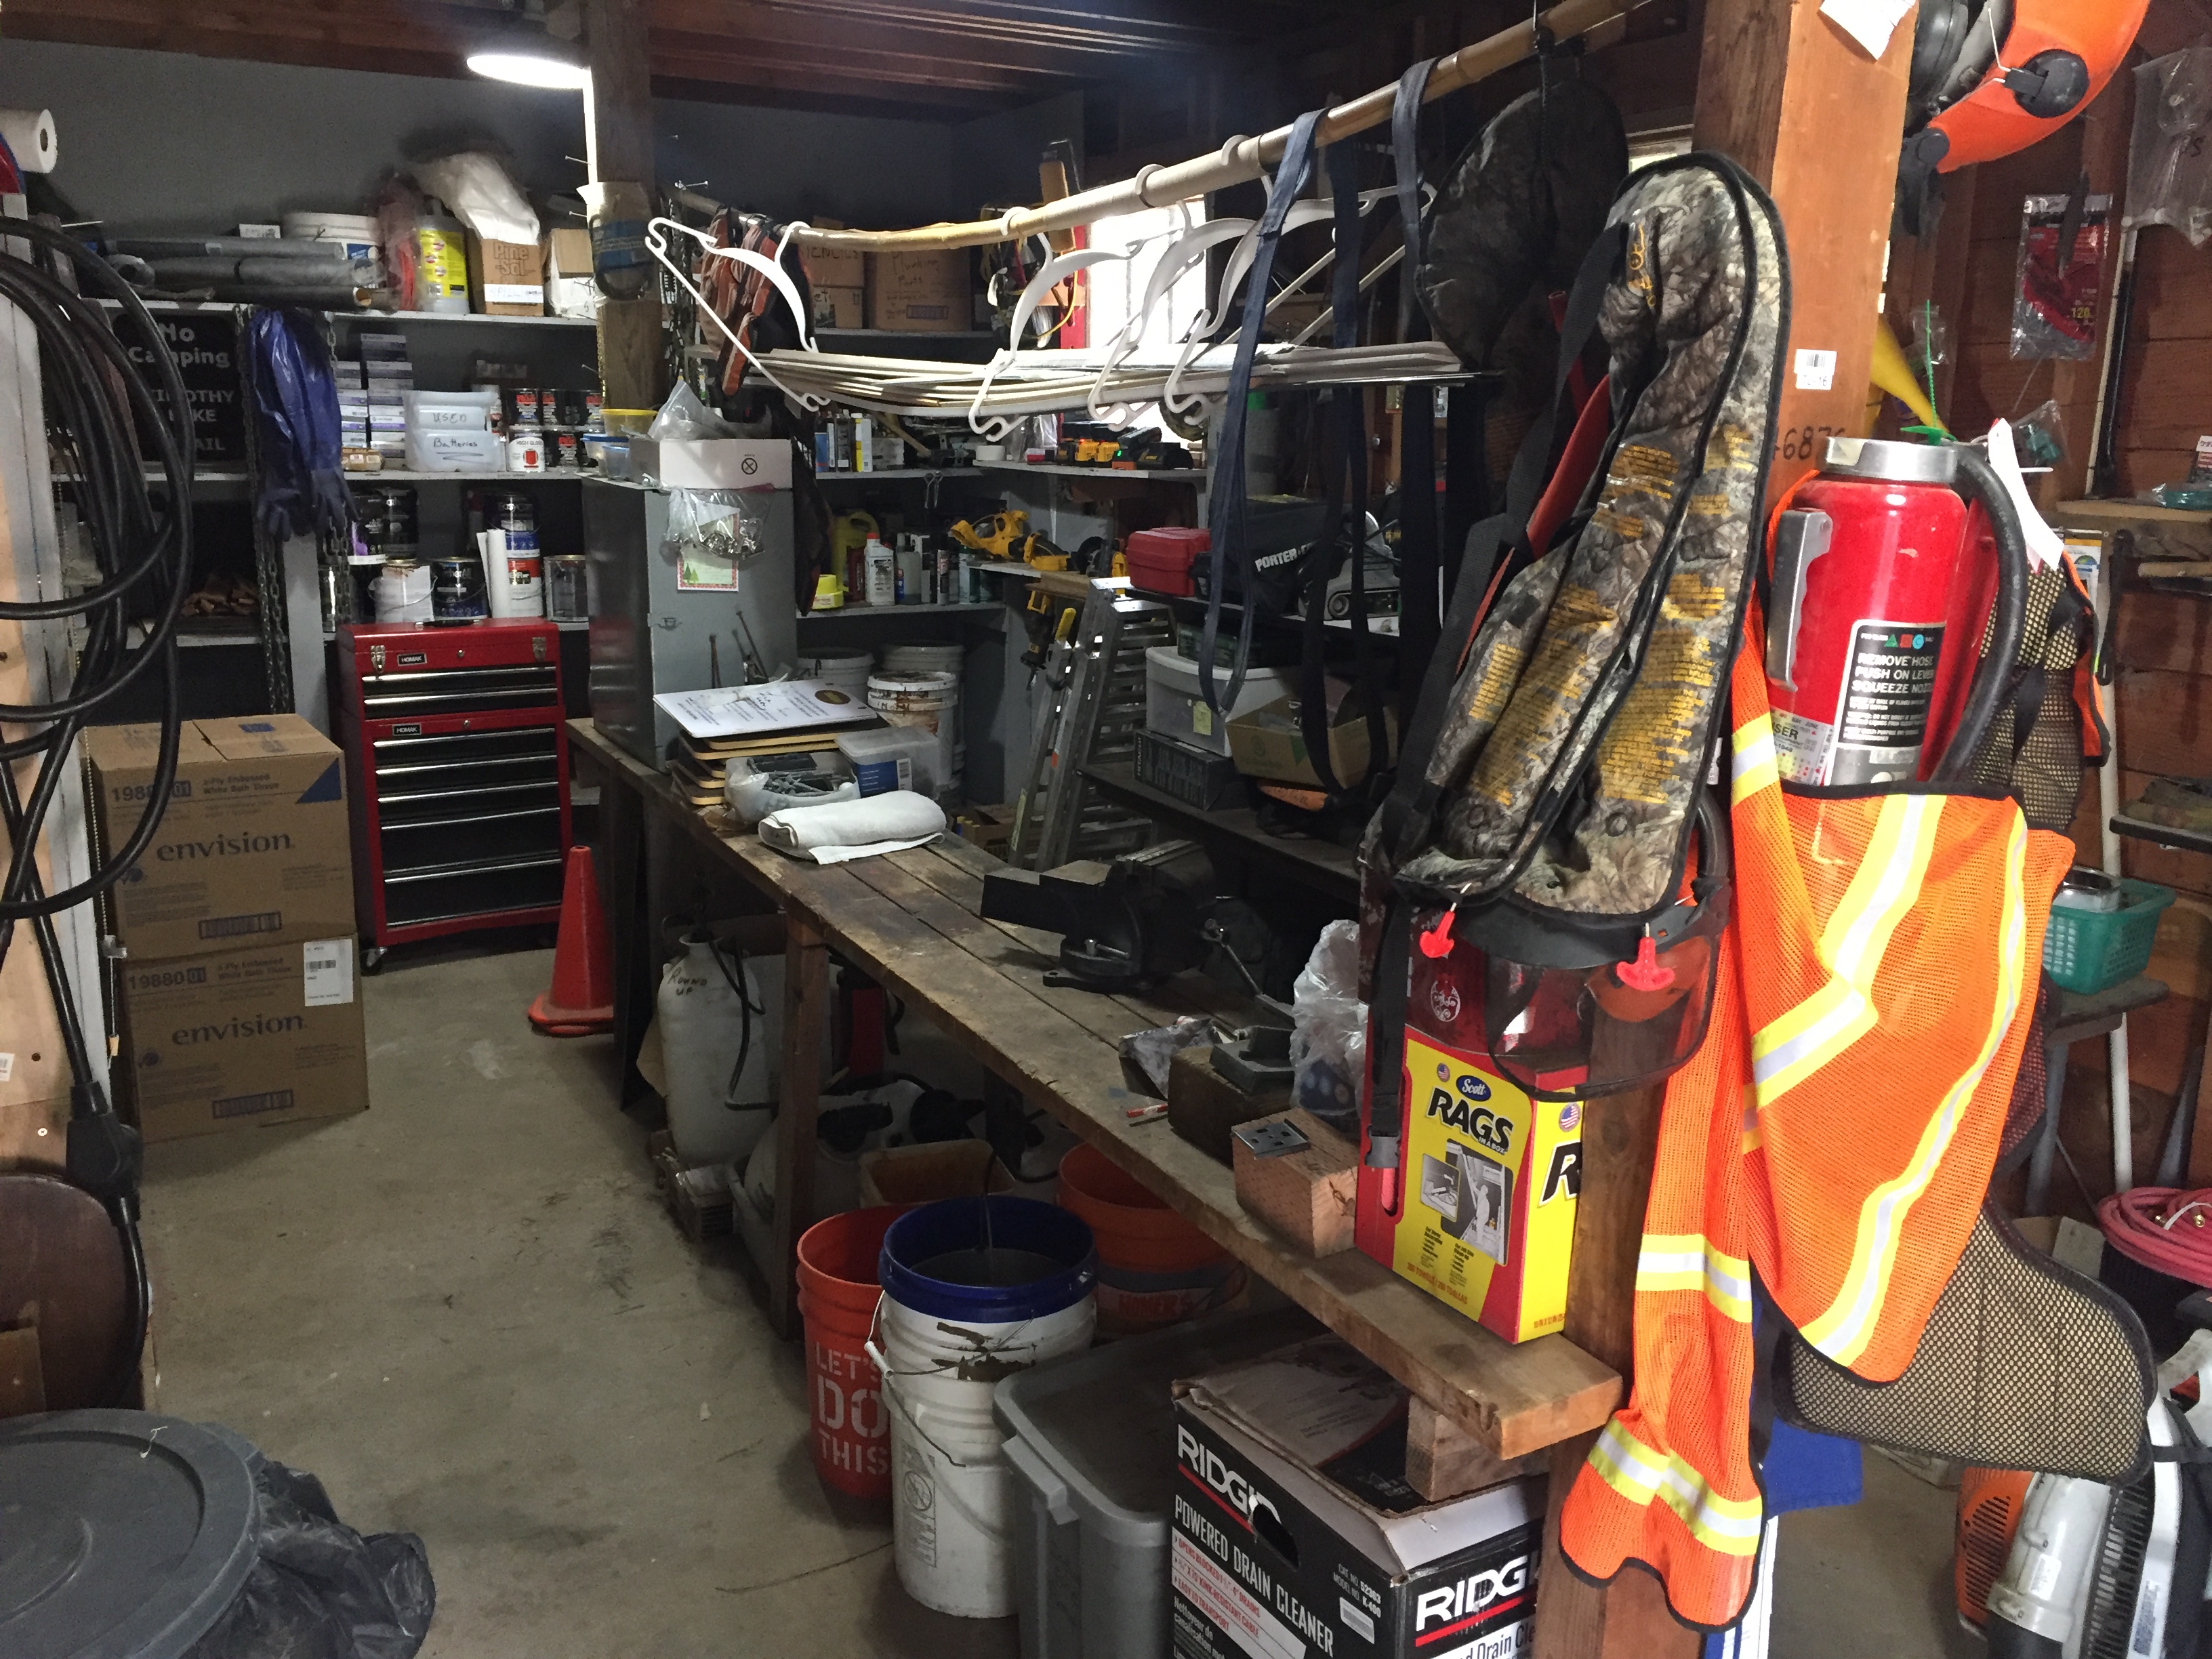
(This is the view from the door. AS you can see, there’s a TON of stuff crammed into this tiny space. Over the years various people had tried to come up with new and interesting ways to fit more in. Some of these methods were clever, some just crazy. My favorite crazy one was the 10′ piece of bamboo from which someone had hung plastic hangers to hold up long things ding over the “workbench”. – Lee)
(As you can see, people had gone to some effort to keep things somewhat tidy and sorted, like the camp host supplies. No small feat in such a tight and crowded space. – Lee)

(One of the problems is that there were lots of shelves, but they were very deep, which invites just ramming more and more onto them, and invariably, stuff gets shoved to the back and forgotten. – Lee)

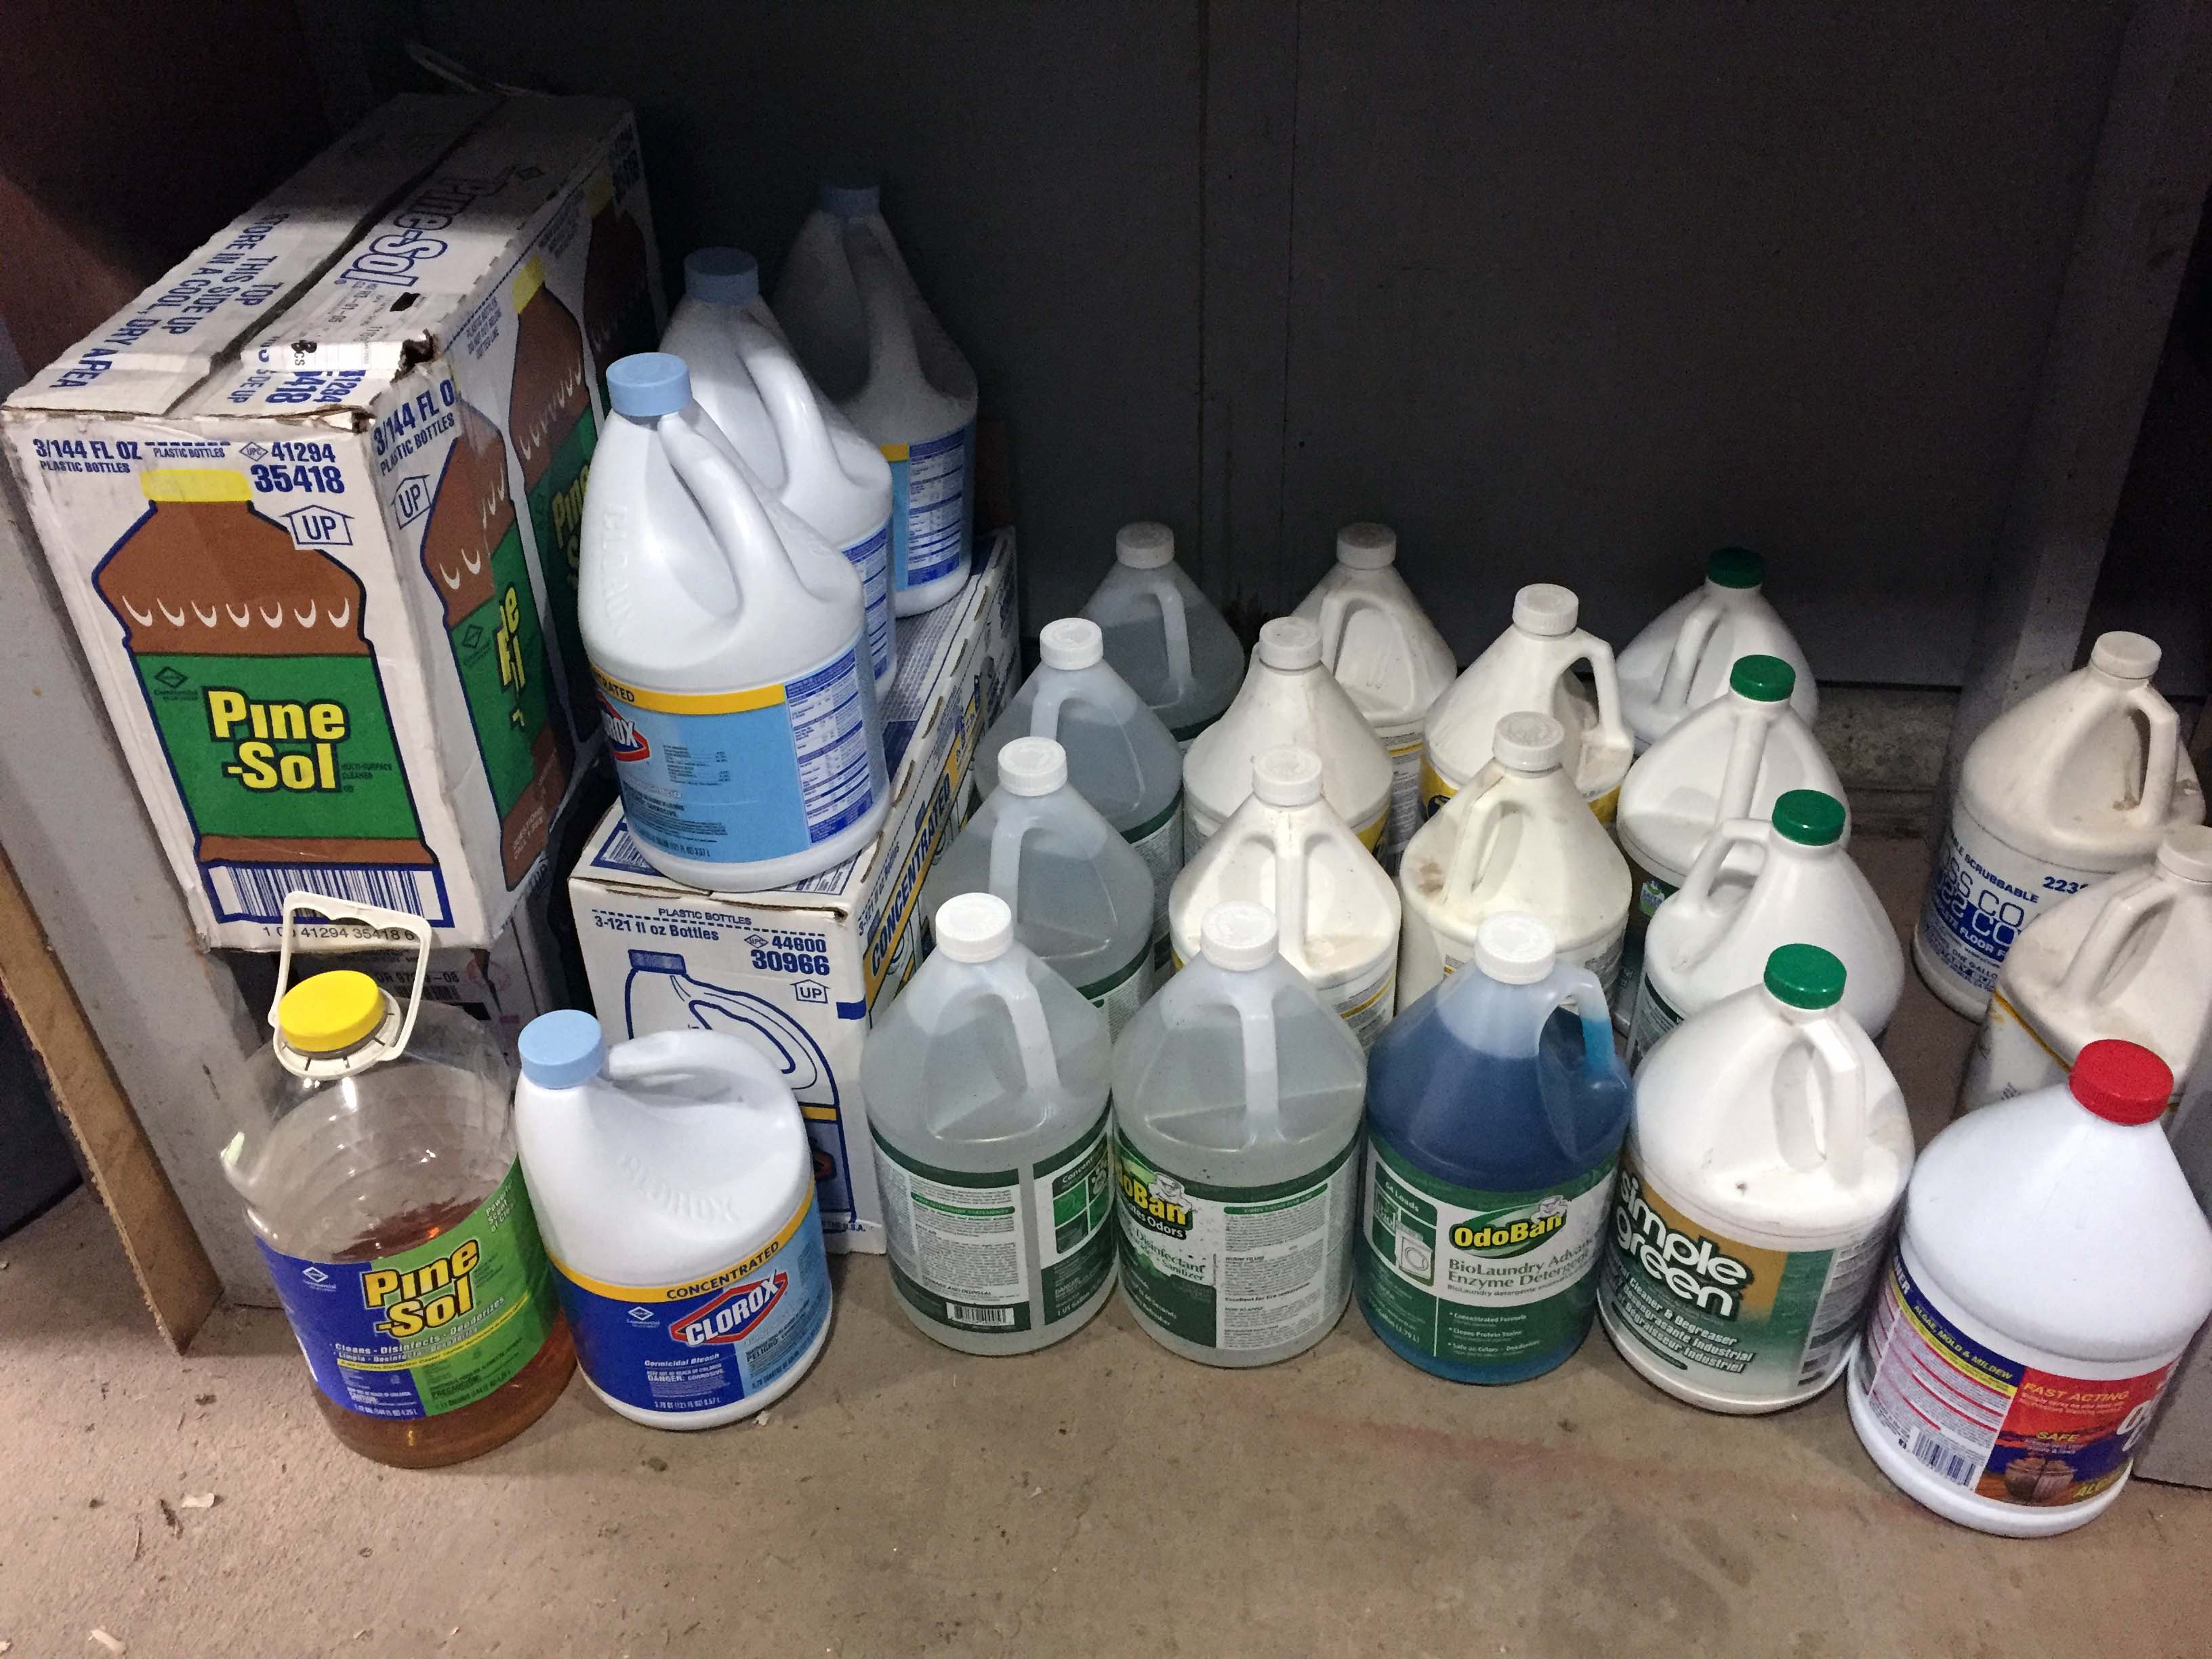
(There was also a lot old paint in spray cans, pint, quart, gallon and five gallon cans. Some were nearly empty, and some were so old they were unusable. Again, someone had kept them all together, but there was also other stuff mixed in. finding anything was a pain. – Lee)
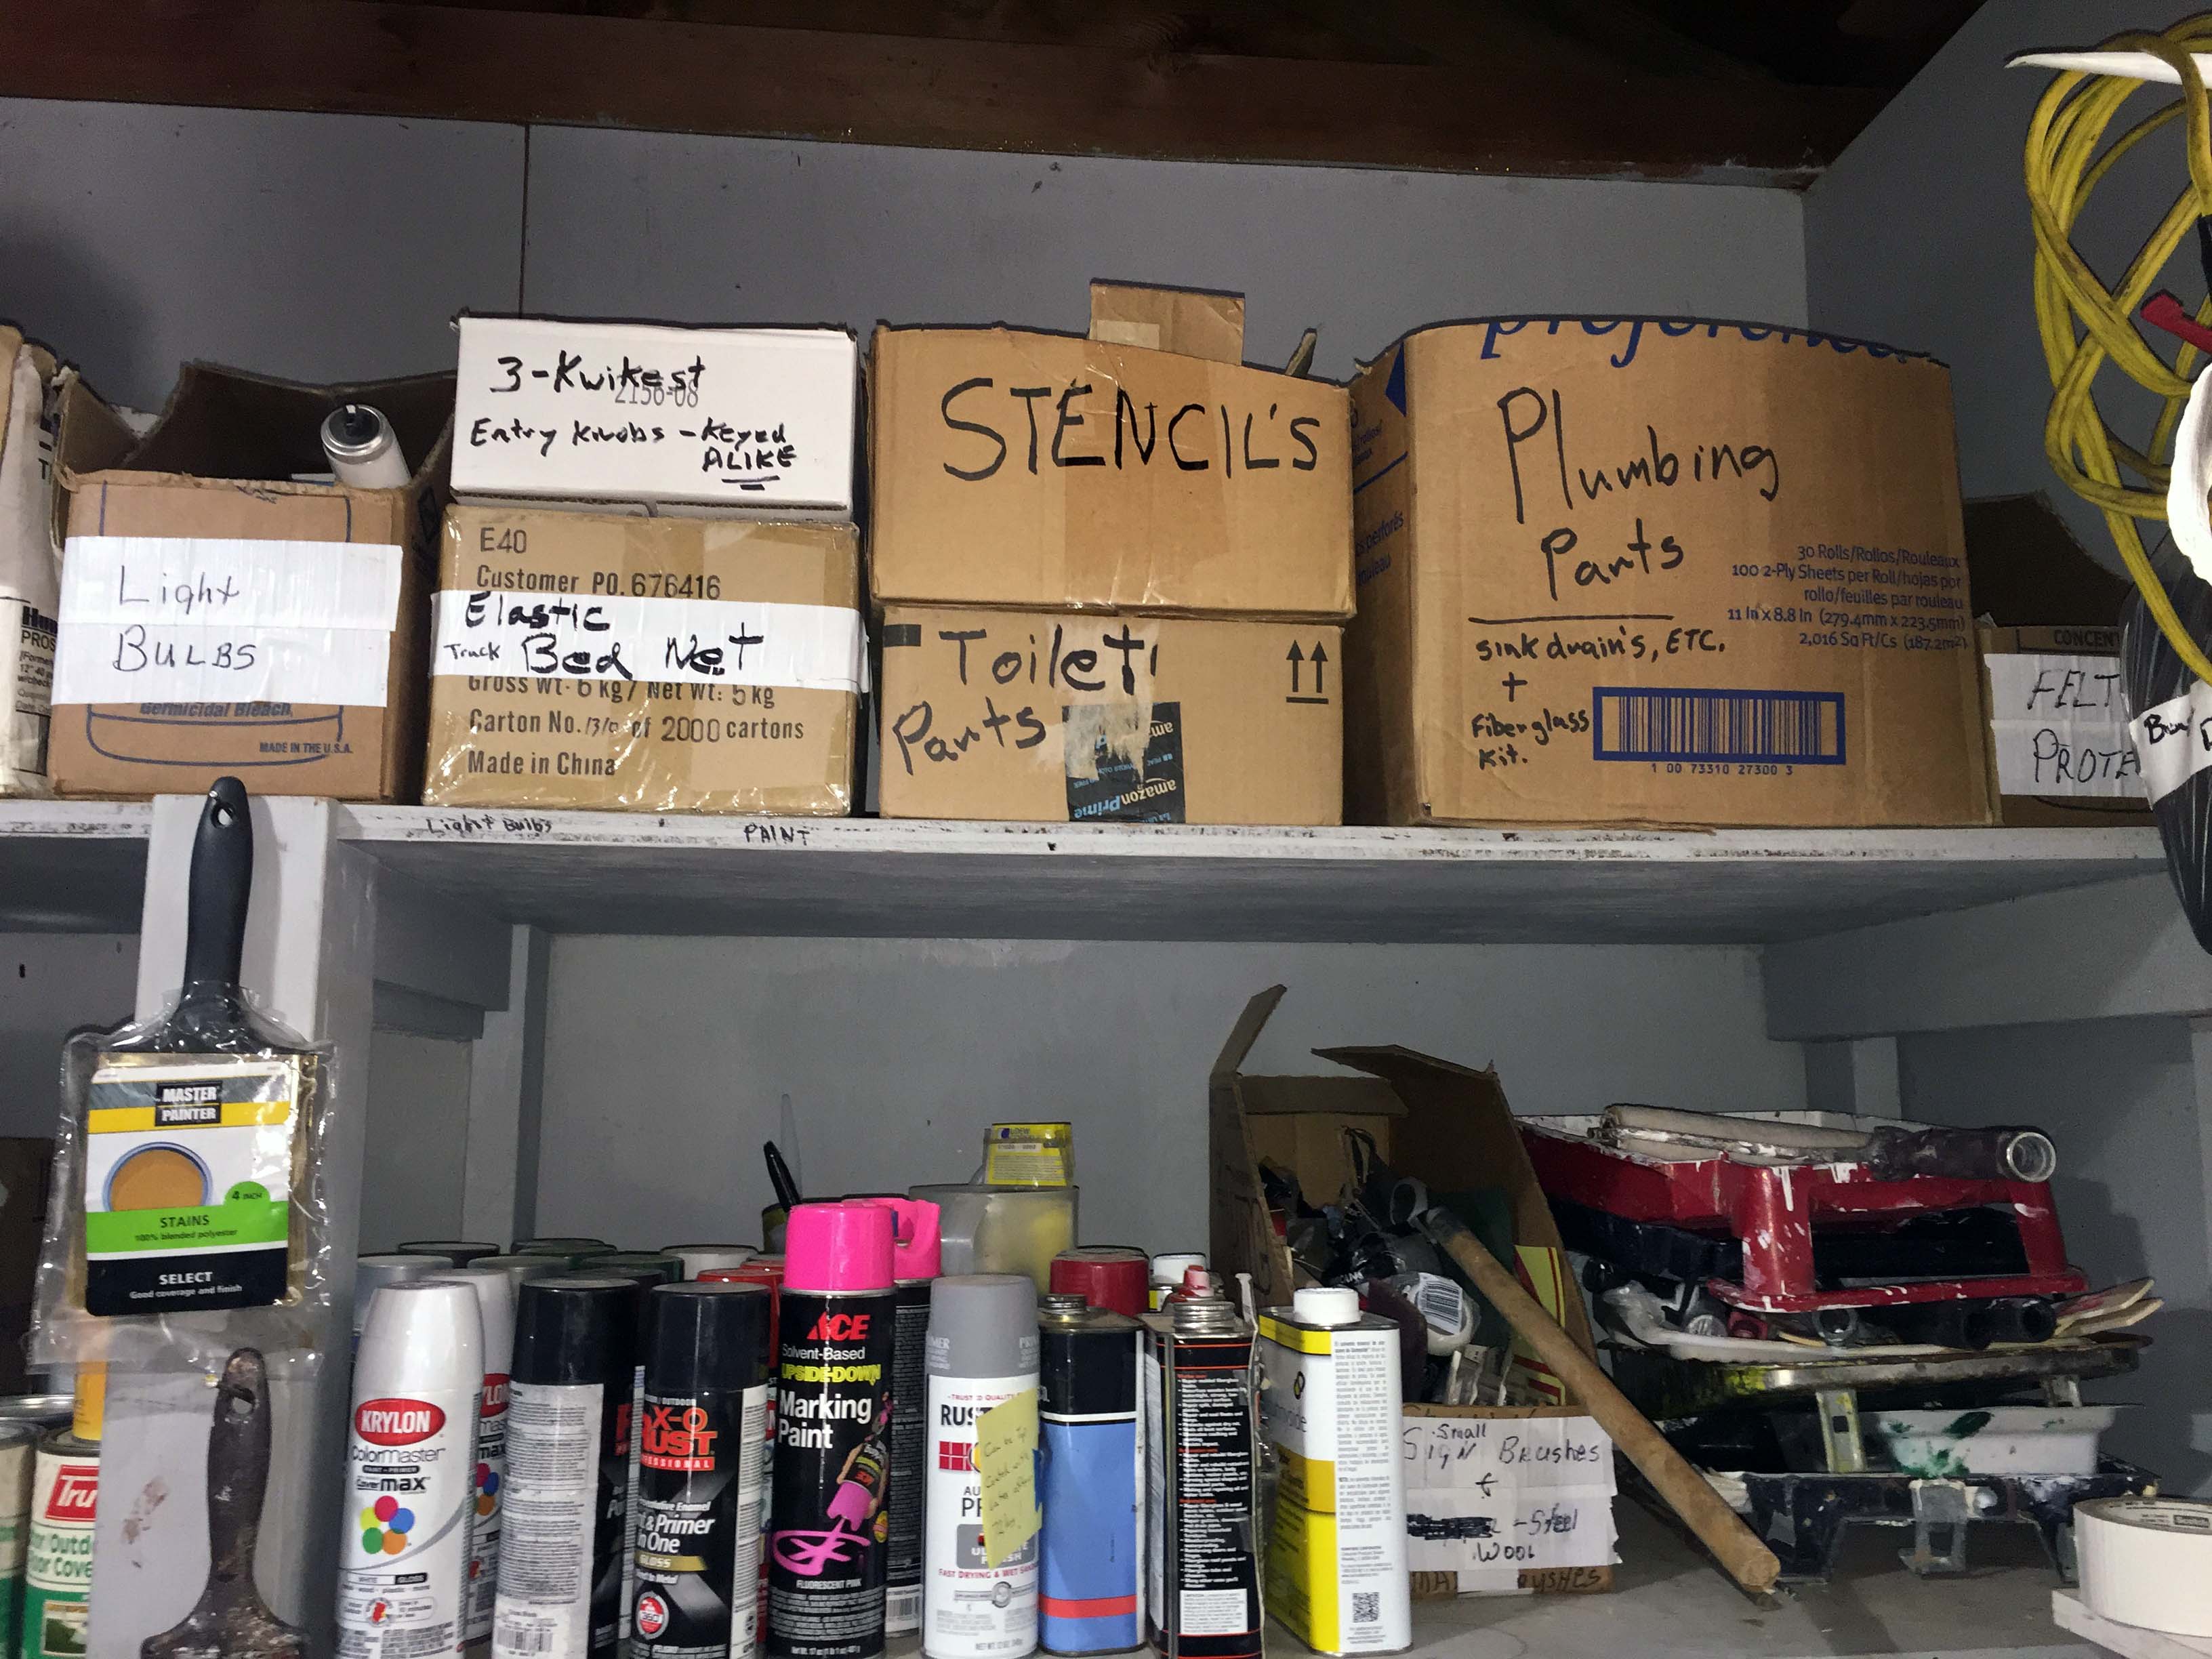
(Lots of small boxes with stuff. Labelled, but mice love to live in and chew up cardboard. Since this building is closed up all winter, everything was covered in mouse droppings. – Lee)

(Another good example of fighting for space. The boxes on the left are different sizes of gloves, which were delivered to hosts each week. But they were shoved to the back of a shelf, and had to be rooted out weekly. Annoying. – Lee)

(Each fall a lot of signs are taken down, and shoved into the shed to be removed in the spring and re-hung. There were also replacement signs stored, and this was the worst, lots of signs mixed up and shoved onto a shelf in a corner, so the ones in the back were almost impossible to get to. – Lee)
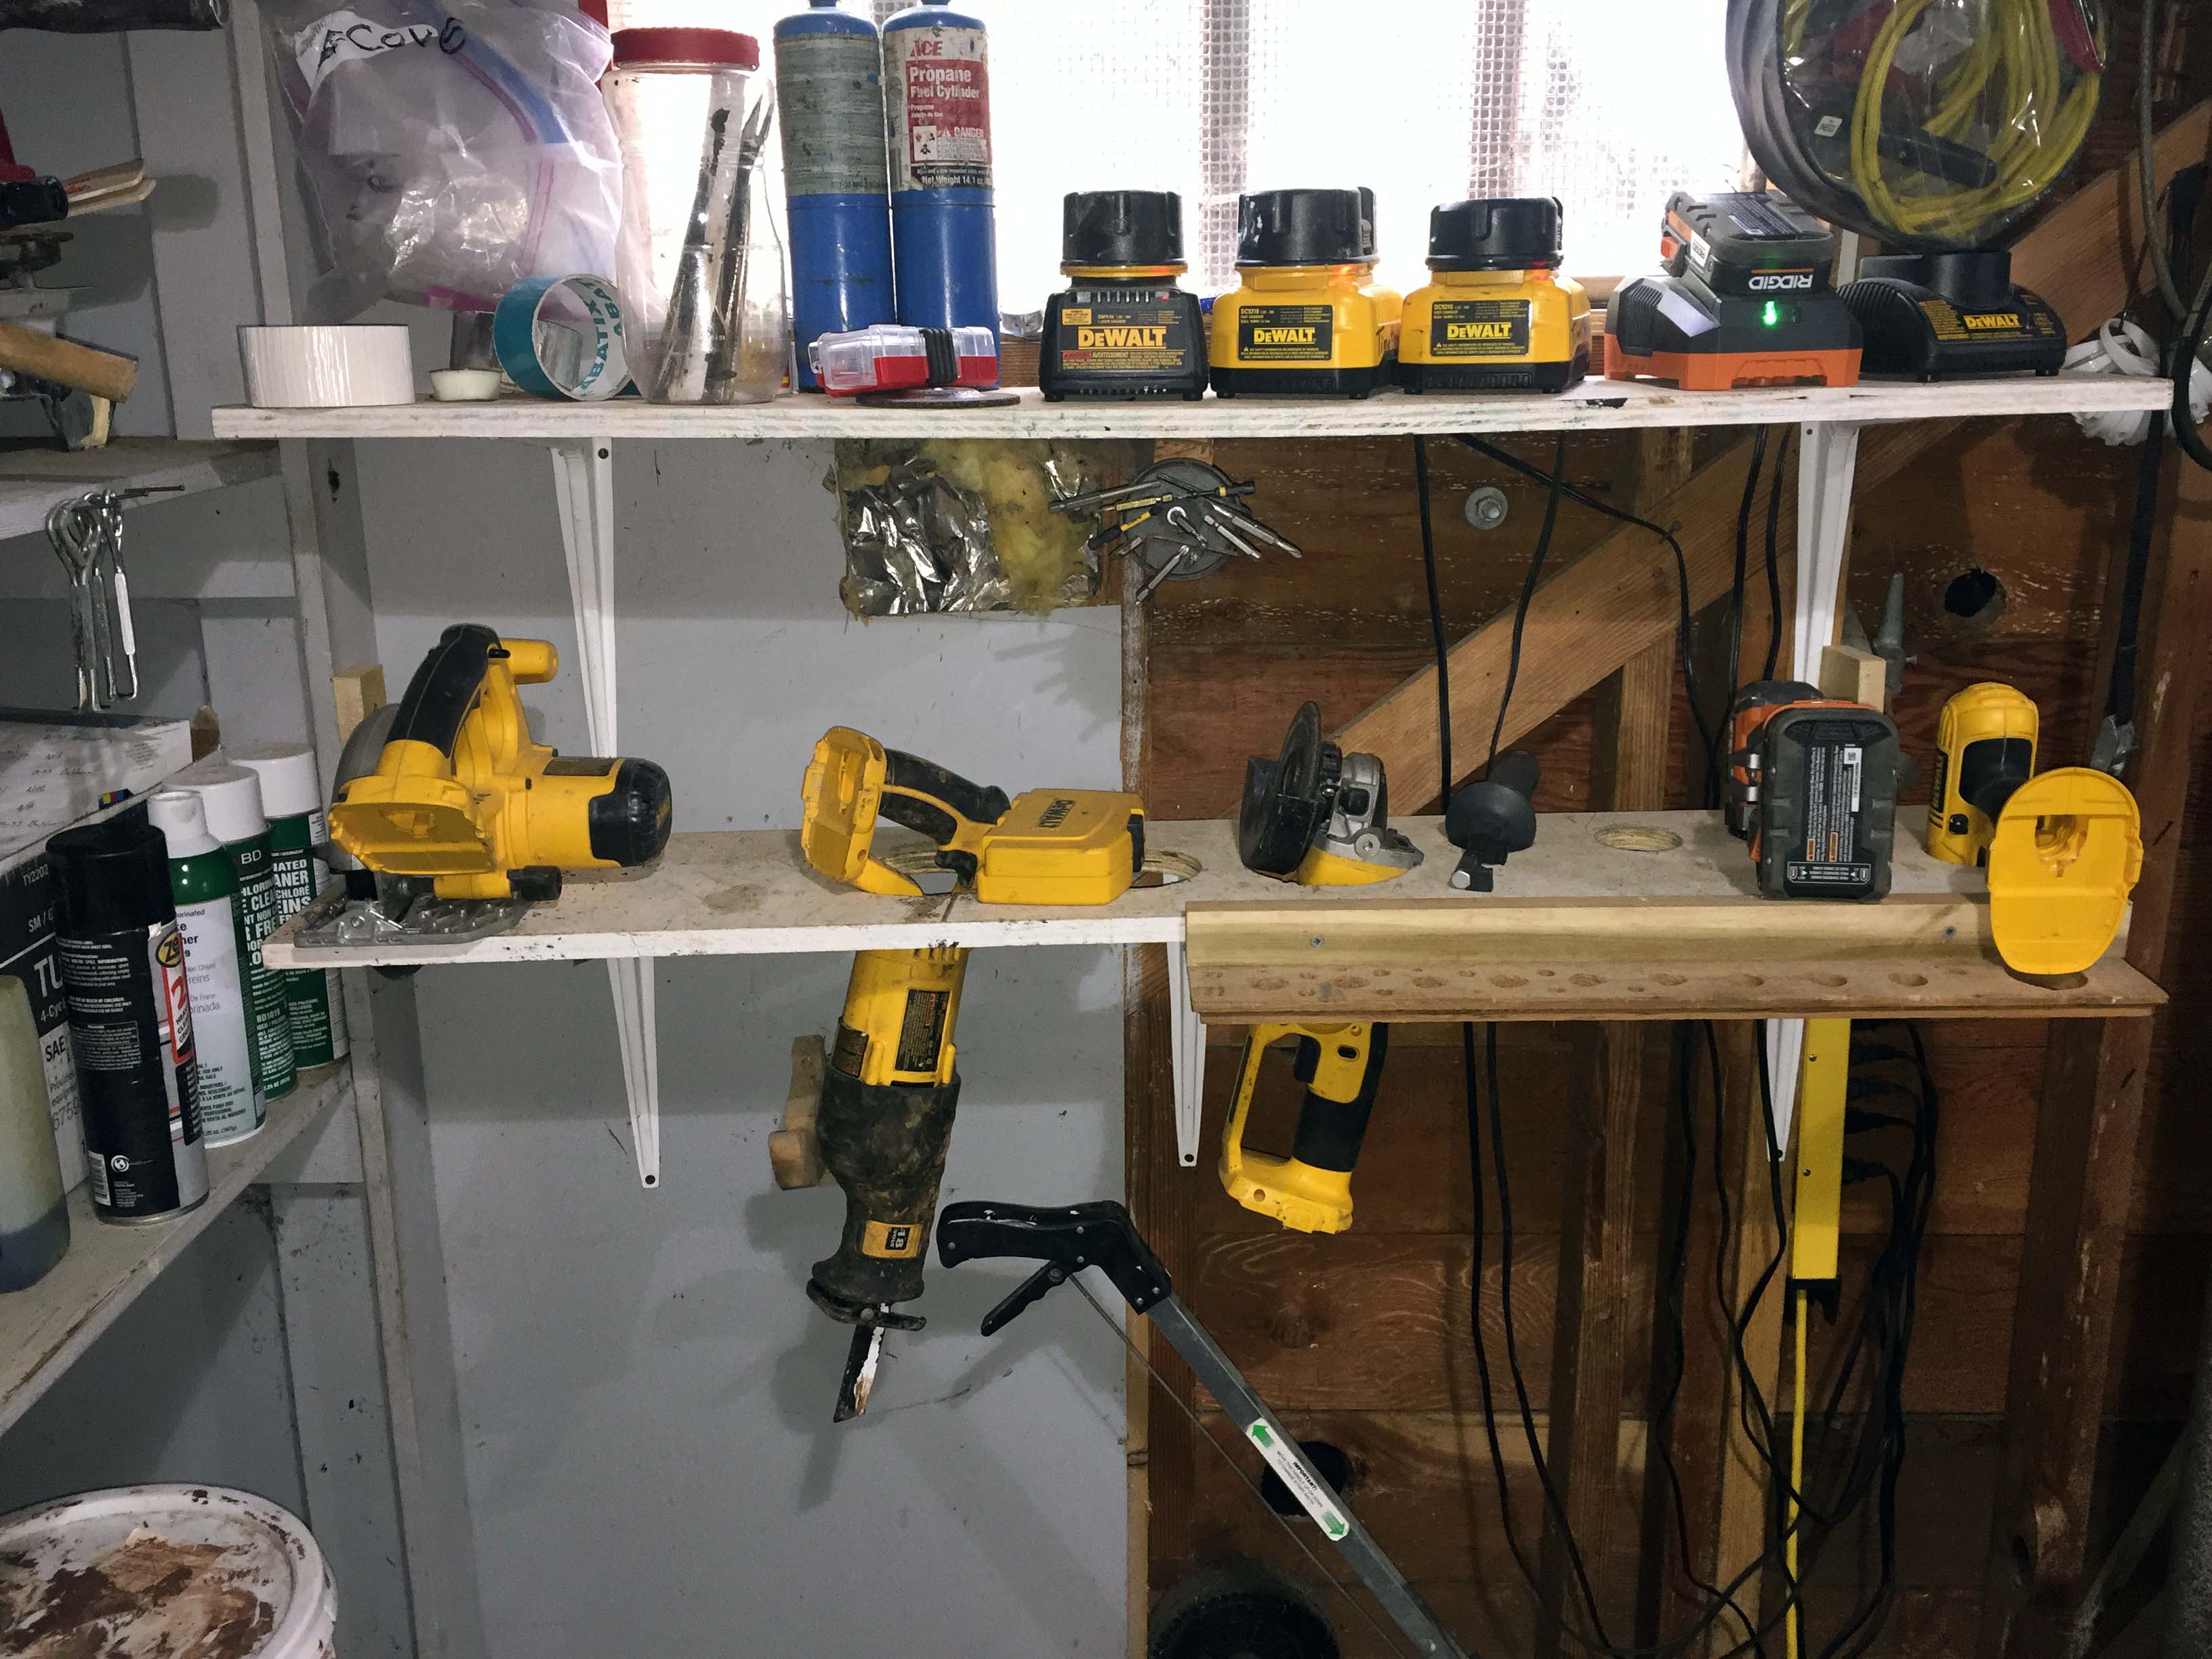
(I actually liked this. Someone had put up a little shelf with holes cut into it for the power tools. However, the shelf was all the way in the back corner, and hard to get to. There were also piles of tools in soft bags and hard cases stacked on a table to the right of this photo. – Lee)

(And there was lots of this. Things hanging from the walls by nails, and bits of wire, and just sort of leaned against the wall and stacked up. Finding and getting things was quite the chore, and usually involved things falling and getting knocked down or over. – Lee)

(It reminded me a lot of someone’s garden shed or small garage that had been living there for 40 years. An attempt was made to keep it in control, but it was just too small a space with too much stuff, and nobody curating it. – Lee)
So imagine how happy I was to see this, just a few yards away!
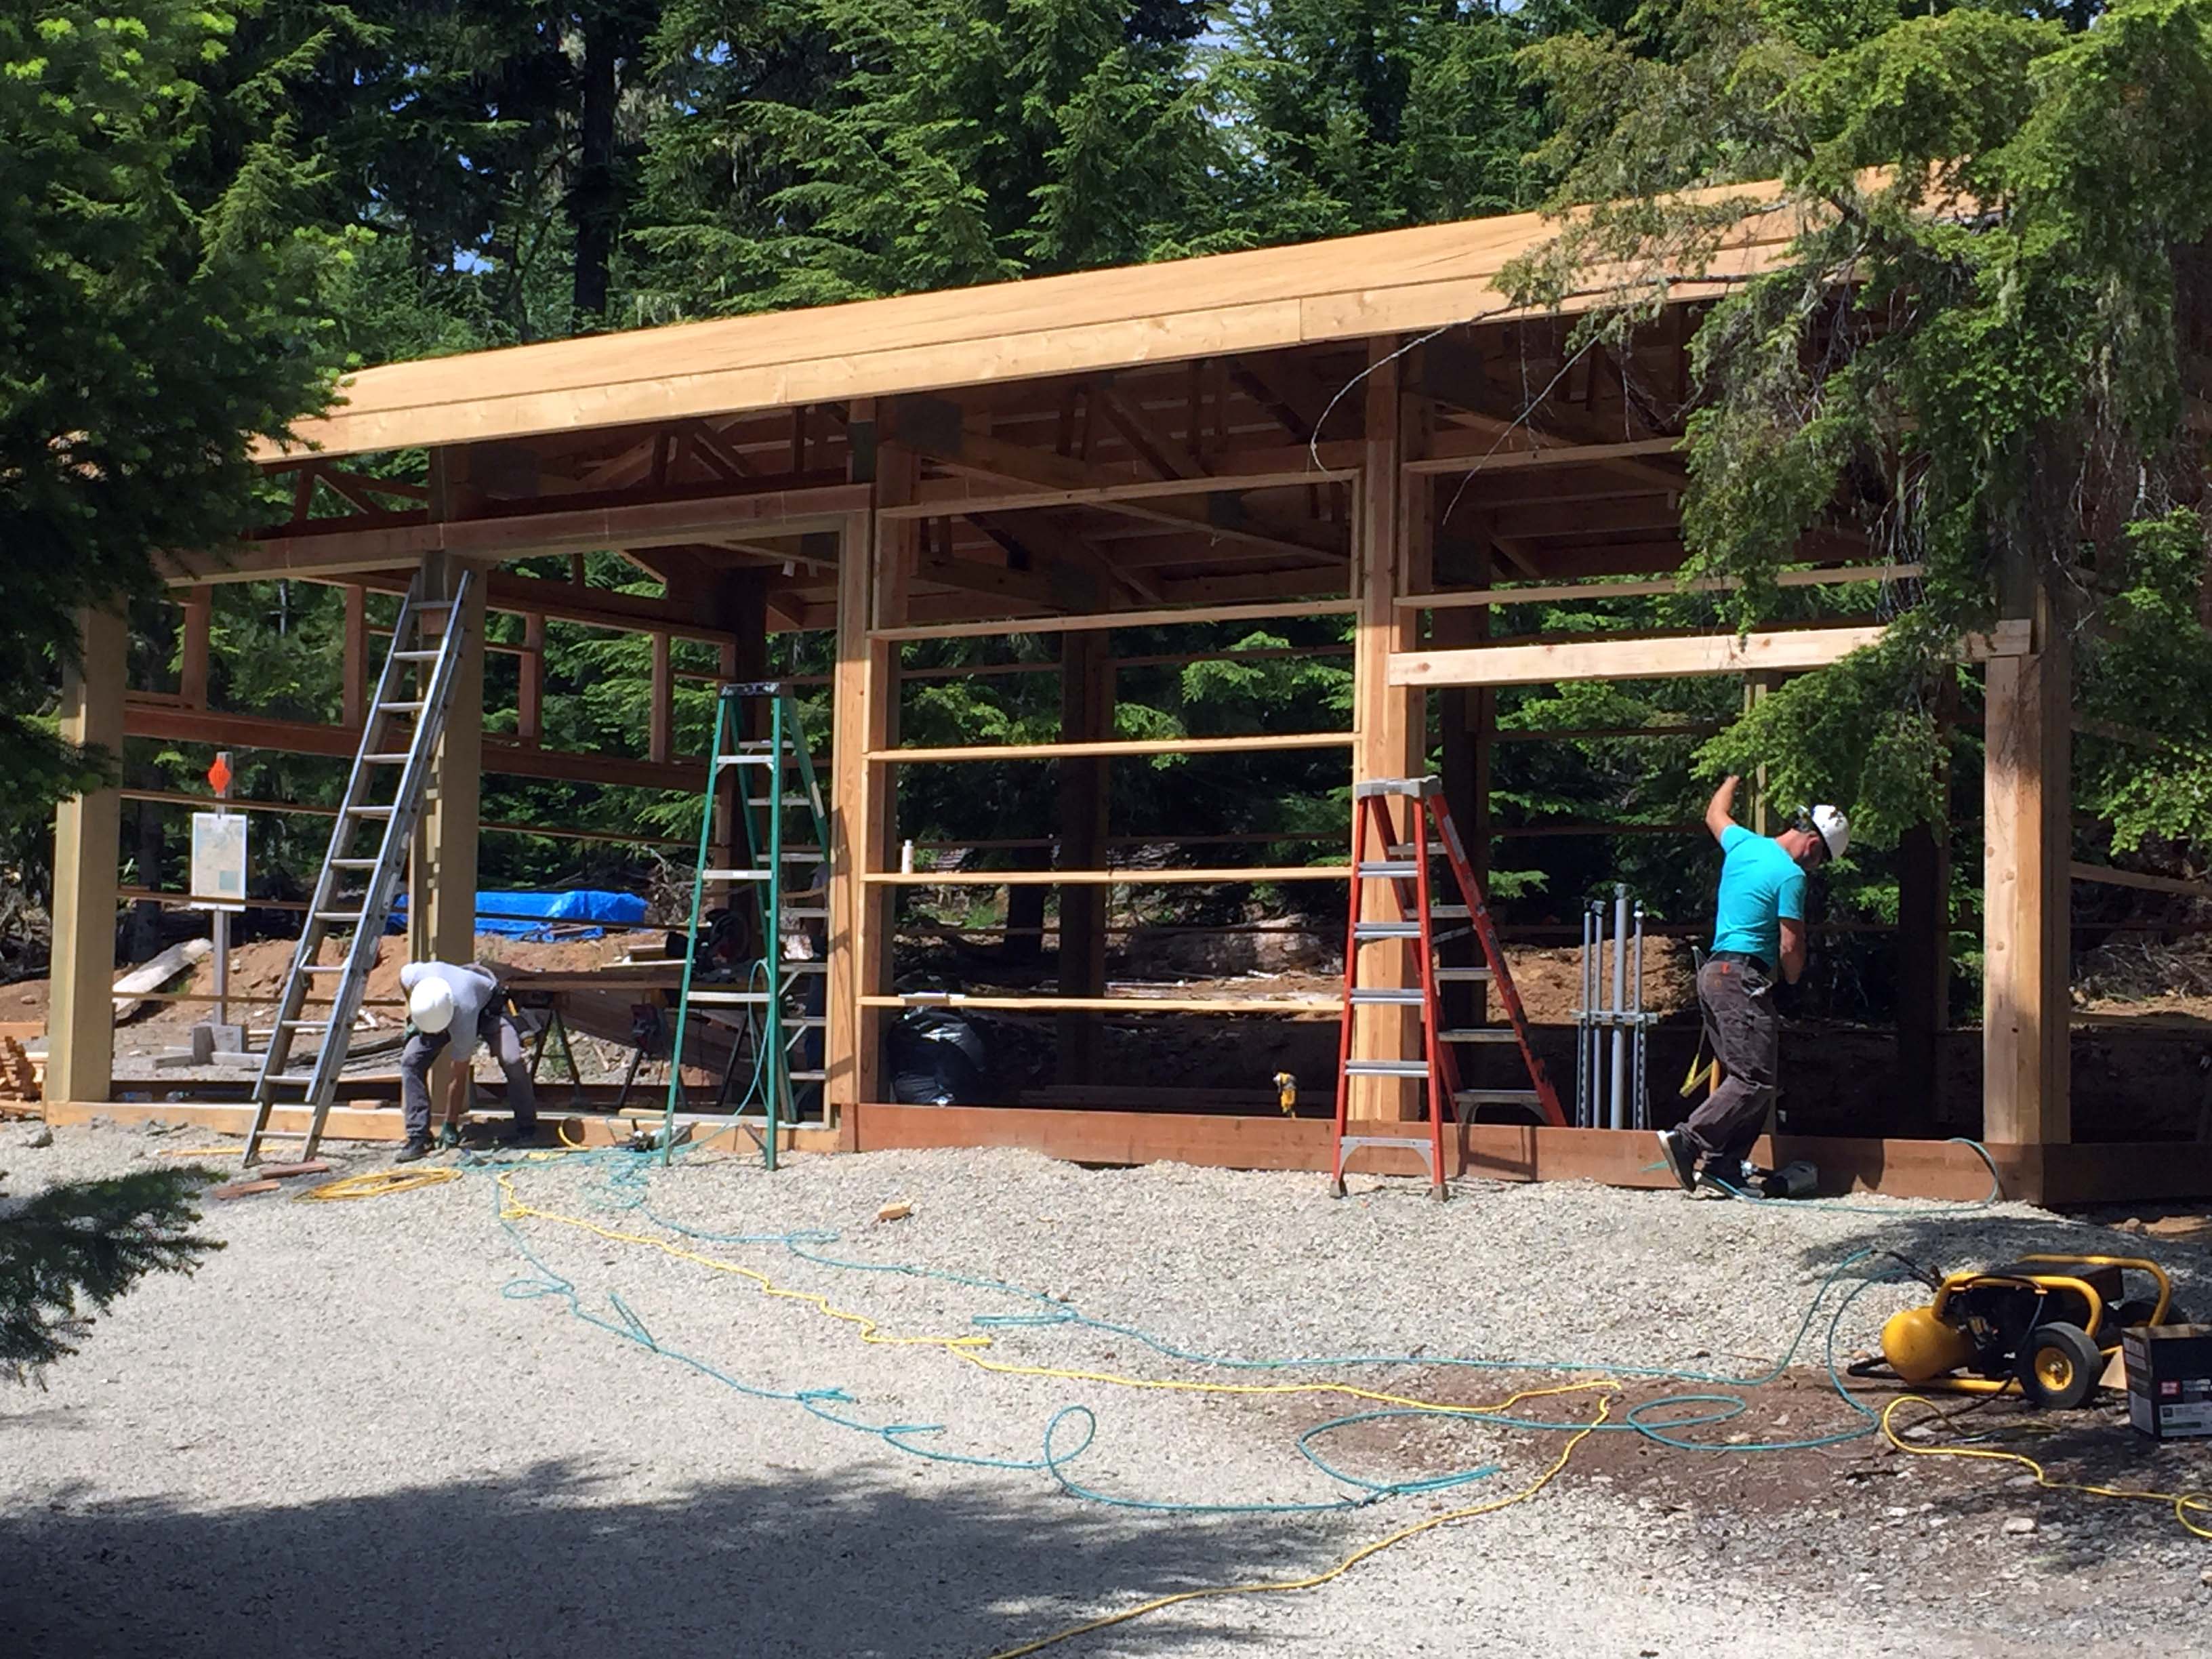
When we first got here, only the posts were up. I took a few pictures, but I can’t locate them. Then I was planning to take pictures of every stage of construction, but work and the fact that the builders would show up randomly and work for a day and then disappear for weeks on end made it all but impossible to do that. I did get some pictures along the way though.
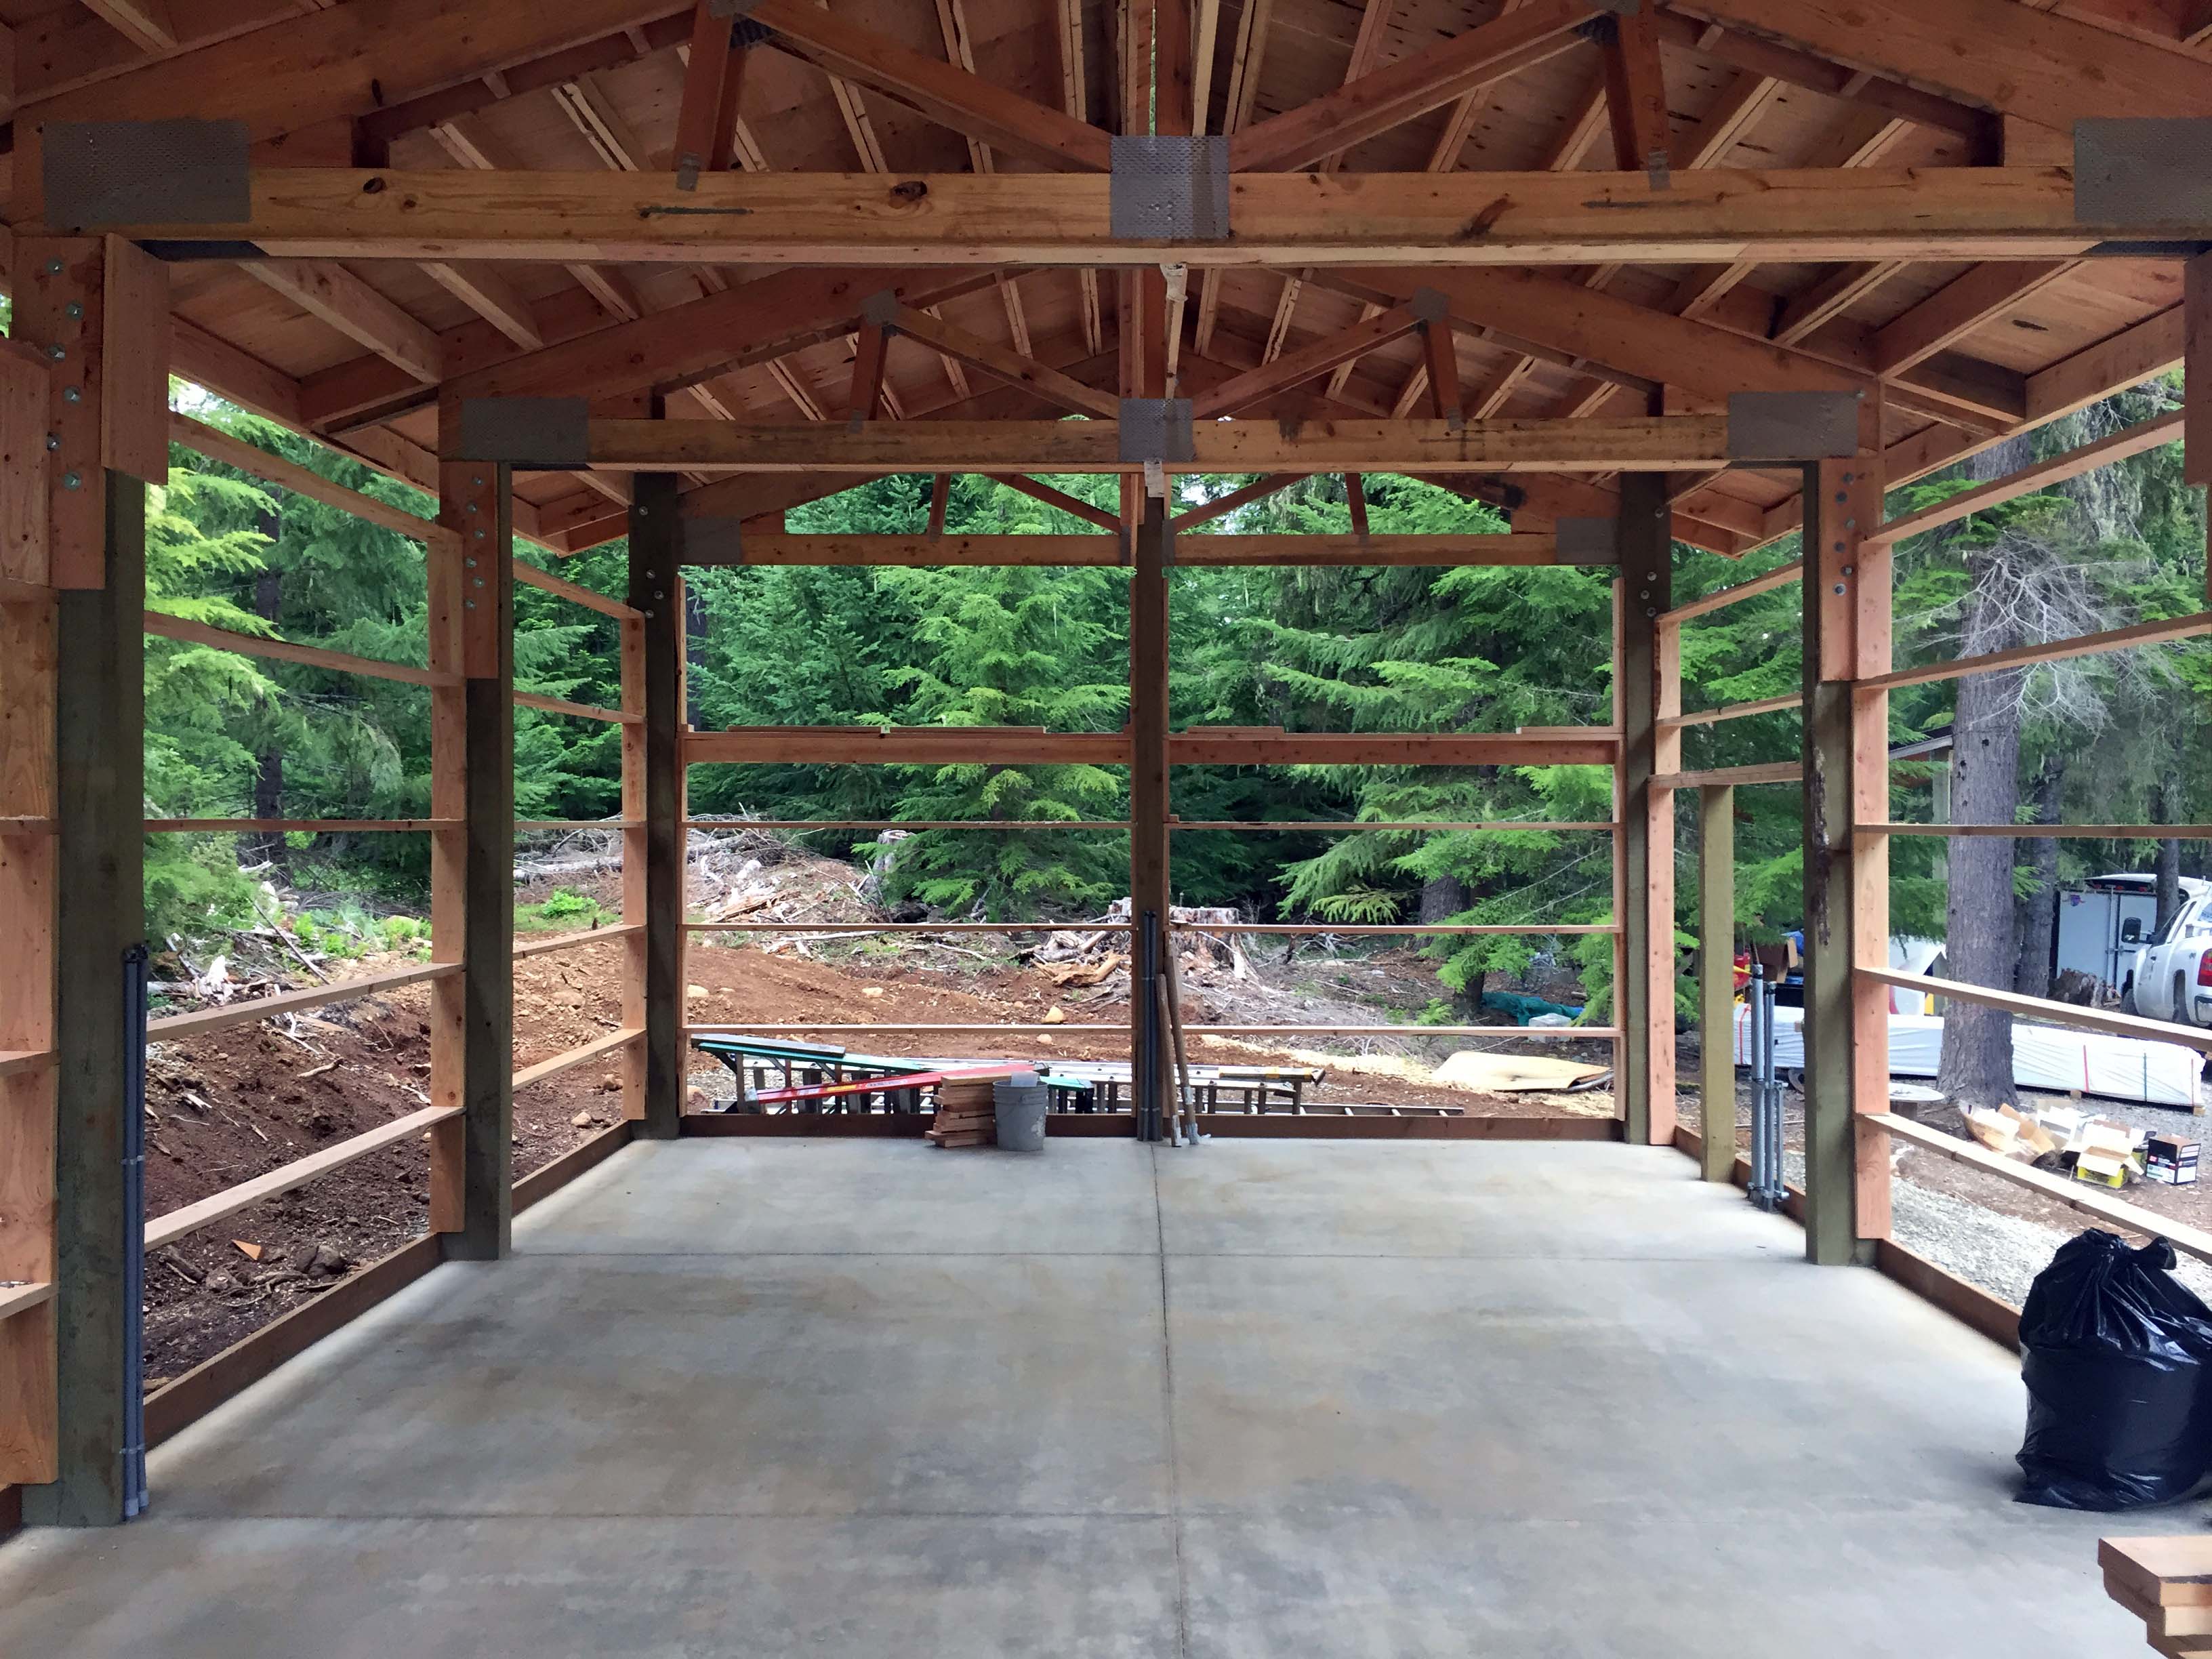


While I waited for the building to be finished enough to start doing things inside, I would stand inside and try to visualize the best place to put things, and just sort of daydream about having it stocked and try to figure out how to best use the space. Then I did some measuring and started building a 3D model. That was a lot of fun, I hadn’t done that since I designed a TV studio back in 2005.

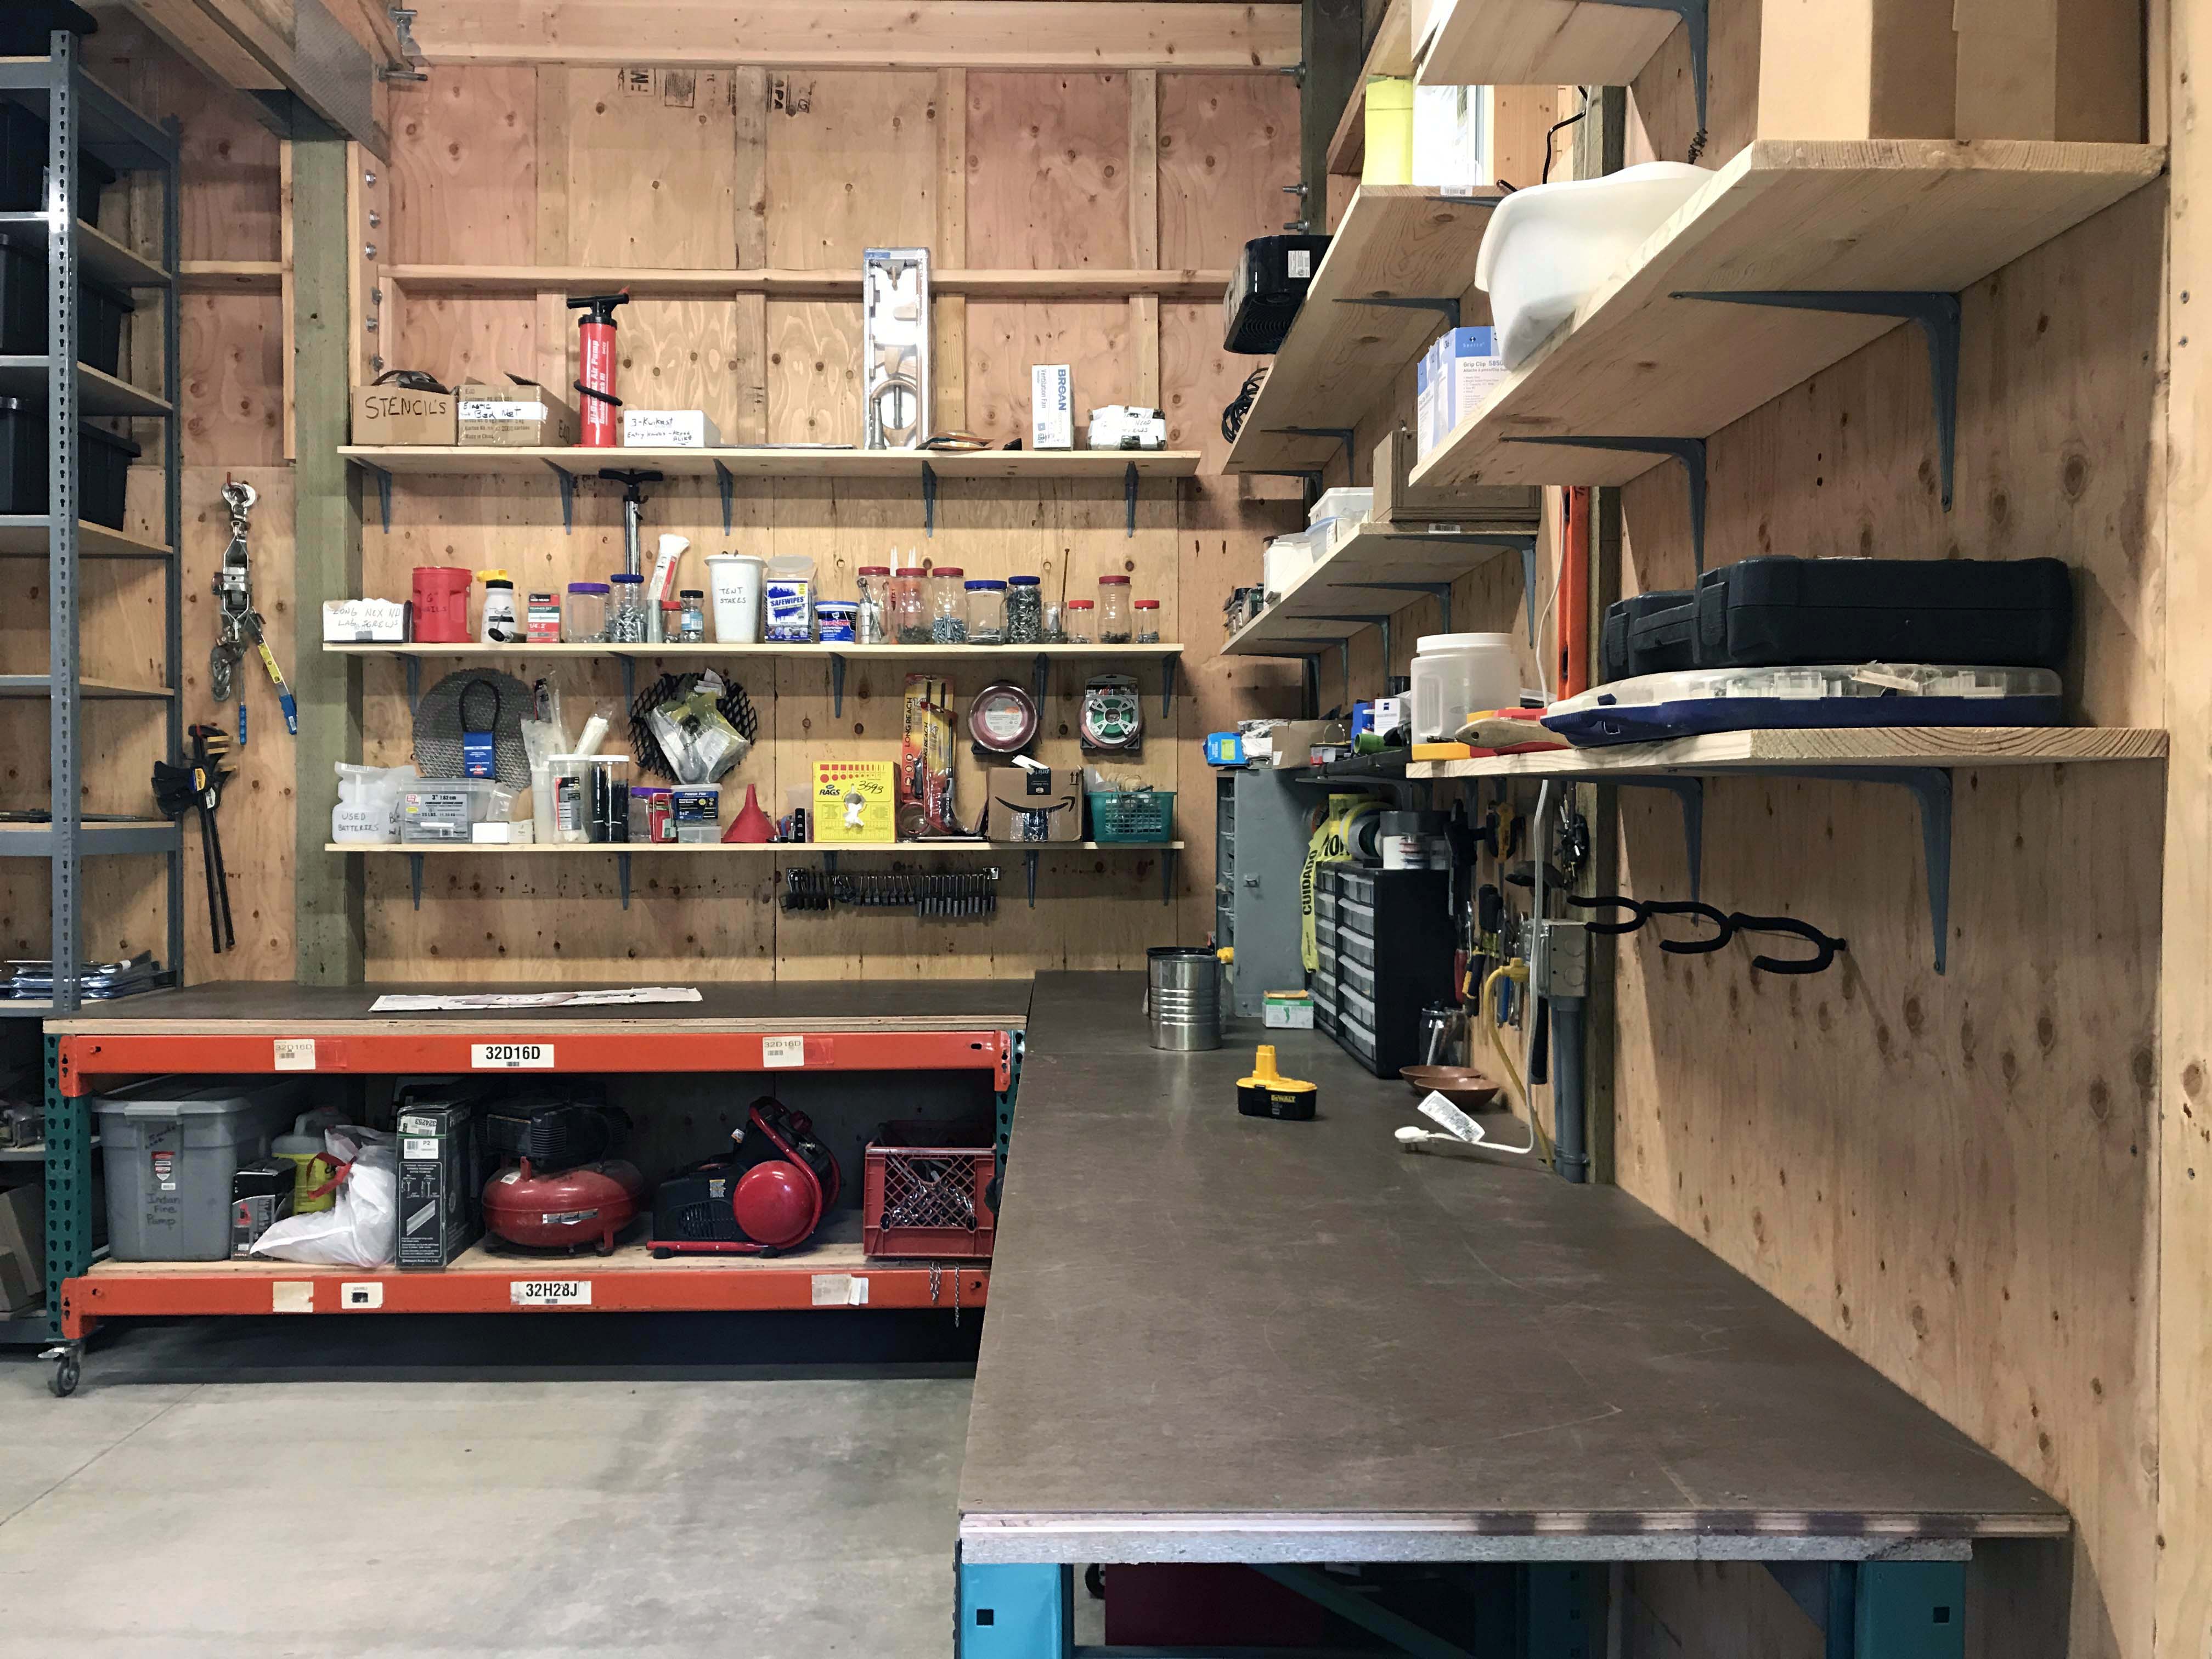
One of the things I definitely wanted to do was utilize as much of the vertical space as possible. With a 20′ peak, there was a LOT of space to work with, and since much of the stuff only needed to be touched once or twice a season, it made sense to get that stuff up and out of the way. I ended up going with two types of shelving, both bolt-less for ease of putting it together. For long span shelves and workbenches I used pallet racking. I ended up buying a mixture of new and used stuff from an industrial salvage company, and all of it ended up costing only about $1500, which is CHEAP! Here’s a panorama showing the entire “shop” side of the building, as opposed to the bay side. The shelves and pallet racking on the left already have some supplies because I wanted to be able to start using it right away to make sure everything would fit and see if what I had imagined would work in practice. The nice thing about the shelves on the left is that they are accessible from either side, so you can grab supplies from the “shop” side and use the man door, or you can pull a truck up to the garage door and grab stuff from there and put it right in the truck.

I had originally thought to set the shelf height for each shelf based on what ended up on them, working my way from the bottom up, but then I had a much better idea.

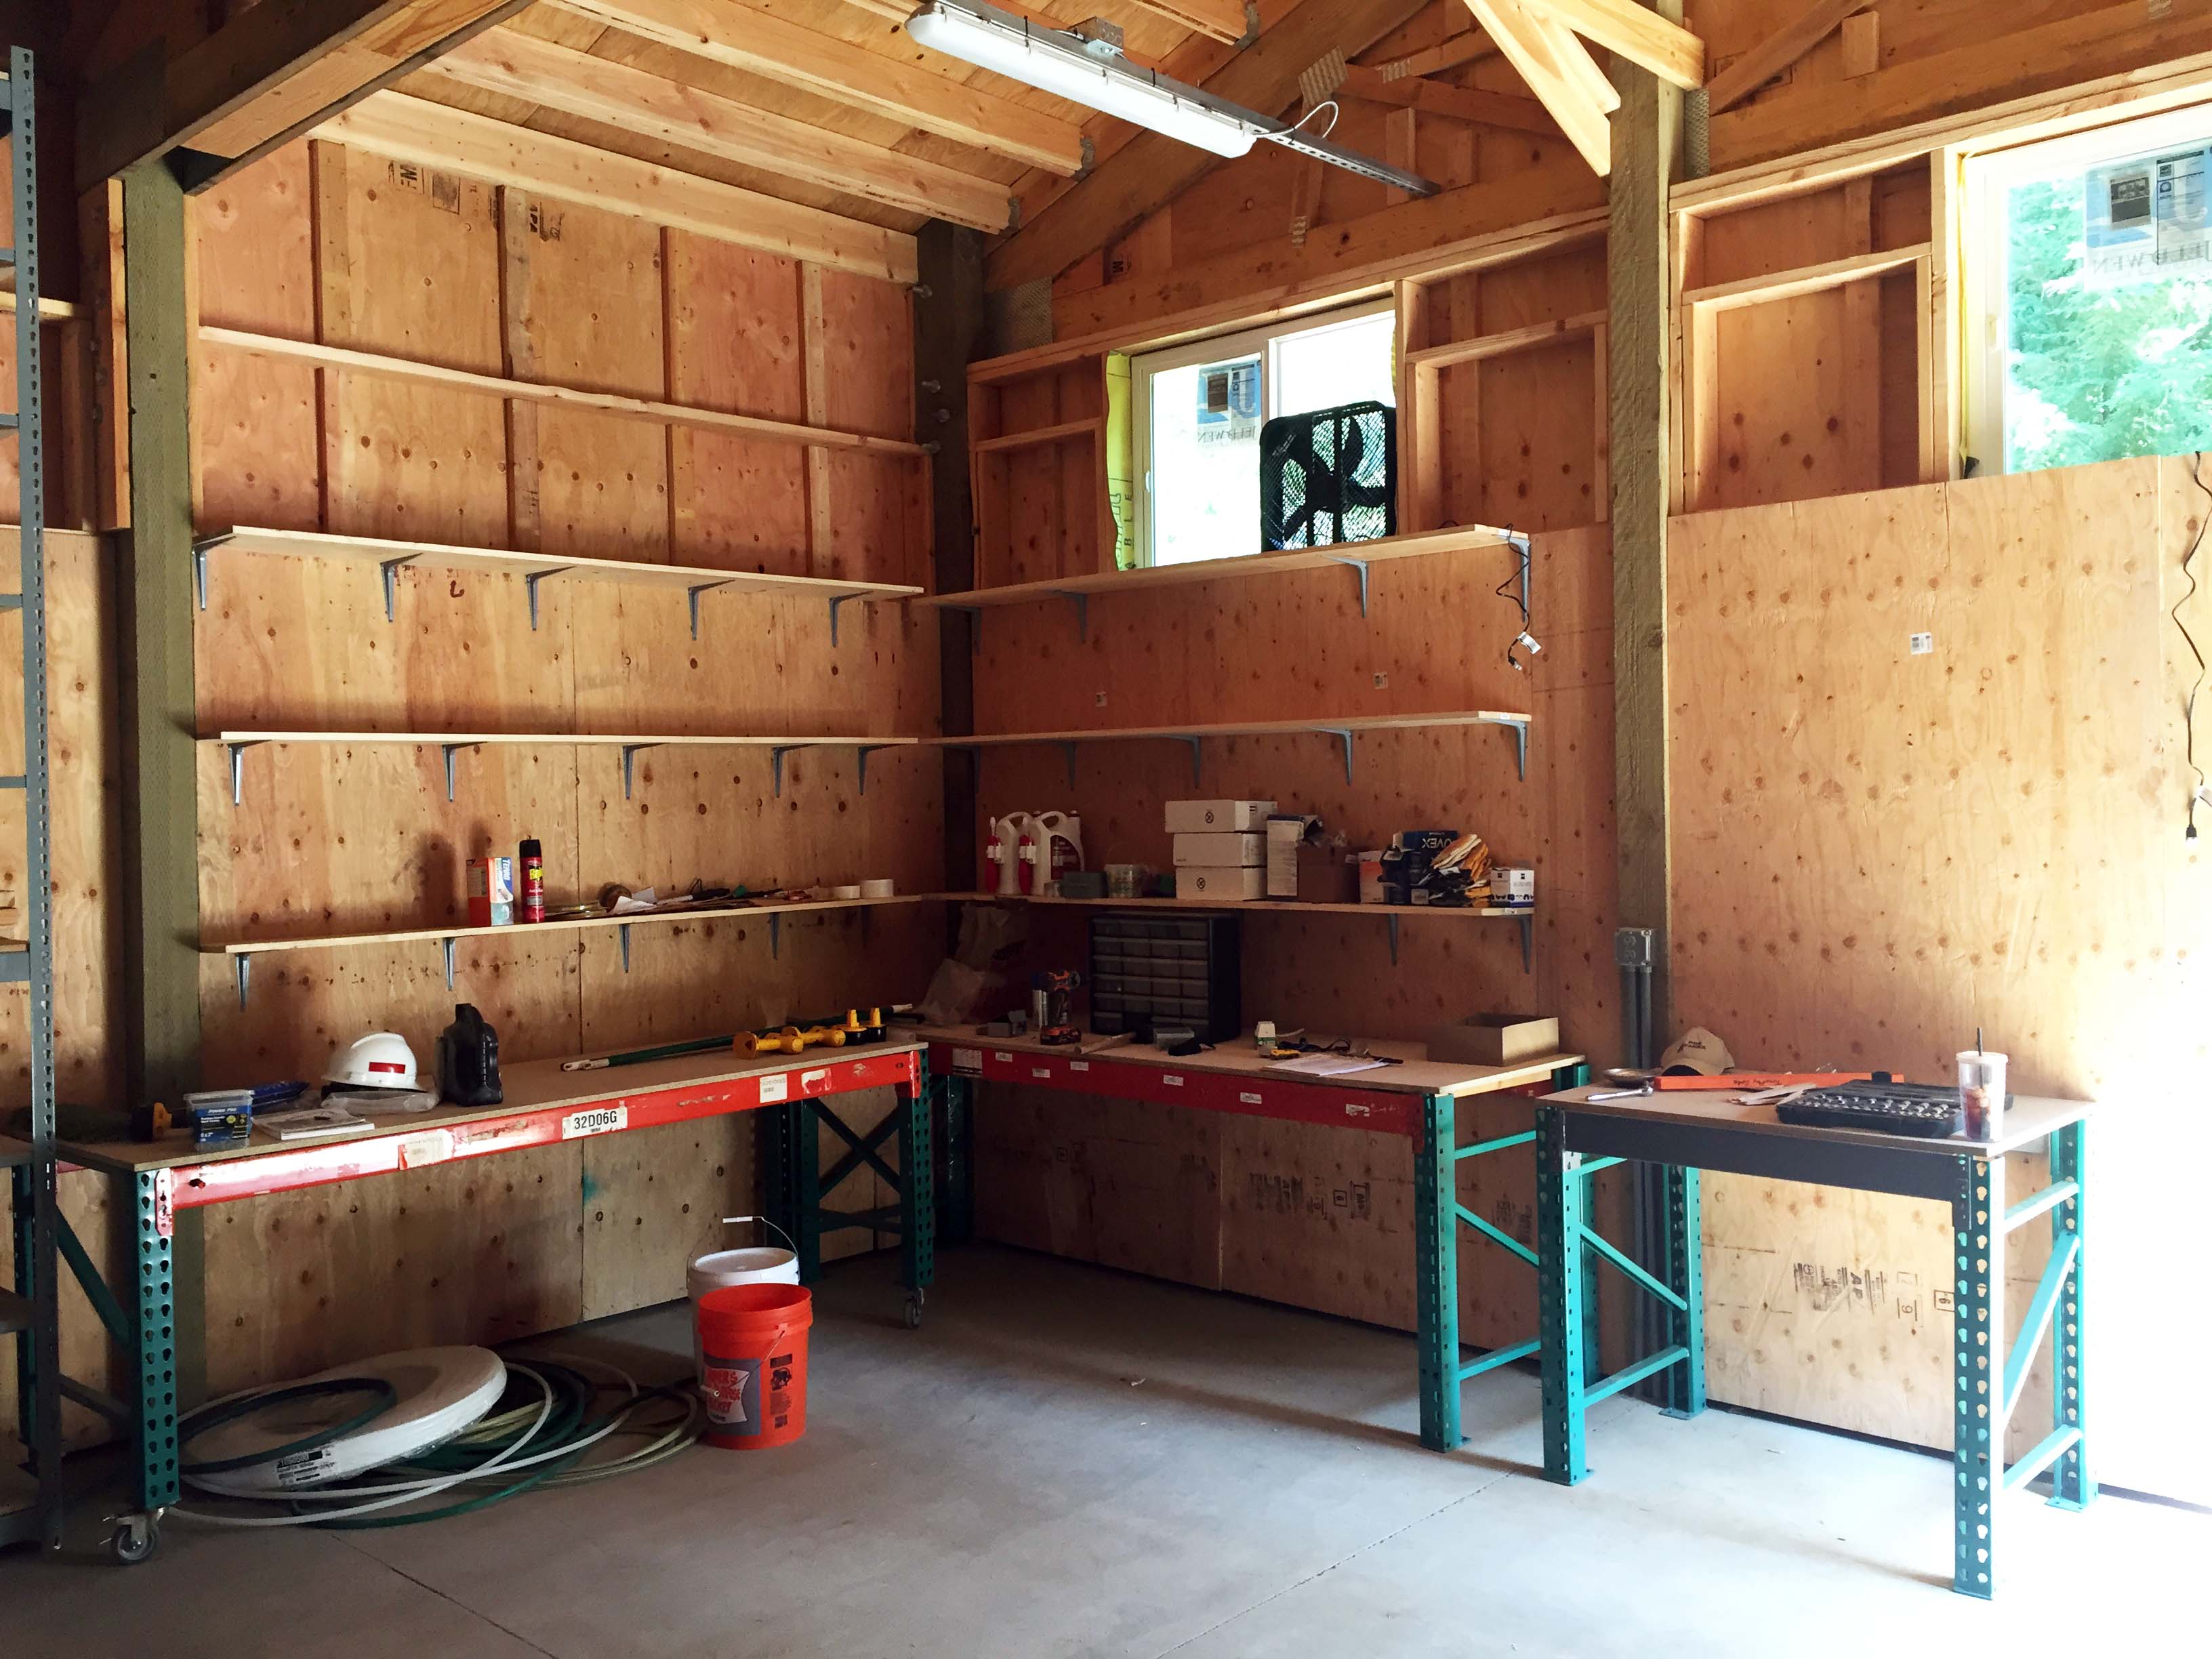
These are the work benches, and the shelves I hung above them. The shelves I hung above the workbenches are 10″ deep, and from the left to the right they are 9′ and 7′, sop there’s a LOT of shelf space. The first shelf is easy to reach from the floor, but the top two require using a little folding three step. So frequently needed stuff goes on the lower shelves, less frequently used stuff goes higher. The bench on the left I had them cut down in order to weld heavy duty locking swivel casters, so it can be pulled out into the middle of the room so you can work on something and have access all the way around it. I got to use it already and it’s a really nice feature to be able to walk around something large and bulky and heavy at workbench height. It’s also a great way to move a large number of things or really large heavy things from the door to somewhere else. It’s a workbench! It’s a cart! After a week or so of looking at it I decided to go back to the industrial supplier and add two beams across the bottom to make a shelf. It game me another 27 square feet of storage, and more stability to the bench.
I also made the top 5″ deeper on the back side and notched it so it would slot in to the beam it sits against so there wouldn’t be a gap for things to fall through when it was pushed against the wall.

Once the shelves were all done everything got moved from the old shed to the new. I used the floor of the bay side to pile everything up and then started sorting through it and placing it where it would end up living. That allowed me to take my time and throw away things that we didn’t need, and put things with like things.
Here’s some shots of it mostly finished. Some of the shelves are empty because I hadn’t quite finished putting things on them. This is all of the supplies in place. You can also see the rolling steps I bought to easily access things from 14′.

Here’s the reverse angle of that shelf with some of the supplies taken away because it was the end of the season, but with the stuff on the shelves where it will live.

Here’s my better idea for the shelves. All the shelves are the same height, and instead of loose stuff, I put everything in heavy duty totes, so they can be labelled and to keep things from just being scattered all over the shelves. the paint will live on the lower shelves, but it goes to a different building that’s heated in the winter.

Now the signs are much better organized and accessible.

(By the way, take a look at that extension cord on the left. That’s what they look like after being coiled incorrectly a few times. They are ruined forever. There is a better way. You can coil 100′ or more of cable and set the coil on the ground, pick up one end and walk away with it, and it will uncoil in a nice straight line, with no kinks, loops, or knots. Every time. 100% guaranteed. – Lee)


I’m really glad I added that lower shelf to the rolling bench. That’s where the really heavy stuff will live.


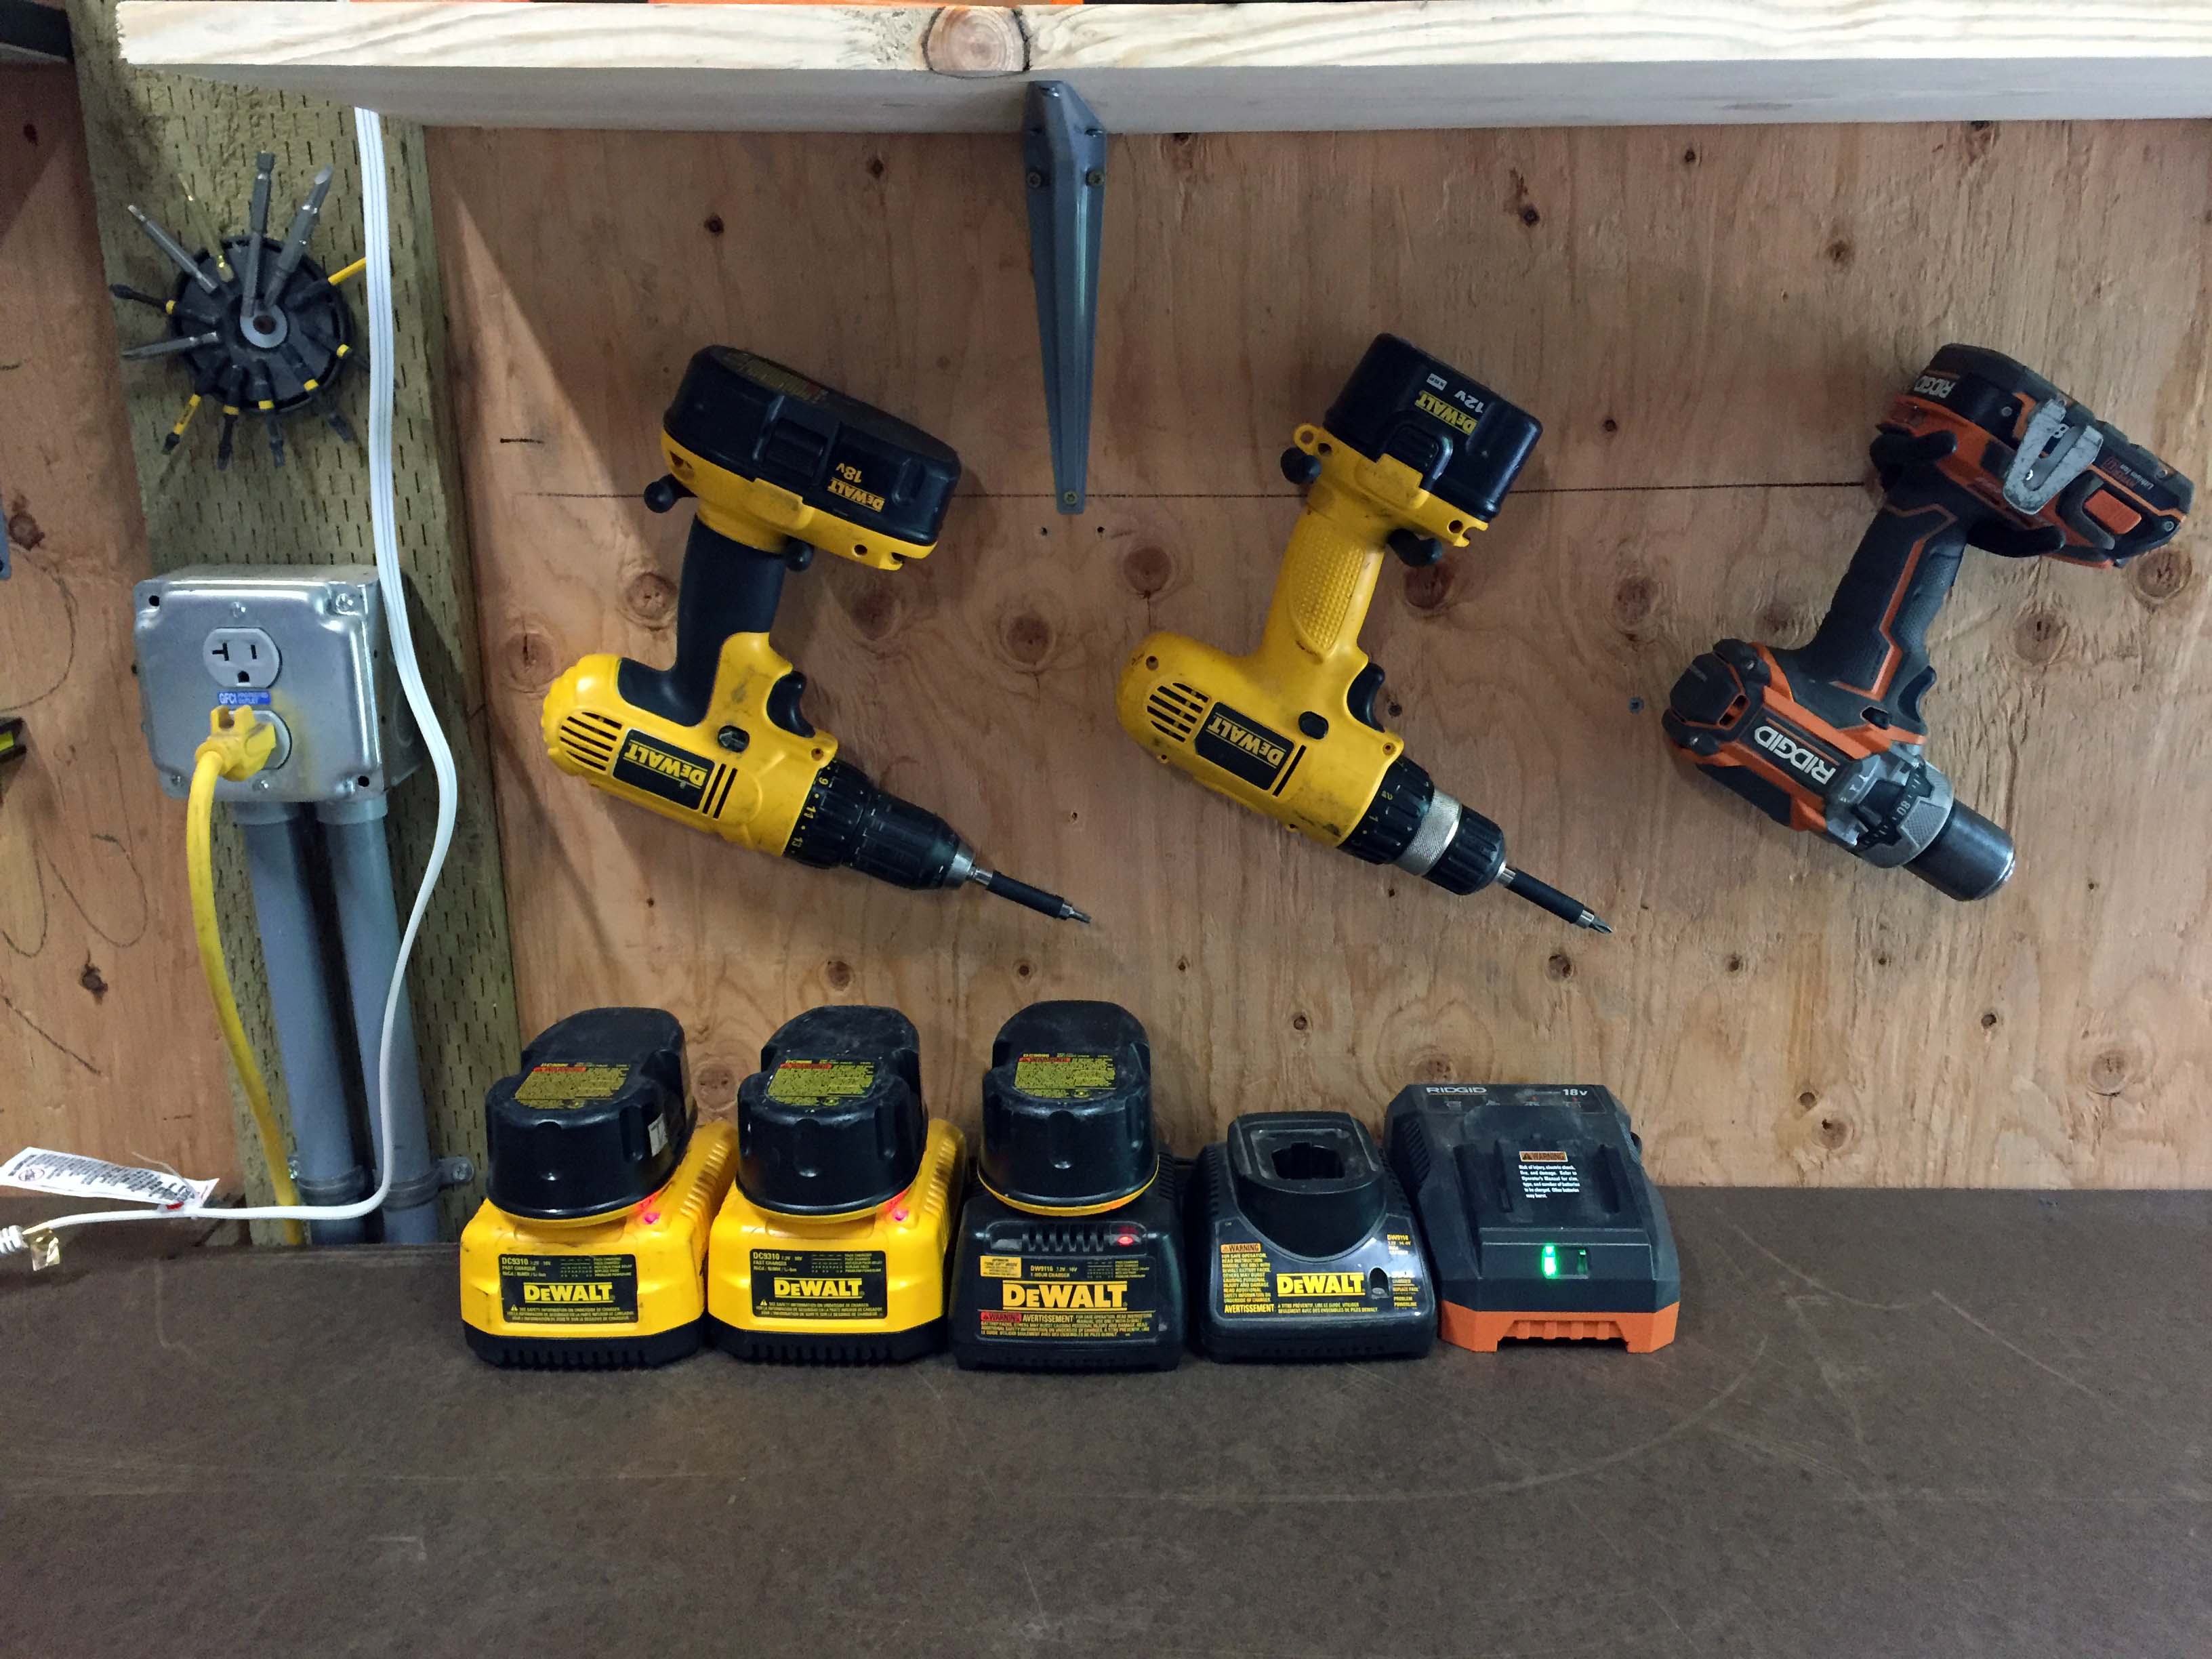
The long bench and the super short bench are bridged with the work surface to make a 12′ bench top. It’s kind of hard to see, but in the center I added a magnetic strip to hold commonly needed hand tools. All the other tools are in the tool chest below. The fans above pull fresh air in, and on the other side of the building another set push air out. Next Spring I will add a shelf at the bottom and middle of that small section on the right, and that’s where the various power tools that aren’t drill will go. The drills hang above the workbench, just inside the door, so they can be grabbed quickly and easily, along with a magnet that holds driver bits.

My first project next Spring will be to label all the parts drawers.
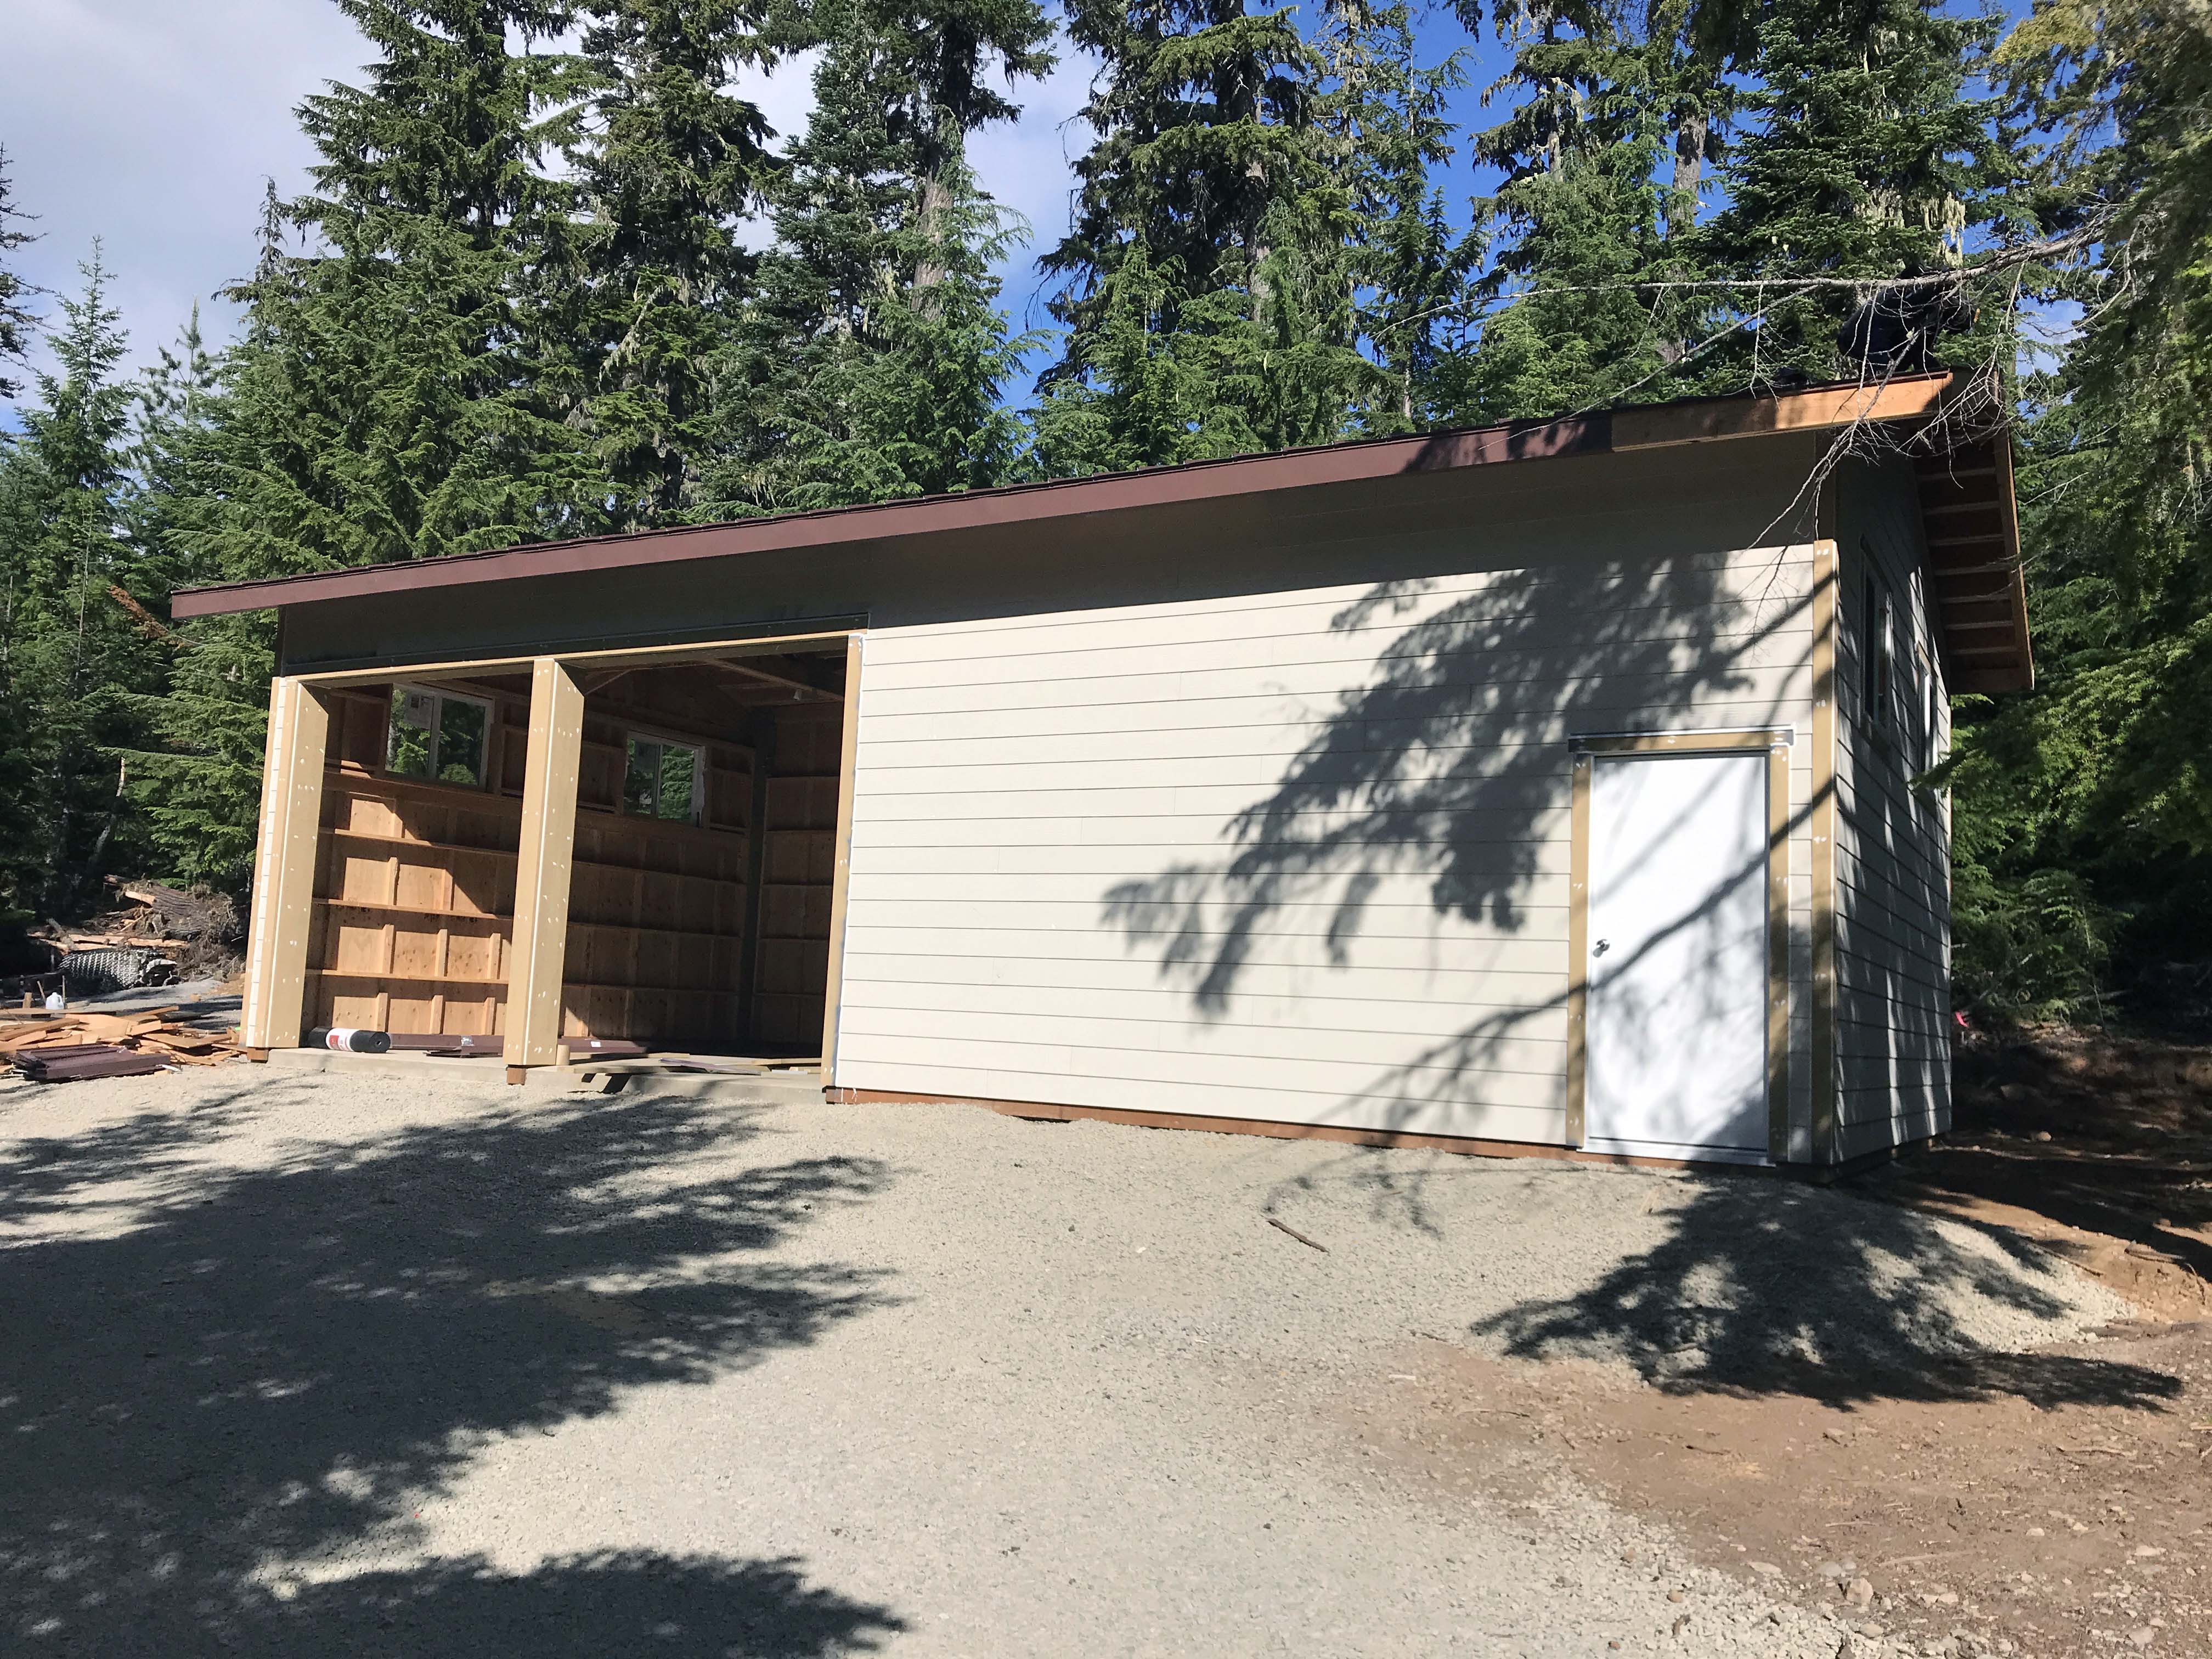
There’s some other stuff not pictured, and it’s still a work in progress, but I have all next summer to perfect it while it’s in use. Here’s the old shop empty and cleaned out. Right after we left they were supposed to start working on it to turn it into a bunkhouse for two or more college age summer interns, so we’ll see what it looks like when we return in April!

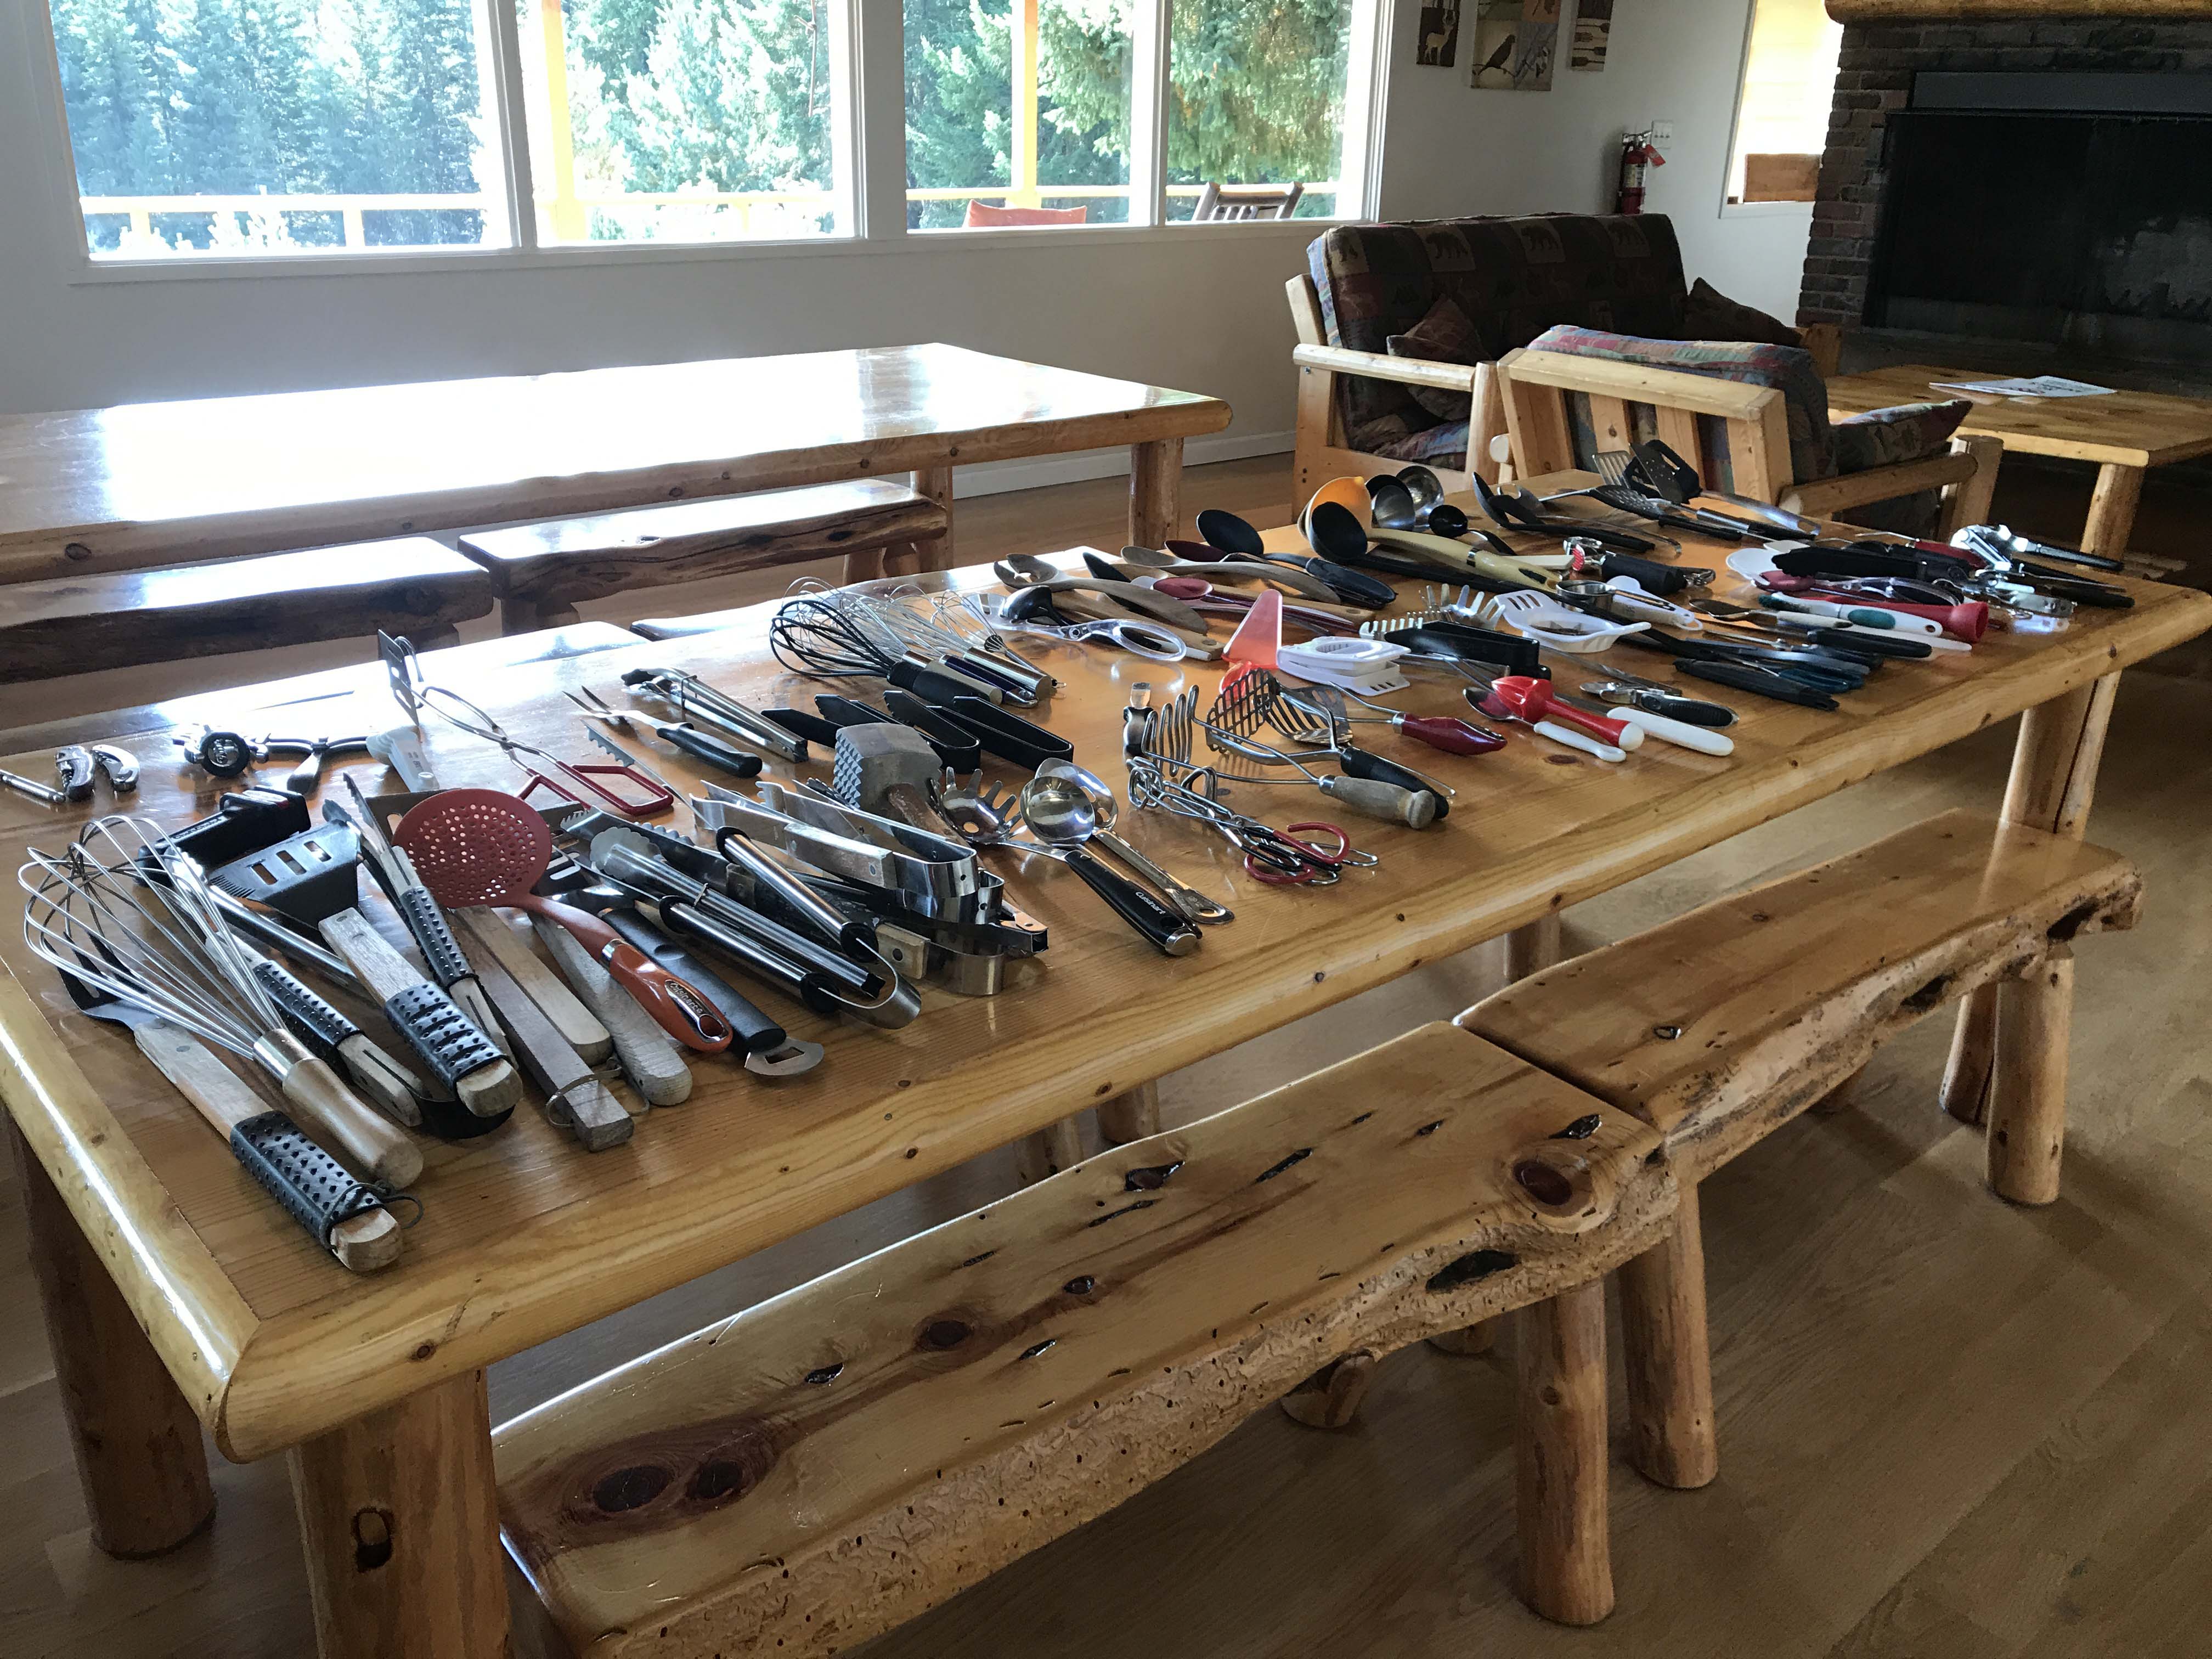
In addition to Lee finishing the workshop, Fred and Helen cleaned out the lodge and looked for missing items or duplicates. People bring and leave things all the time, so we had a huge amount of extra cooking items. This was kind of fun and we divided some of them up and donated the rest.
One night we went to Red Lobster dinner with our friends Sharon and Dan and had a terrific time. Sometimes you meet people at these jobs and just click and that was definitely the case with us and them. I really feel like we are going to be lifelong friends.

Sharon and me!
We also closed down the last two campgrounds, which went very smoothly, and then spent the last week tidying up loose ends. I was thankful that I had lots of down time and feel much better rested. Kari, one of our camp hosts, gave me some flowers on one of the last days which was incredibly sweet. They were absolutely beautiful and I was incredibly touched by the gesture.

Next up: on to Vegas to see my Mom, my brother and sister. I am so excited about getting a BREAK and am definitely ready to go.
Camper Chronicles is a participant in the Amazon Services LLC Associates Program, a program designed to provide a means for sites to earn advertising fees by advertising and linking to amazon.com. We very much appreciate any purchase you make via our website links. There is no additional cost to you and helps support our blog. Search Amazon.com here

Or you can check out our recipe book filled with 80 real recipes we have cooked in our RV and taste tested by Lee himself. The cookbook specializes in recipes that have a limited number of ingredients, without sacrificing flavor and is organized into categories that matter to full time RVers such as Happy Hours, Travel Days, and Pot Lucks You can preview the kindle version on Amazon


Great job, Lee! Happy you are getting a well earned break! Safe travels til we see you in TX!
Looks great! Happy travels to Las Vegas, let us know if you get anywhere near Sacramento, we’re still here for another 10 days before we start south. BTW, are you guys returning to Oregon next summer? Lee comments “when we return in April” caught me by surprise. Best of luck on your decision.
We had a meeting before we left and things look promising. Will see what happens
They’d certainly be missing out on dedication that’s rare in FULL-TIME CAREER employees! (I think they’re smart enough to recognize that) Hope to see you back next year!
Thanks!!
Shed looks great! I’m with Ruth, sounds like maybe your decided to return next year? Have fun in Vegas on beyond!
Wait – I must have missed something. The last post I read about the job and your exit interview, it sounded like you were putting the job in your rear view mirror. Then Lee writes about ‘next Spring’…..
Awww, miss you both!!